Vegan Taiyaki | ヴィーガンたい焼き
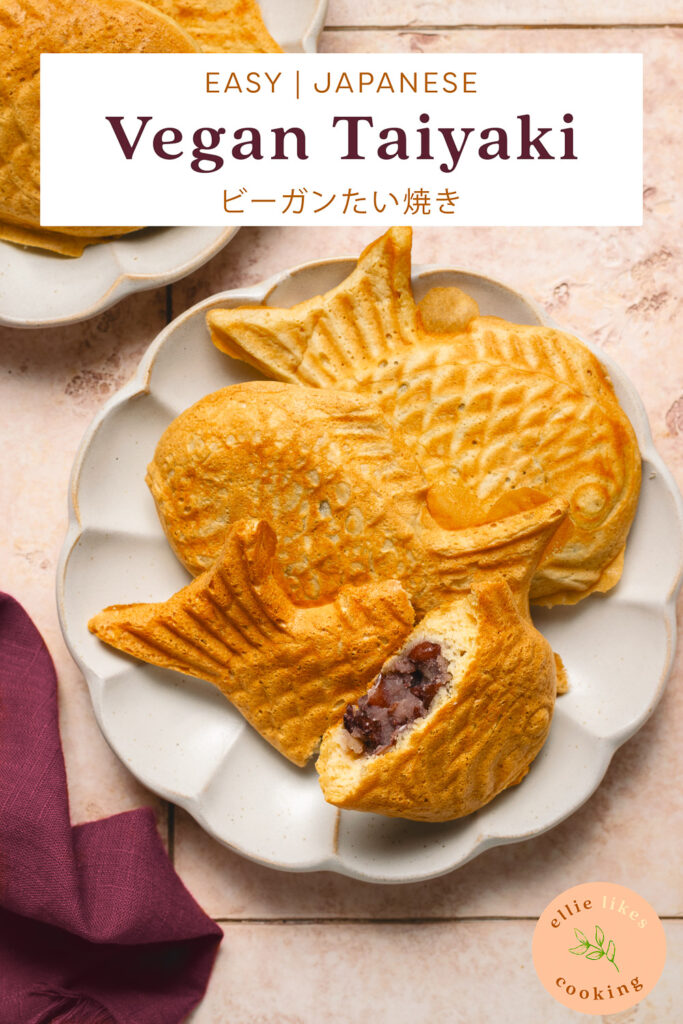
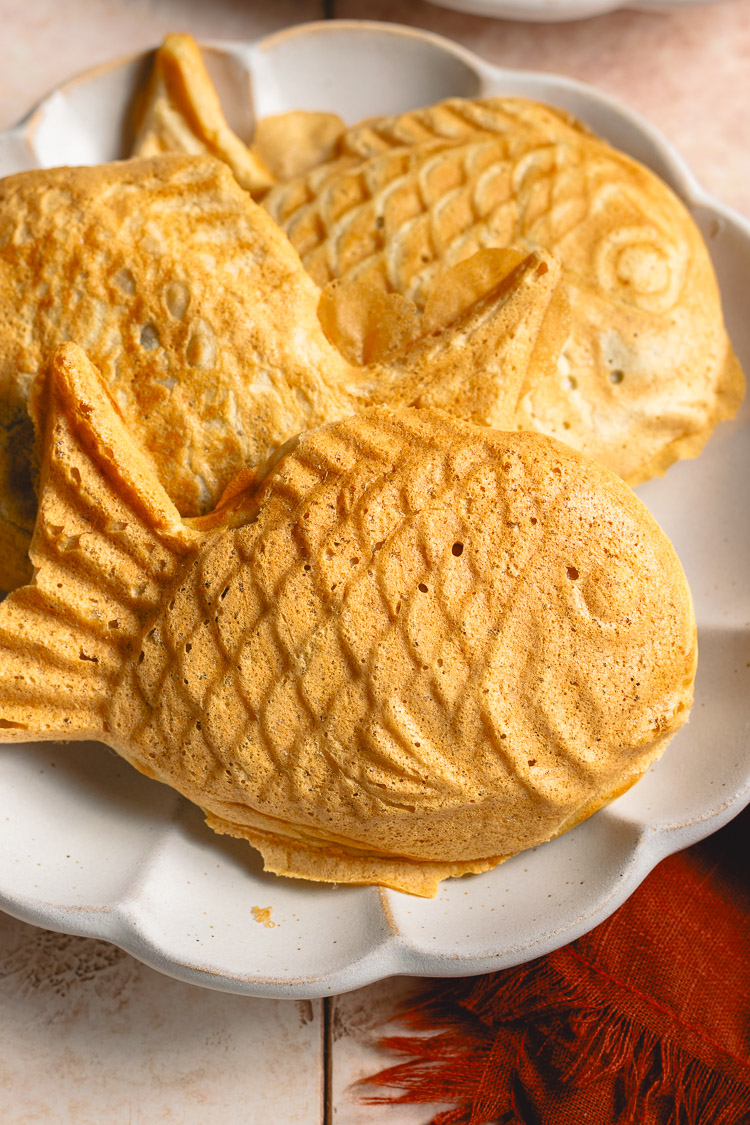
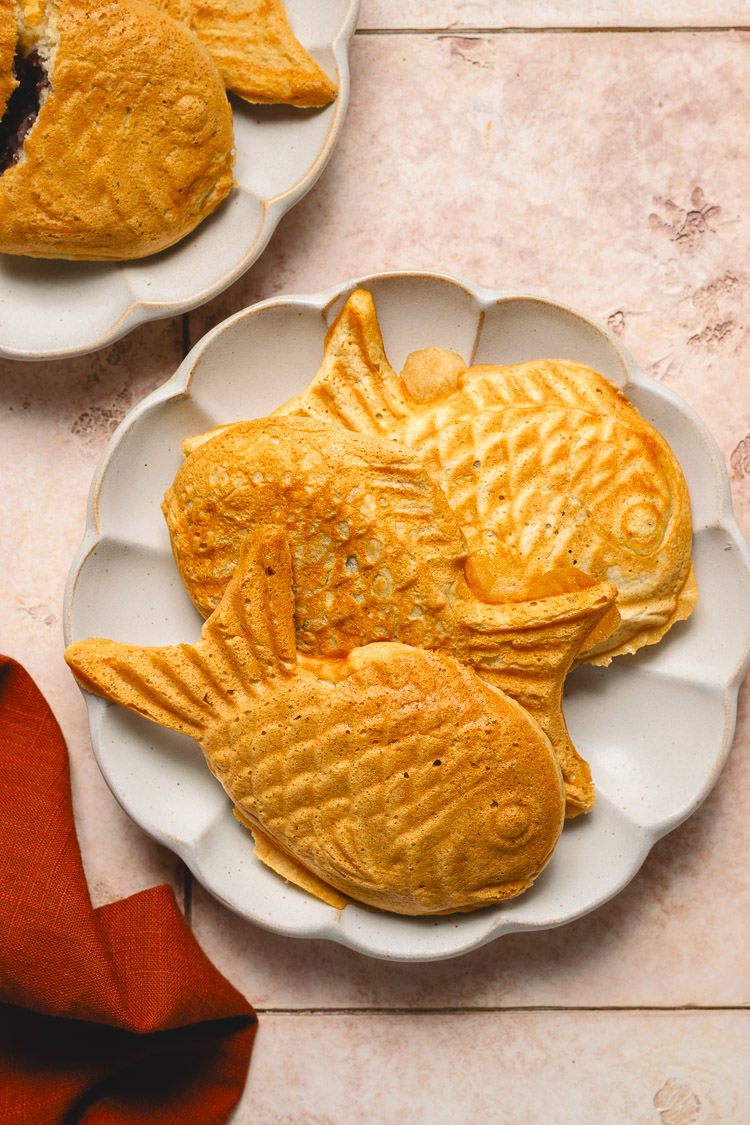
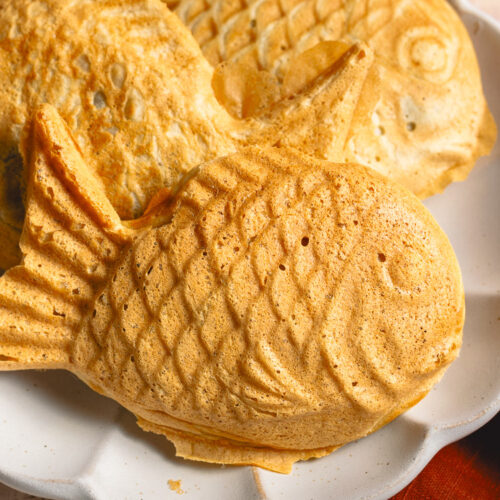
Taiyaki is a Japanese fish-shaped waffle filled with red bean paste. This vegan version tastes just like the original but without eggs or dairy.
What is Taiyaki?
Taiyaki is a popular Japanese street snack made of a fish-shaped waffle filled with sweet red bean paste. It’s shaped like a sea bream (called “tai” in Japanese) which is considered a symbol of good fortune in Japan. Taiyaki is very similar to imagawayaki, the main difference being the shape – imagawayaki is thick and round. Traditional taiyaki is not vegan as it contains eggs and milk, like a typical waffle batter, but this easy recipe is plant-based and just as delicious!
Key Ingredients
- Applesauce ⟶ Instead of eggs, this recipe relies on applesauce for binding and moisture. It also adds a little bit of natural sweetness.
- Soy Milk ⟶ I highly recommend using soy milk as opposed to other plant-based milks since soy milk is higher in fat and protein, giving the taiyaki more flavor and chew.
- Cake Flour ⟶ Cake flour is lighter than all purpose flour. If you don’t have cake flour, you can make a substitute with all purpose flour and cornstarch.
- Baking Soda and Baking Powder ⟶ The baking powder is the leavening agent here, making the taiyaki fluffy. The baking soda makes the batter more alkaline, resulting in better browning.
Tips for Success
Use a taiyaki pan ⟶ First and foremost, you need a taiyaki pan*! This batter was created specifically for making taiyaki, so it’s a bit thinner than your average pancake batter. Thus, if you don’t have a taiyaki pan and try to just make this like pancakes, you’ll end up with thin cakes. You can find taiyaki pans at some Japanese or Korean grocery stores, and there are also lots on Amazon.
Preheat the pan ⟶ Make sure the pan is sufficiently heated, otherwise your taiyaki will not brown enough. I like to heat both sides of the pan for about 2 minutes before adding the batter. I also let the pan heat for a minute in between taiyaki batches.
Don’t overfill ⟶ The batter will rise and spread a bit once the lid is closed, so add a light layer of batter, enough to just cover the entire mold.
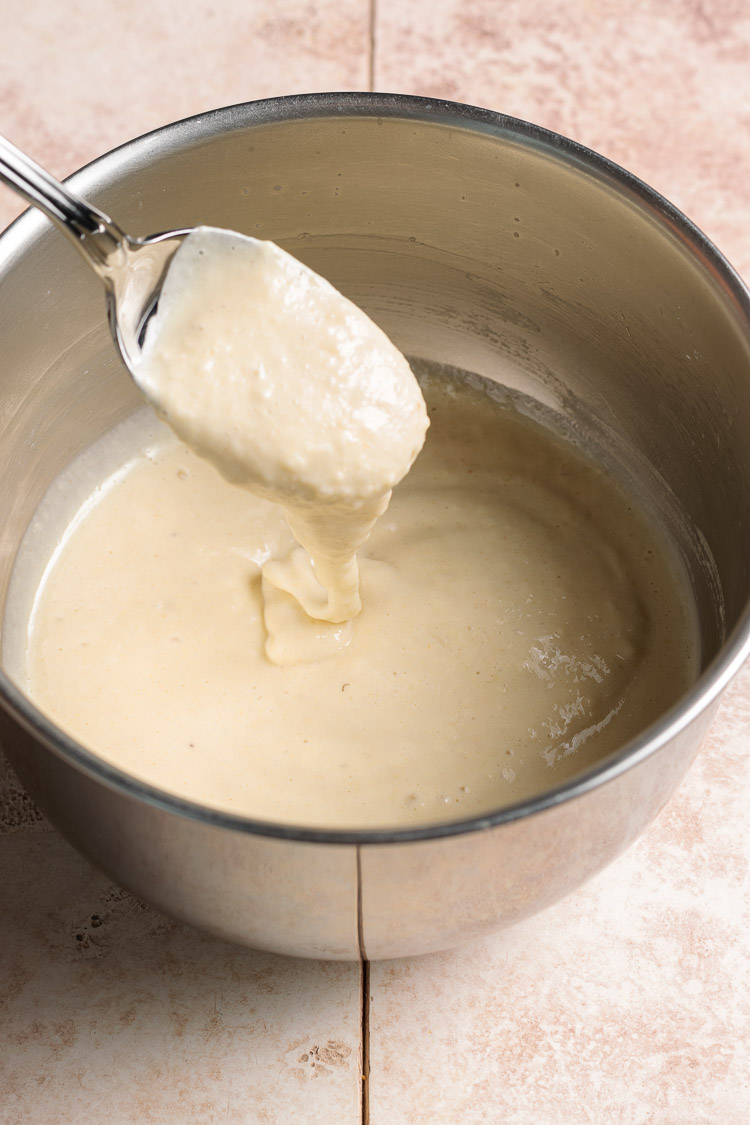
Rest batter ⟶ Letting the batter rest allows the flour to hydrate, resulting in a thicker, fluffier batter.
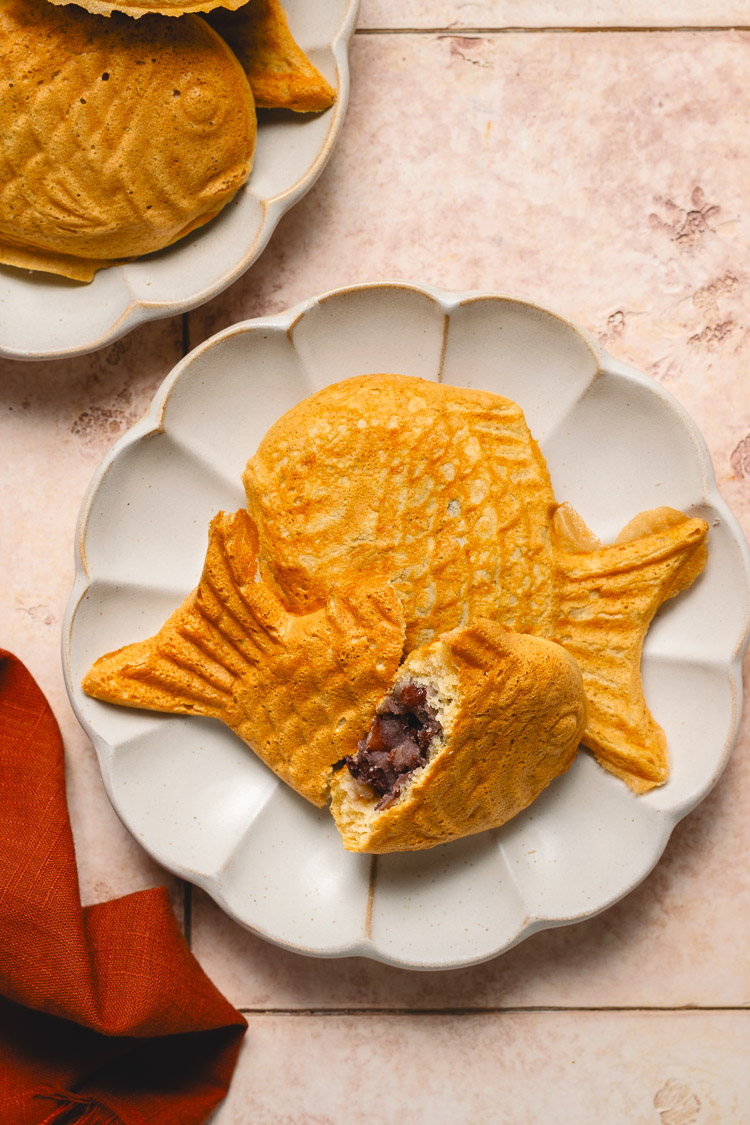
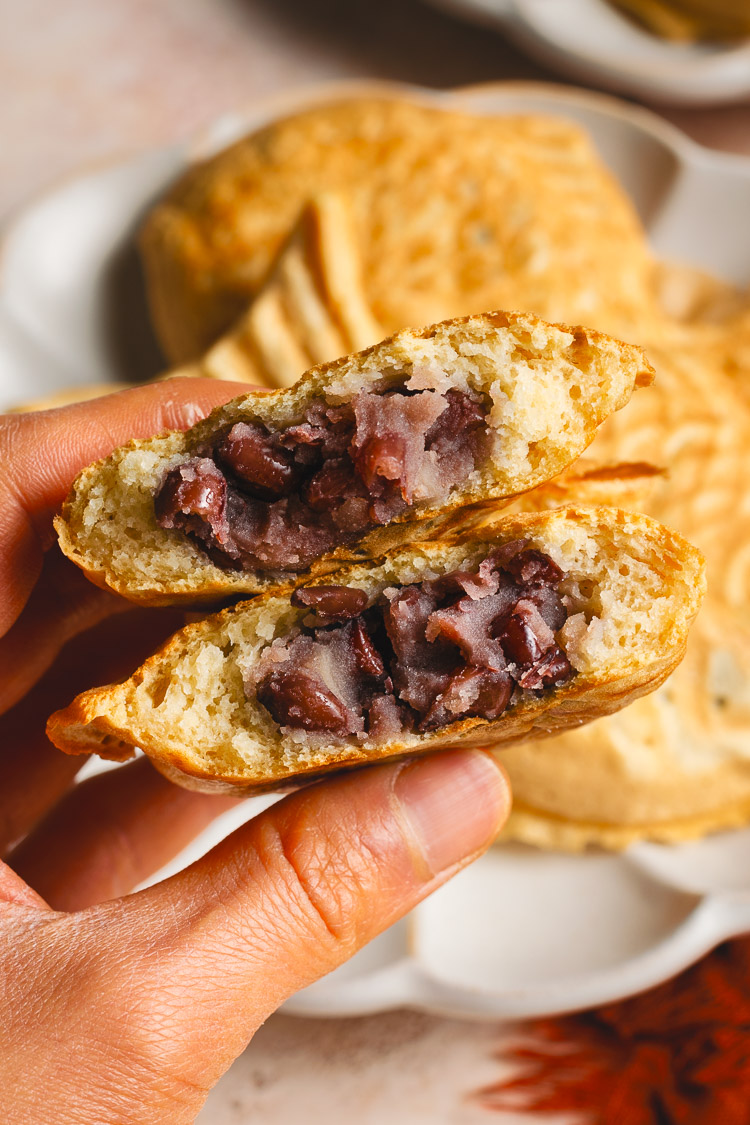
Switch up the filling ⟶ While anko/red bean paste is the most traditional filling, taiyaki can be filled with anything you like! Some other common fillings include custard, sweet potato cream, cream cheese, matcha cream, whipped cream, chocolate, chestnut, ice cream, and mochi. There are also savory versions where the taiyaki is stuffed with curry, veggies, cheese, etc.
Vegan Taiyaki FAQ
How do I store homemade taiyaki?
If serving the same day you make them, you can store the taiyaki in airtight container at room temperature. For longer storage, you can store them in the fridge for up to 3 days, or freeze for up to 2 months.
How do I reheat taiyaki?
To reheat taiyaki from the fridge, you can microwave (about 30 seconds) or pop in the toaster (a couple minutes) until warmed through. If your taiyaki is frozen, thaw in the fridge overnight first. In a pinch, you can microwave frozen taiyaki, but it may dry out more. I would microwave until thawed and then pop in the toaster or oven to crisp up the outside.
Is taiyaki vegan?
Traditional taiyaki isn’t vegan since it usually contains eggs and milk (and sometimes honey). This recipe is vegan since it uses applesauce and soy milk instead.
Can I omit/replace the applesauce?
You can replace with more soy milk, but the taiyaki may be flatter.
More Japanese Sweets & Snacks
- Vegan Anpan (Sweet Red Bean Bun)
- Black Sesame Zenzai with Tofu Dango
- Vegan Tofu Purin (Japanese Custard Pudding)
- Vegan Melon Pan
- Japanese-Style Strawberry Chocolate Parfait
- Sweet Potato Mochi Cake
If you make this vegan taiyaki, don’t forget to leave a comment/rating down below and tag me in your photos on instagram @ellielikes.cooking. I love seeing all of your tasty recreations!
Vegan Taiyaki
Ingredients
- 60 grams (¼ cup) unsweetened applesauce
- 180 ml soy milk
- 1½ tsp oil
- 24 grams (2 tbsp) sugar
- 150 grams cake flour**1
- 1½ tsp baking powder
- ¼ tsp baking soda
- 10 tbsp
anko/sweet red bean paste
Instructions
- Make batter: In a large mixing bowl, whisk together applesauce, soy milk, oil, and sugar. Sift in cake flour, baking powder, and baking soda and whisk until just combined.
- Rest batter: Cover and batter refrigerate for 30 minutes.
- Heat pan: Place a taiyaki pan over the stove on medium heat. Brush both sides of the pan with oil. Heat each side of the pan for about 2 minutes.
- Add batter: Spoon batter into the molds on one side (the side placed on the stove). Spread the batter a bit so a thin layer covers the entire mold. Place a tablespoon of anko in the middle, then pour batter on top to cover.Tip: The batter will spread and rise a bit once you close the lid, so be careful not to overfill or the batter will spill out.
- Cook: Close the lid of the pan and cook for about 2 minutes or until browned. Then flip and cook the other side another 2 minutes or until browned.Tip: You may need to adjust the heat of the stove if your taiyaki is browning too quickly or not browning enough. Use the first taiyaki as a test and adjust as you go.
- Repeat: Carefully remove each taiyaki from the pan, close the lid, and let the pan reheat for about a minute on each side. Then repeat the cooking process until all the batter is used up.
- Taiyaki is best served warm right after making. I like to wrap mine in a kitchen towel to keep warm while I make the rest, but this will make the outside softer. If you want your taiyaki to be more crisp, you can place them on a wire rack, but they will cool down more quickly and dry out if you don't eat them soon.
Notes

*Disclosure: This page may contain affiliate links. As an Amazon Associate I earn from qualifying purchases, but the price remains the same to you. Thank you for supporting Ellie Likes Cooking!
Save for later!
