Vegan Pumpkin Scones with Coconut Maple Glaze
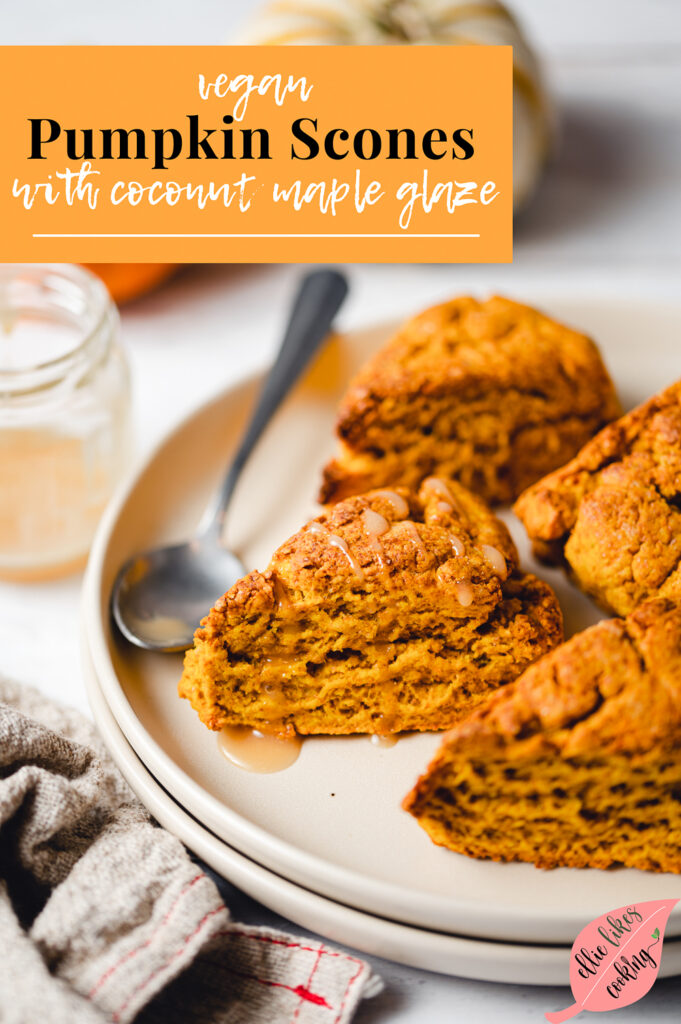
Moist and buttery vegan pumpkin scones made with just 6 ingredients. They’re simple, easy to make, and so delicious!
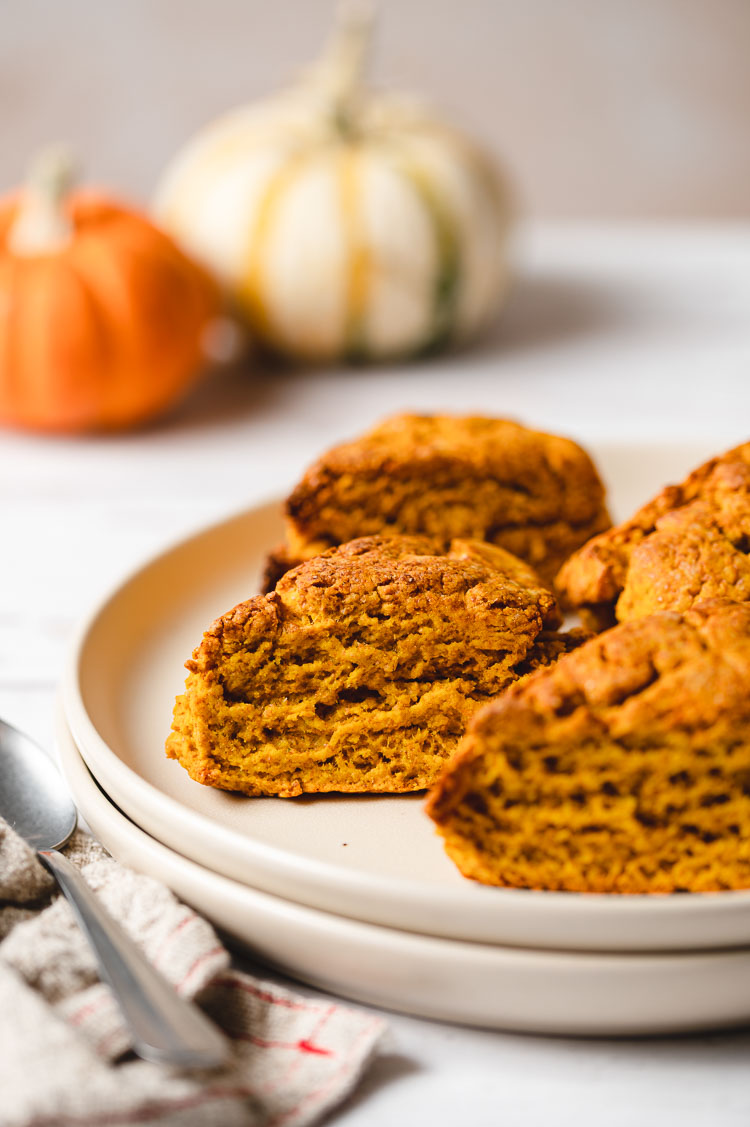
‘Tis the season for all things pumpkin! As you can tell from my previous posts of tofu pumpkin pie and pumpkin melon pan, I am eating all the pumpkin things while it’s still seasonably appropriate! I have also been loving using kabocha in place of my usual canned pumpkin puree. Canned pumpkin is available year-round, but kabocha is in season now so I’ve been enjoying baking with it and of course, cooking it into kabocha soup! But today we’re focusing on my recent breakfast obsession — scones. Vegan pumpkin scones of course.
Tips for Success
Remove excess moisture from pumpkin ⟶ I steamed and mashed kabocha, which is a bit drier than baking pumpkins and butternut squash. It was more of a kabocha mash than a puree, so if you’re using a puree that is very moist (like canned pumpkin puree), remove excess moisture with a nut milk bag or paper towels. Measure the pumpkin after removing excess moisture. You’ll likely use around 1 cup of pumpkin puree.
Swap the pumpkin for your favorite winter squash ⟶ Although I’ve only used kabocha, feel free to try these scones with butternut squash, acorn squash, honeynut squash, or different varieties of sweet potato (Japanese satsumaimo is next on my list!). Just remember to get rid of excess moisture.
Keep the dough cold ⟶ Butter (especially vegan butter) will melt quickly in warm environments, but we don’t want the butter to melt until it’s in the oven! That’s what will create those flaky layers. So if you’re in a particularly warm environment, you may need to chill your dough before cutting. I would also recommend you chill your mixing bowl and pastry cutter/fork before starting, and don’t use your fingers to mix. If it’s relatively cool in your kitchen though (72°F or lower), you can get away with using room temperature tools and just using your hands to mix.
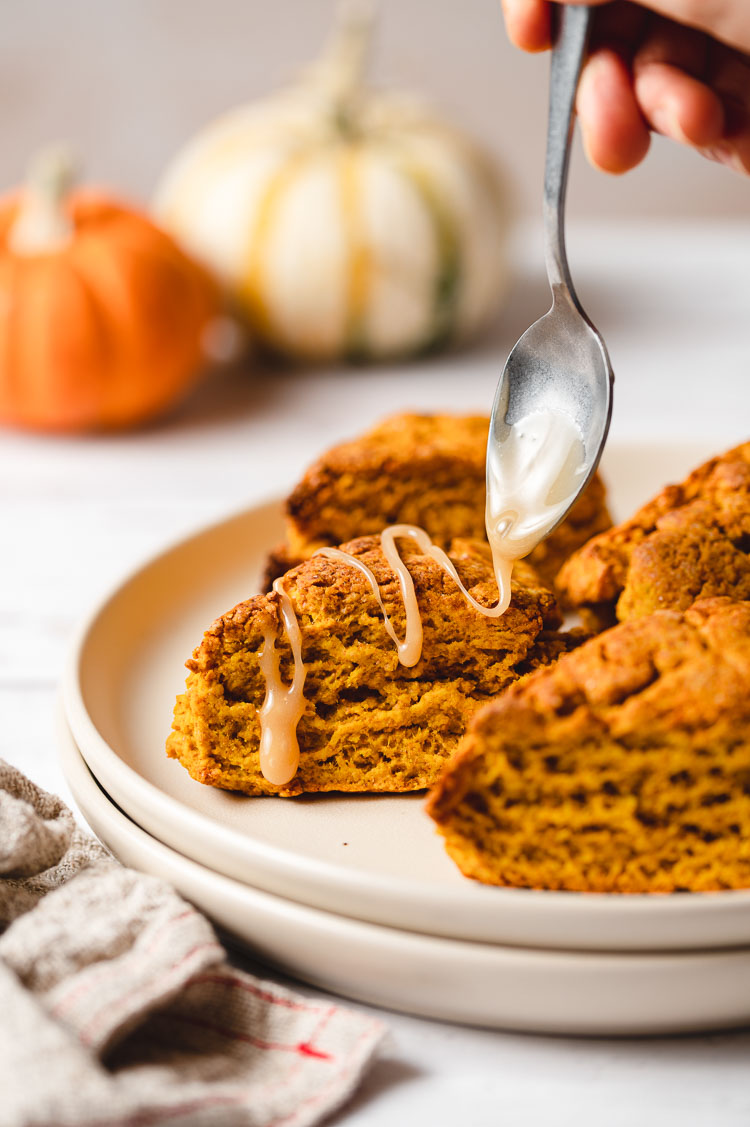
Chill the glaze ⟶ If you’re using the glaze, mix it first and then chill in the fridge to firm up. The glaze is a little sticky and will be very thin and runny at first, but as it chills it will thicken to a drizzle-able consistency.
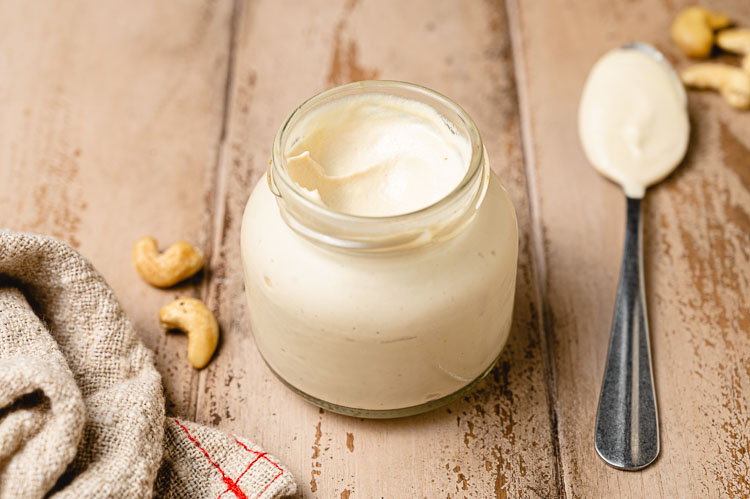
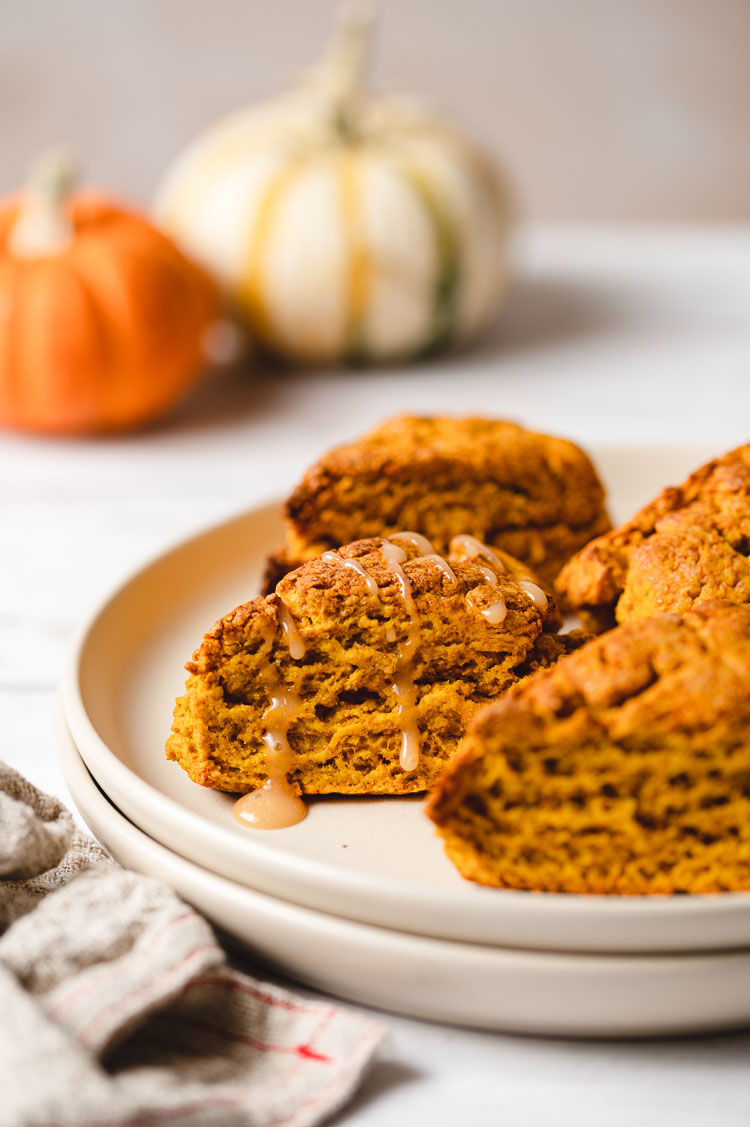
Glaze scones immediately before eating ⟶ This glaze will never go completely solid like typical powdered sugar glazes, so only glaze the scones you are going to eat immediately. Store leftover scones unglazed, and save the rest of the glaze in a jar in the fridge.
More Pumpkin Treats!
- Pumpkin Melon Pan
- Vegan Pumpkin Pie
- Pumpkin Oat Pancakes
- Whole Grain Pumpkin Muffins
- Pumpkin Snickerdoodles (GF)
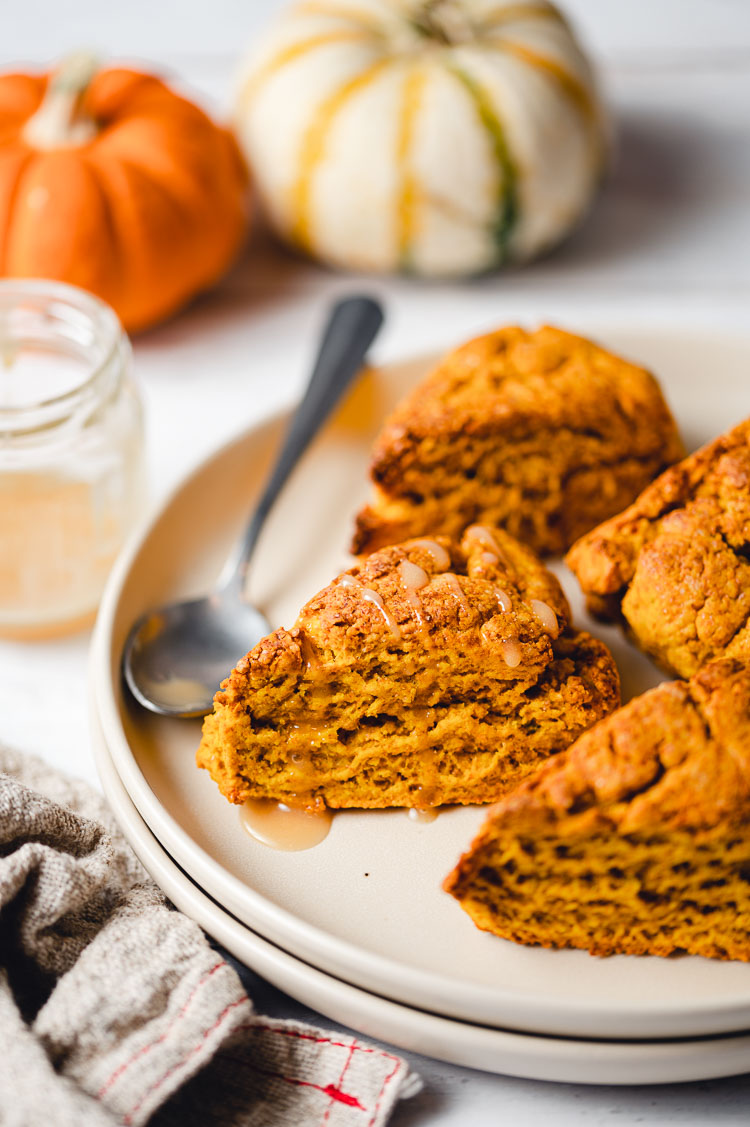
If you try out these vegan pumpkin scones, don’t forget to leave a comment/rating down below and tag me in your photos on instagram @ellielikes.cooking. I love seeing all of your tasty recreations!
Vegan Pumpkin Scones with Coconut Maple Glaze
Ingredients
Scones
- 2 cups (240g) all purpose flour**
- 3 tbsp (36g) sugar
- 1 tbsp baking powder
- 1 pinch salt if using unsalted butter
- 6 tbsp (78g) vegan butter cut into ½" cubes
- ½ cup (120g) mashed pumpkin/squash/sweet potato** see notes!
- 4-6 tbsp full fat coconut milk
Coconut Maple Glaze (optional)
- 4 tsp
coconut milk powder* - ¼ cup maple syrup
Instructions
- Line a baking sheet with parchment paper and set aside.
- Prepare the glaze first if using. Whisk together coconut milk powder and maple syrup until smooth. Place in the fridge to thicken.
- In a large bowl, whisk together flour, sugar, baking powder, and salt (if using).
- Add butter cubes and combine with a pastry cutter, fork, or your fingertips to form pea-sized crumbs.
- Add in pumpkin and 4 tbsp coconut milk. Mix until the dough is moistened and comes together. Add more coconut milk if needed.
- Lightly flour a work surface and turn the dough out onto it. Form into a ball then cut into 8 triangles. Transfer scones to a plate (make sure they don't touch) and chill in the fridge while the oven preheats.
- Preheat oven to 400°F.
- When the oven is ready, transfer scones to the lined baking sheet and place in the oven. Bake 20-25 minutes until lightly browned.
- If using the glaze, drizzle on scone immediately before serving. The glaze is sticky and will not completely harden, so store leftover scones unglazed.
Notes

*Disclosure: This page may contain affiliate links. As an Amazon Associate I earn from qualifying purchases, but the price remains the same to you. Thank you for supporting Ellie Likes Cooking!
Save for later!
