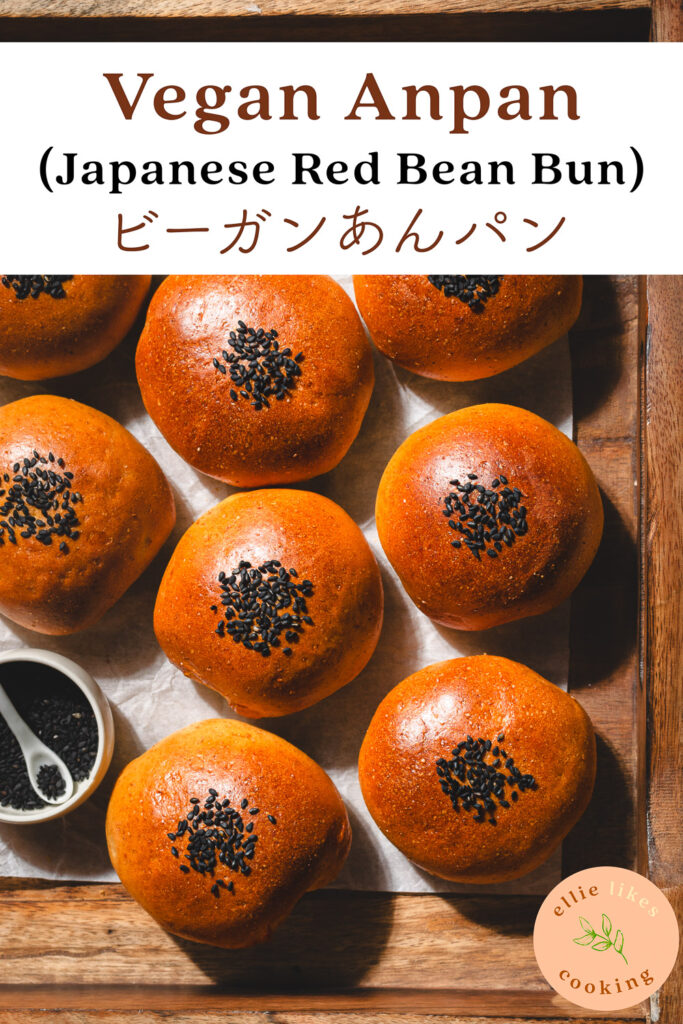
Vegan Anpan (Japanese Red Bean Bun) | ビーガンあんパン
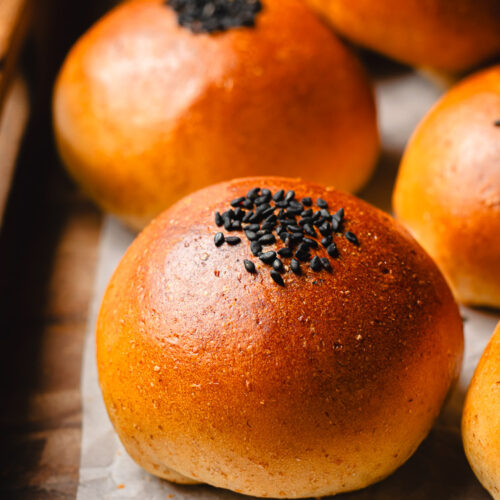
Learn how to make this classic Japanese pastry – but vegan! Soft, fluffy bread rolls filled with sweet red bean paste and made without eggs, milk, or butter.
What is Anpan?
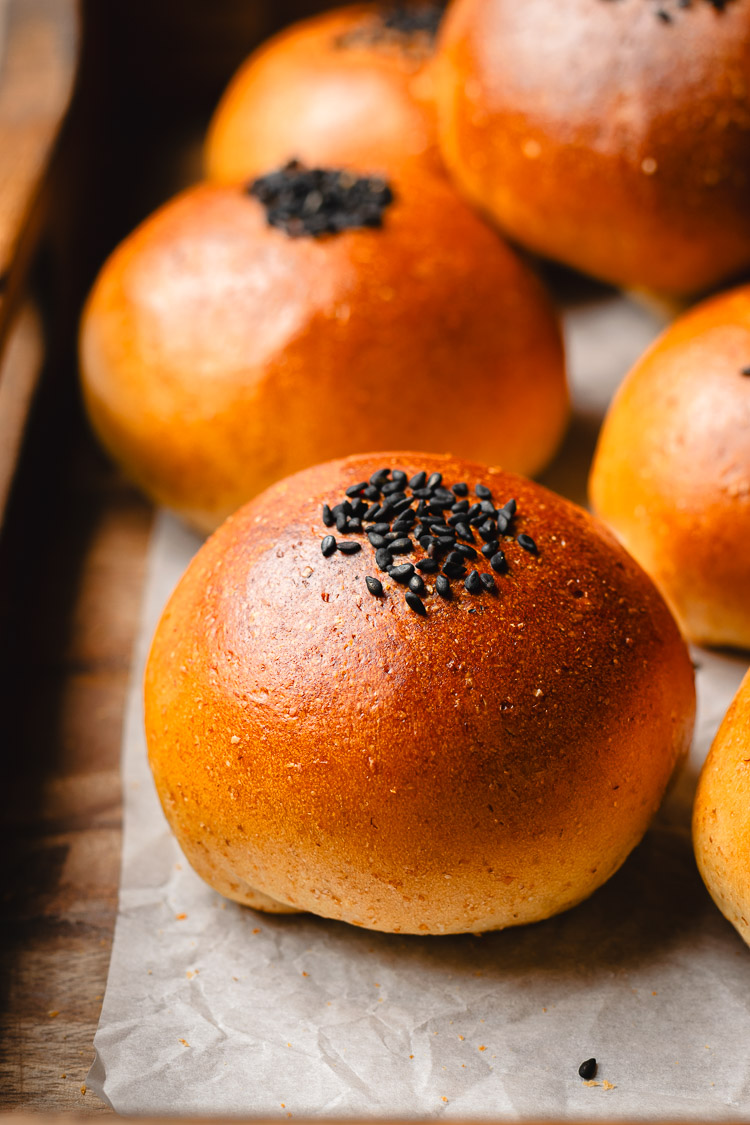
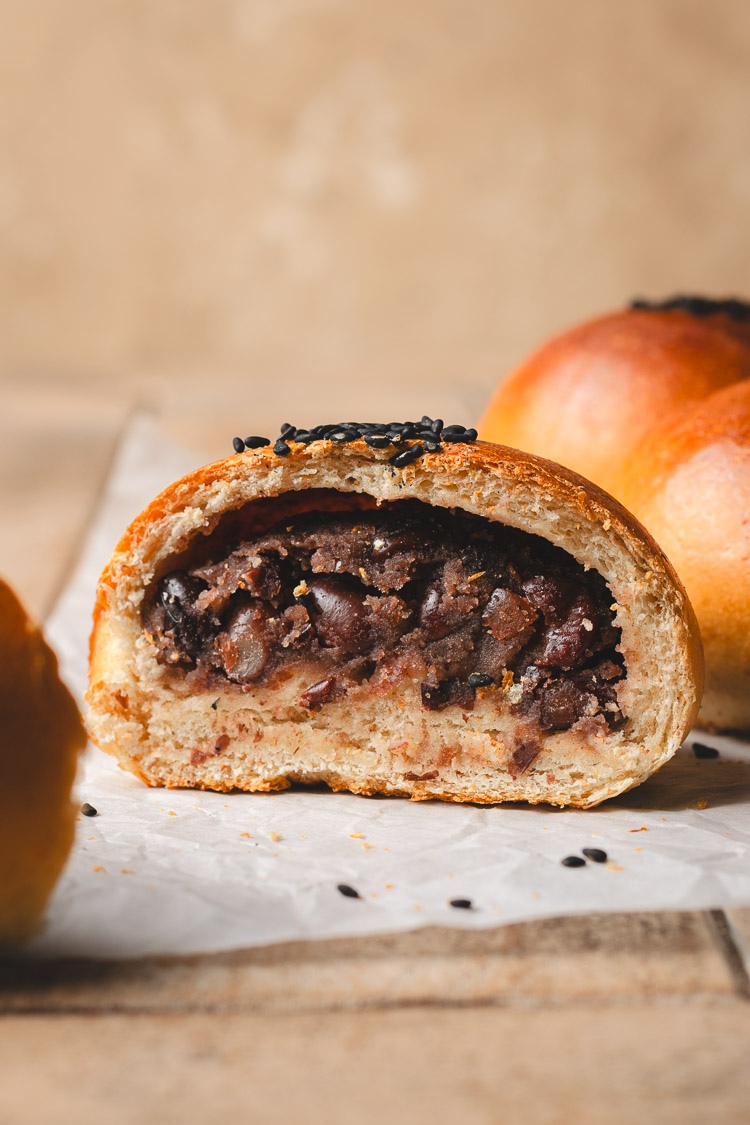
Anpan is a Japanese sweet bread filled with red bean paste (known as anko). It was first created in 1875 by an ex-samurai-turned-baker, Yasubei Kimura, who discovered how to make a bread that was suited to Japanese tastes. He basically took the idea of manju (anko wrapped in an unleavened dough) and turned it into a bread. Anko is used in a variety of Japanese desserts and wagashi (read more about anko here), and of course anpan is another beloved snack amongst Japanese people. However, due to its Western influence, anpan usually contain eggs, milk, and butter in the bread. It’s not vegan by default like many wagashi are, so you will have to seek out vegan bakeries in Japan if you want to try this tasty bread. Luckily, you can make vegan anpan at home with this recipe!
How to Make Vegan Anpan
This is an abbreviated method to give you an overview – see recipe card for the full detailed instructions.
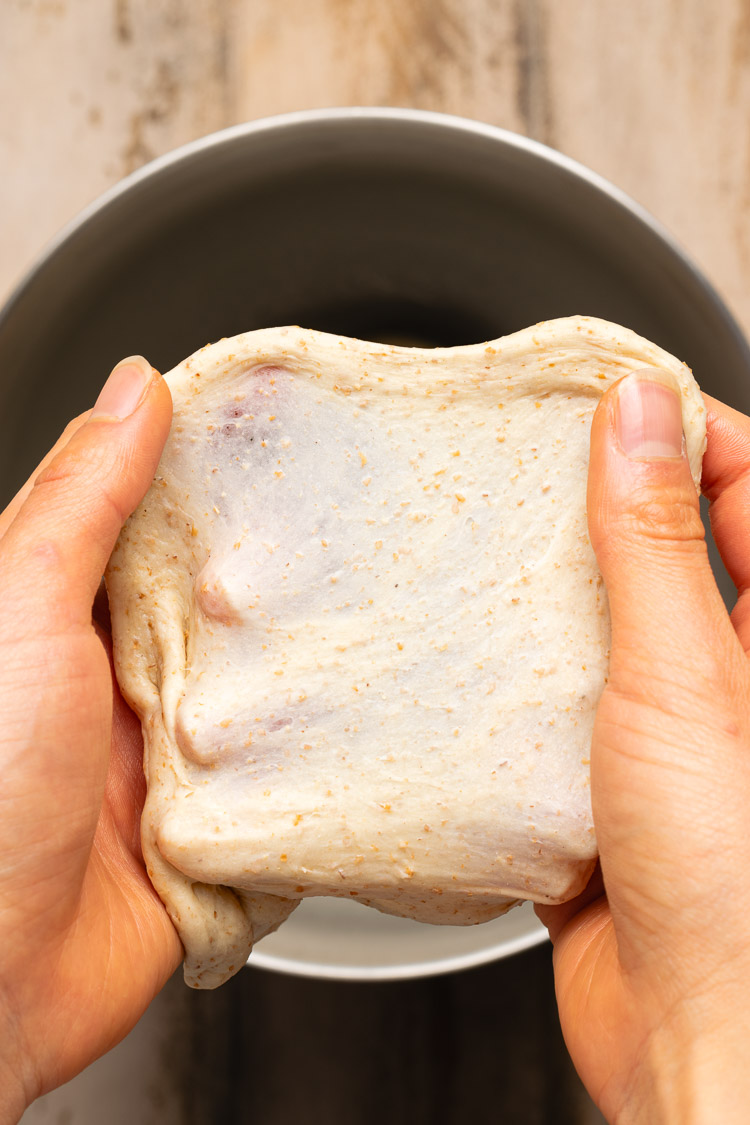
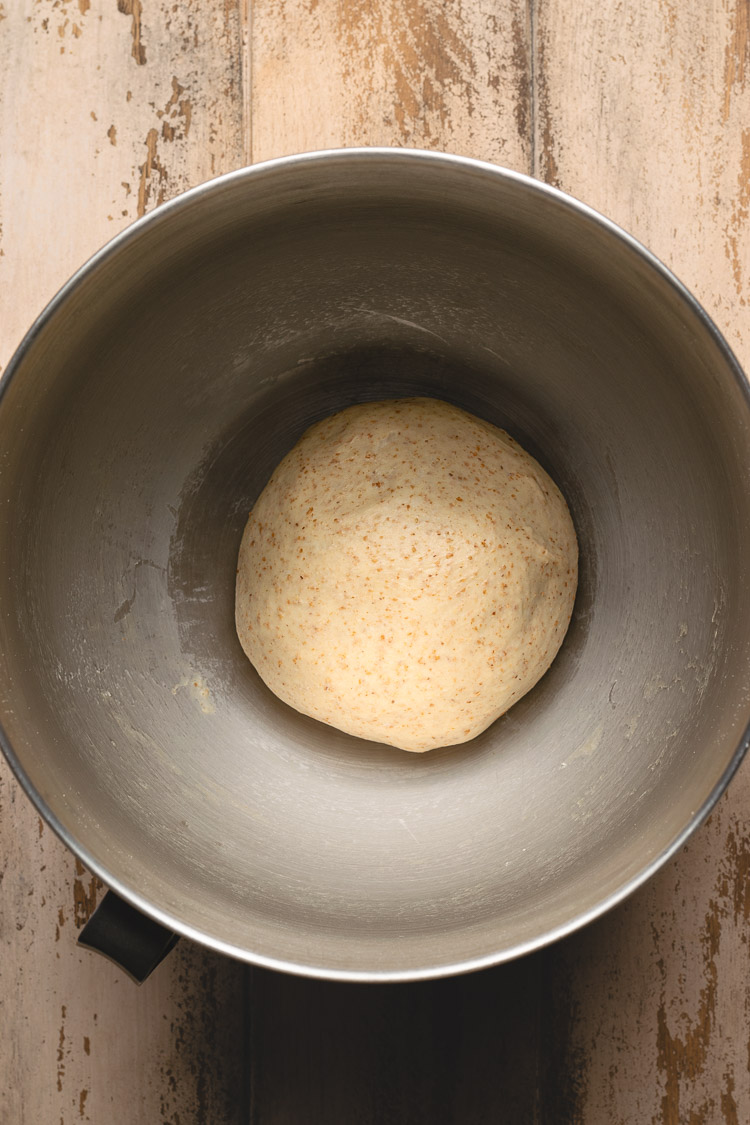
- Knead the dough until it passes the windowpane test.
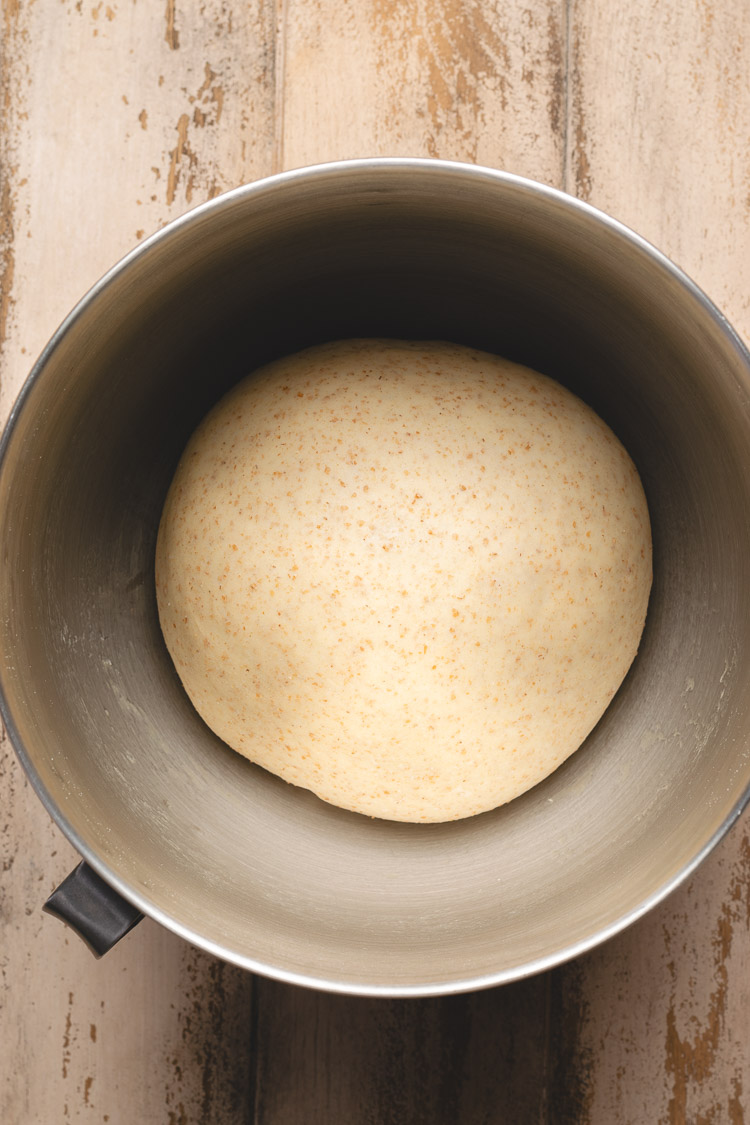
- Proof: Cover and set aside for 1-2 hours until doubled in size.
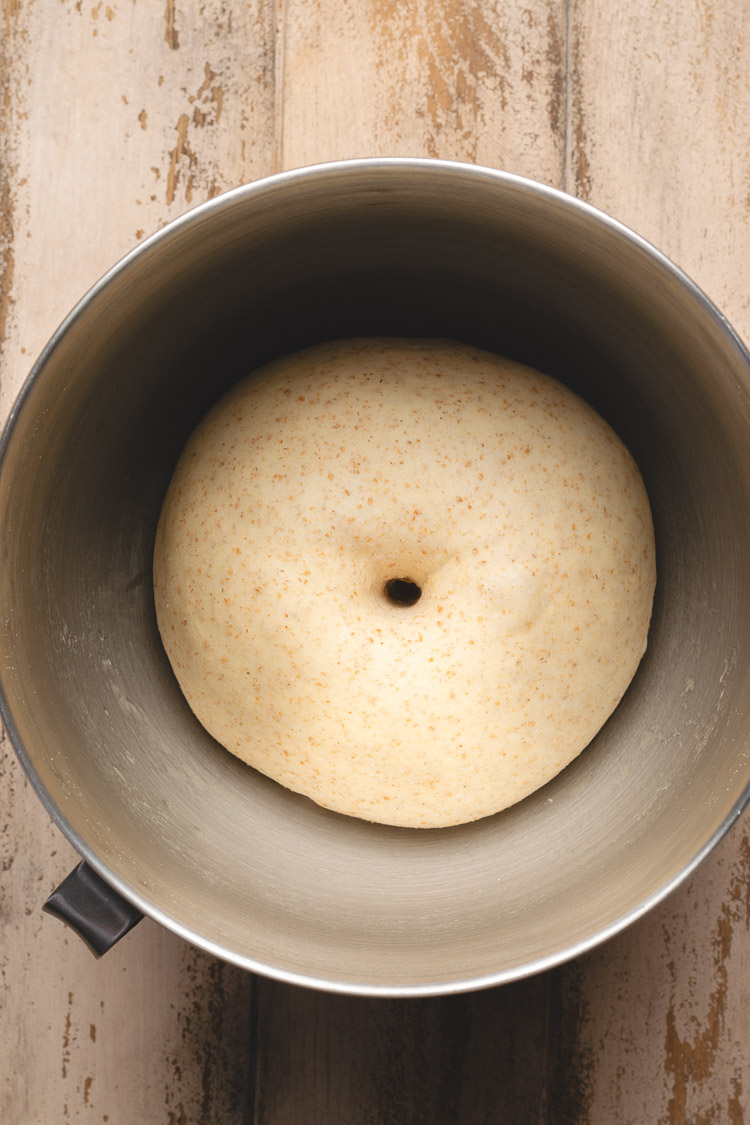
- Test for readiness by poking a hole in the center of the dough with your finger. If it doesn’t close back up, it’s ready for the next step.
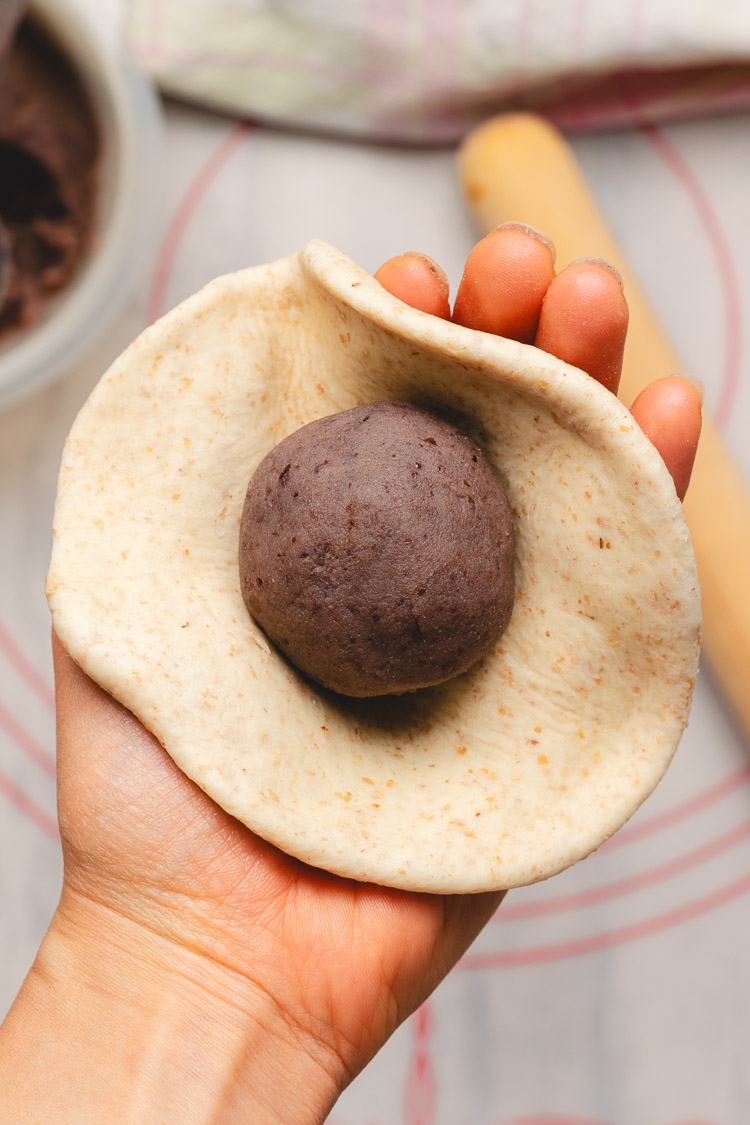
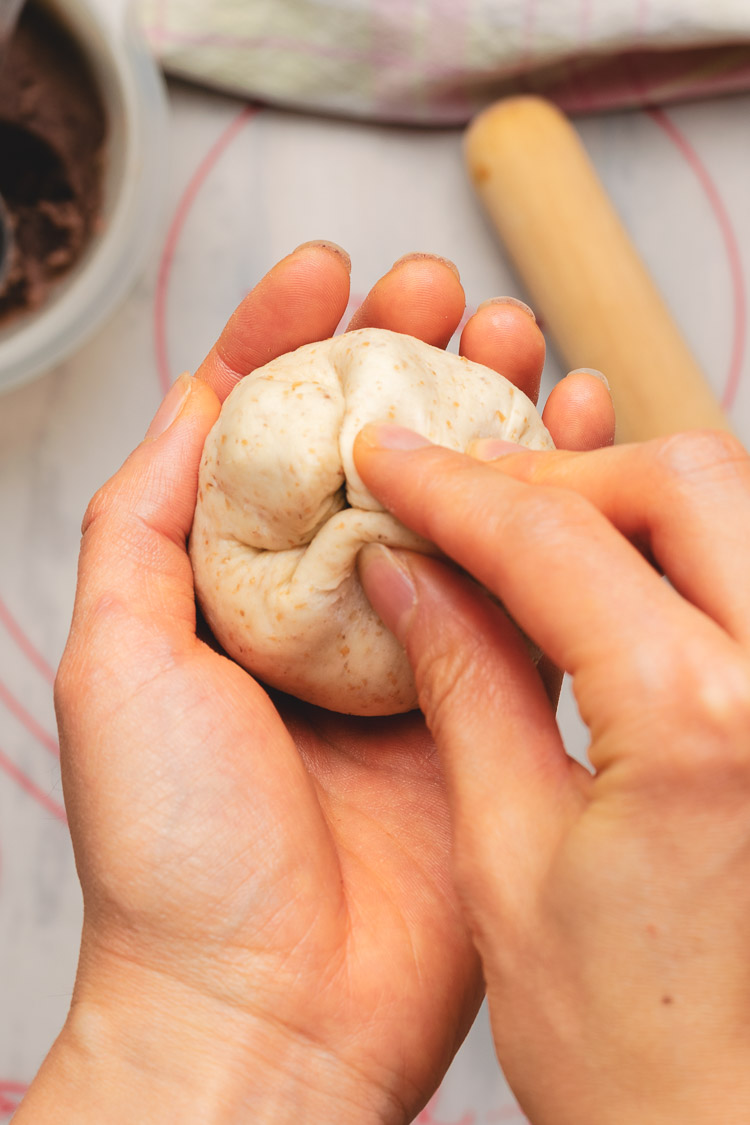
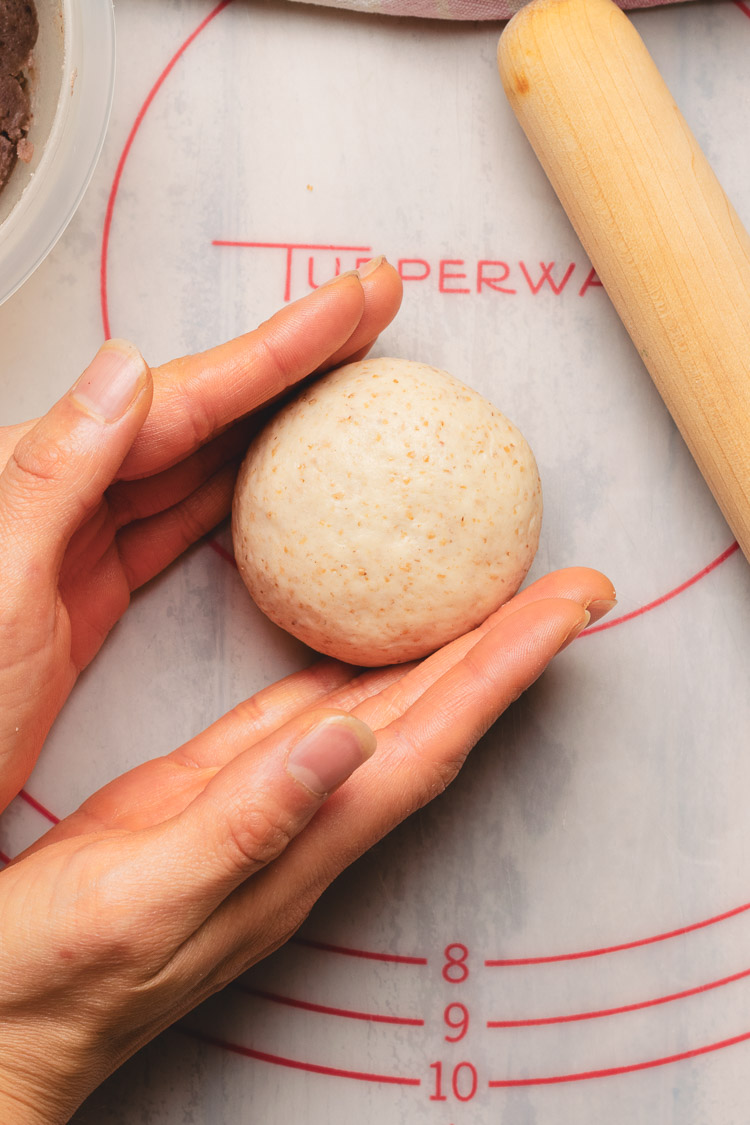
- Divide dough into 8 pieces and roll each piece into a ball. Cover and rest for 15 minutes.
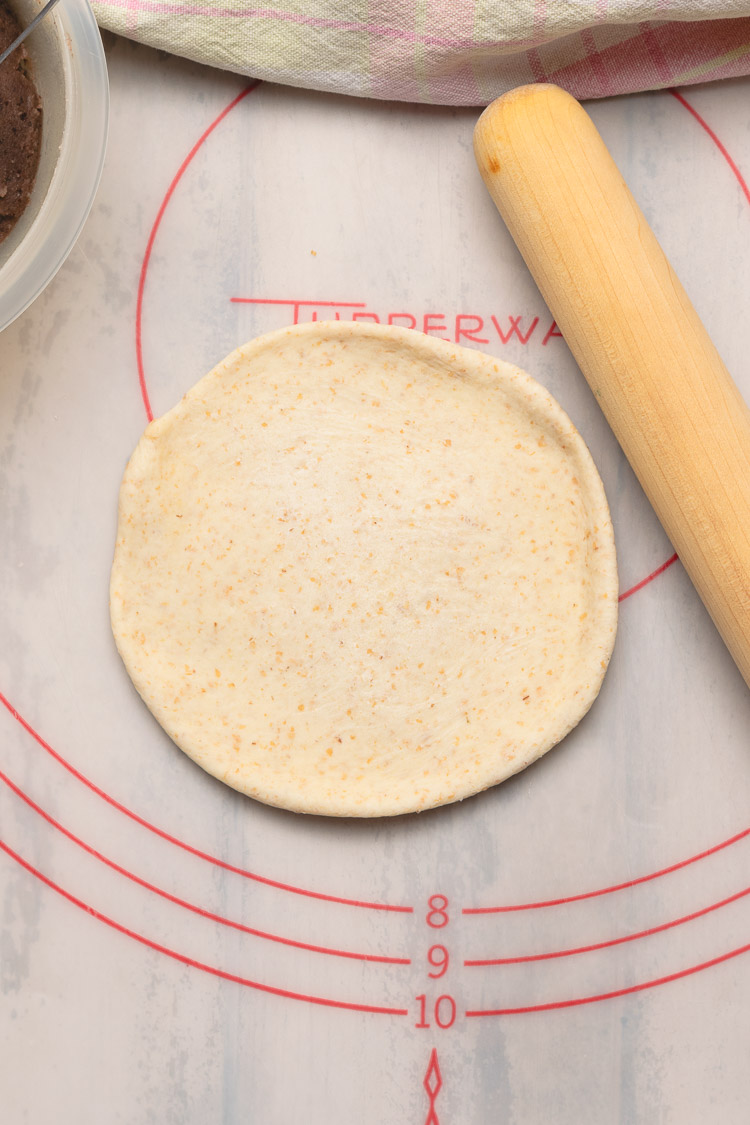
- Roll the dough ball out into a circle.
- Place anko in the center.
- Fold the edges of the dough up to cover the anko and pinch the seams together.
- Shape into a ball and place on a baking sheet.
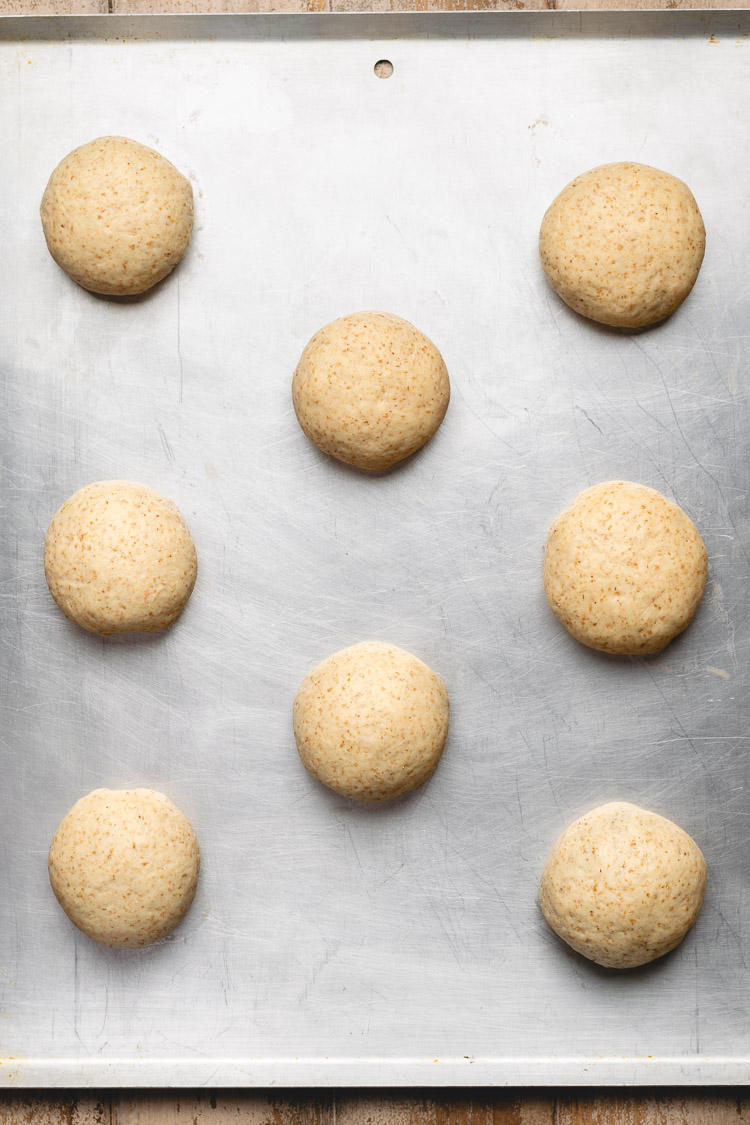
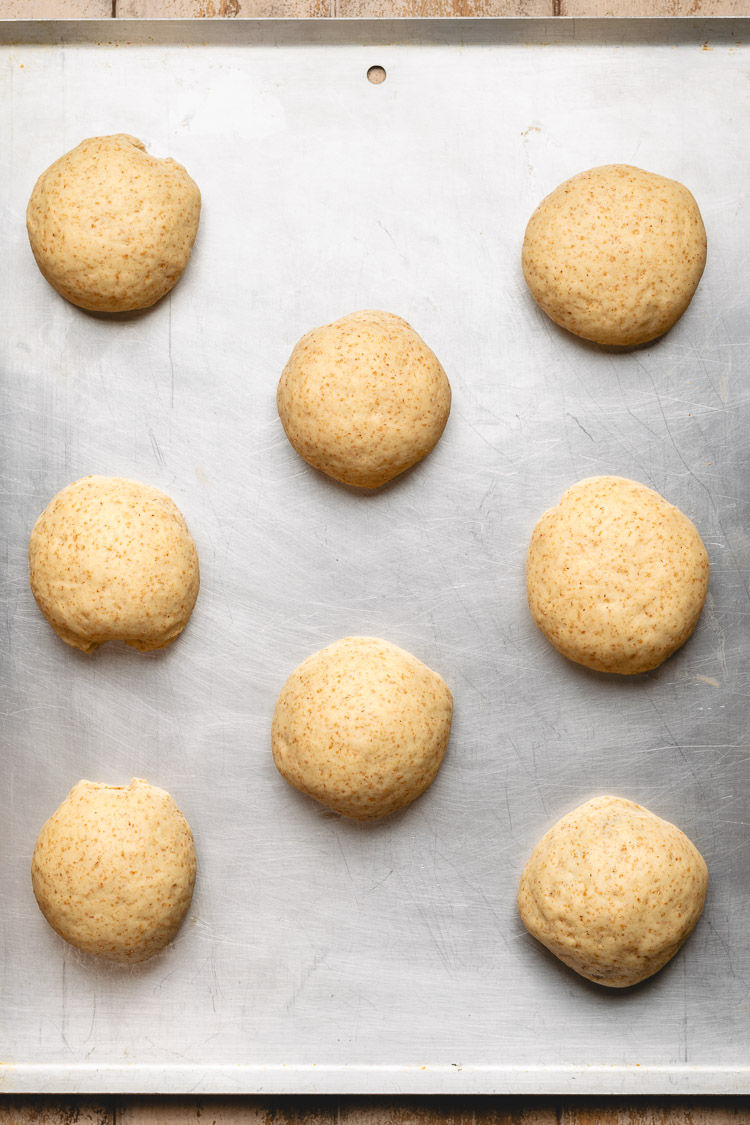
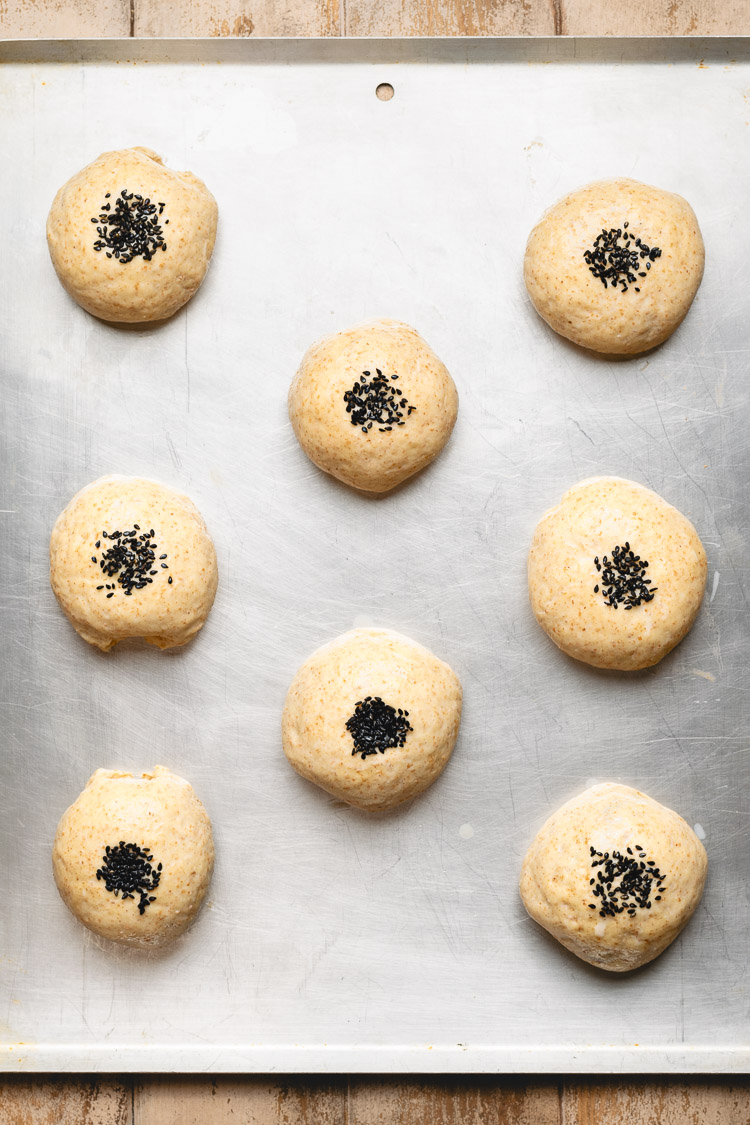
- Cover and let the buns rise for 30-40 minutes.
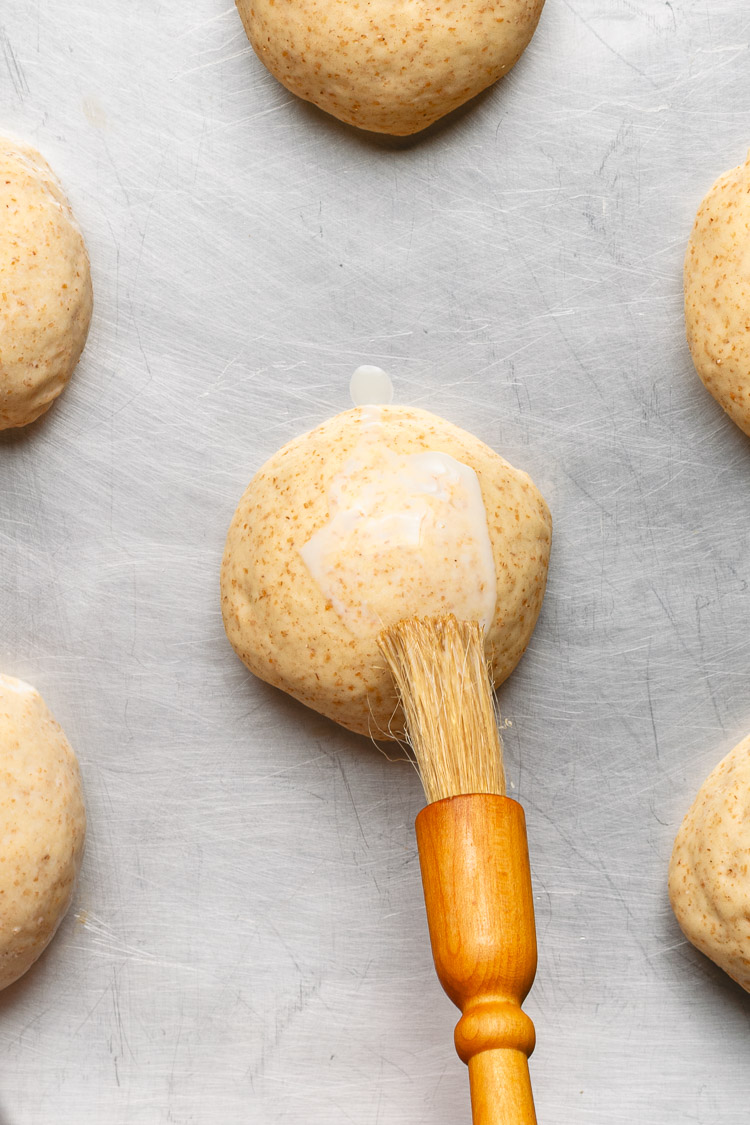
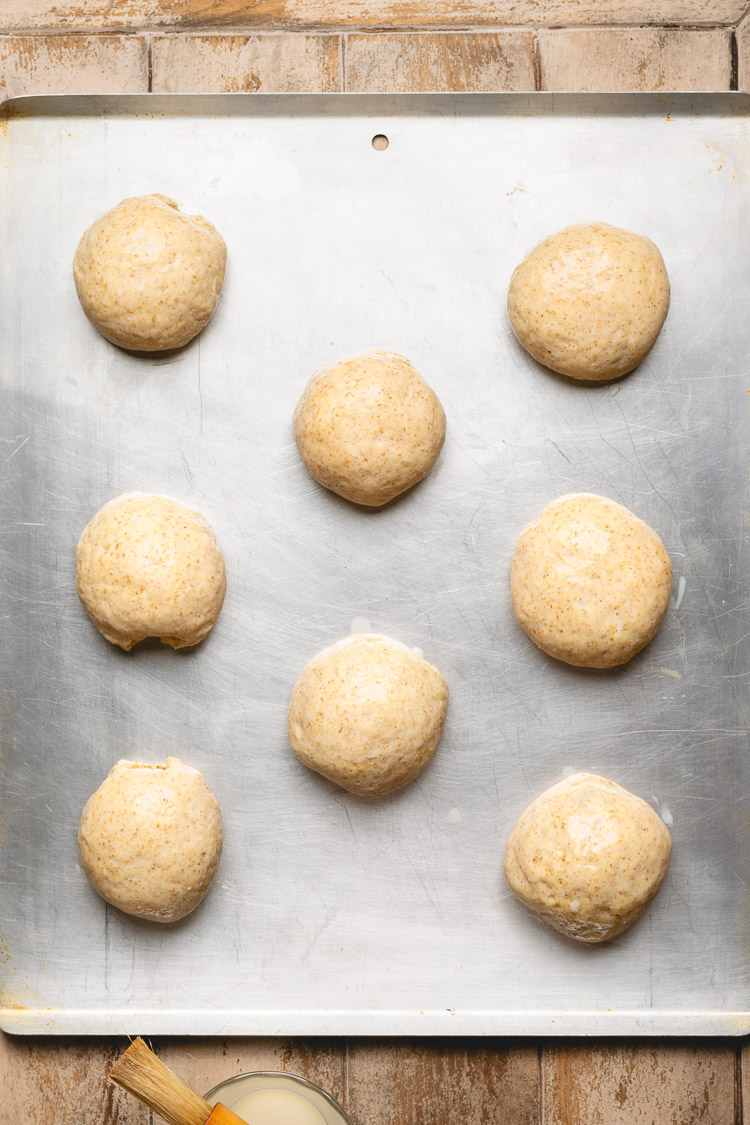
- Brush each bun with soy milk.
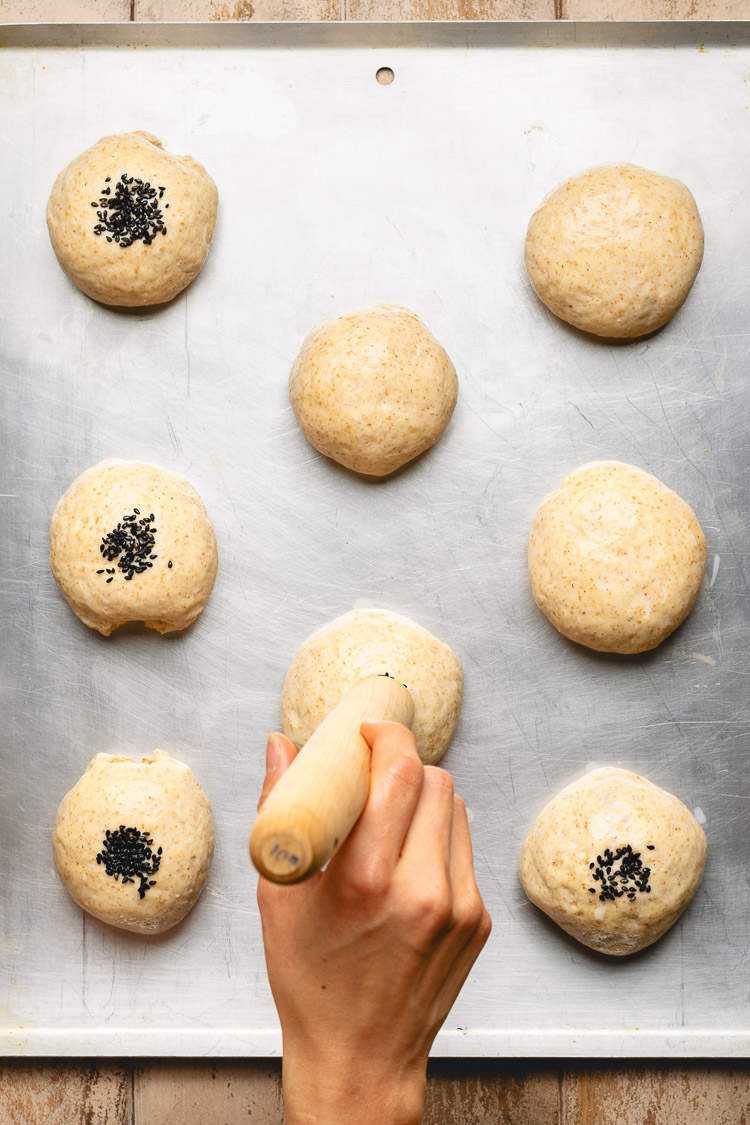
- Stamp the buns with black sesame seeds by dipping the tip of a pestle in soy milk, then sesame seeds, and then the buns.
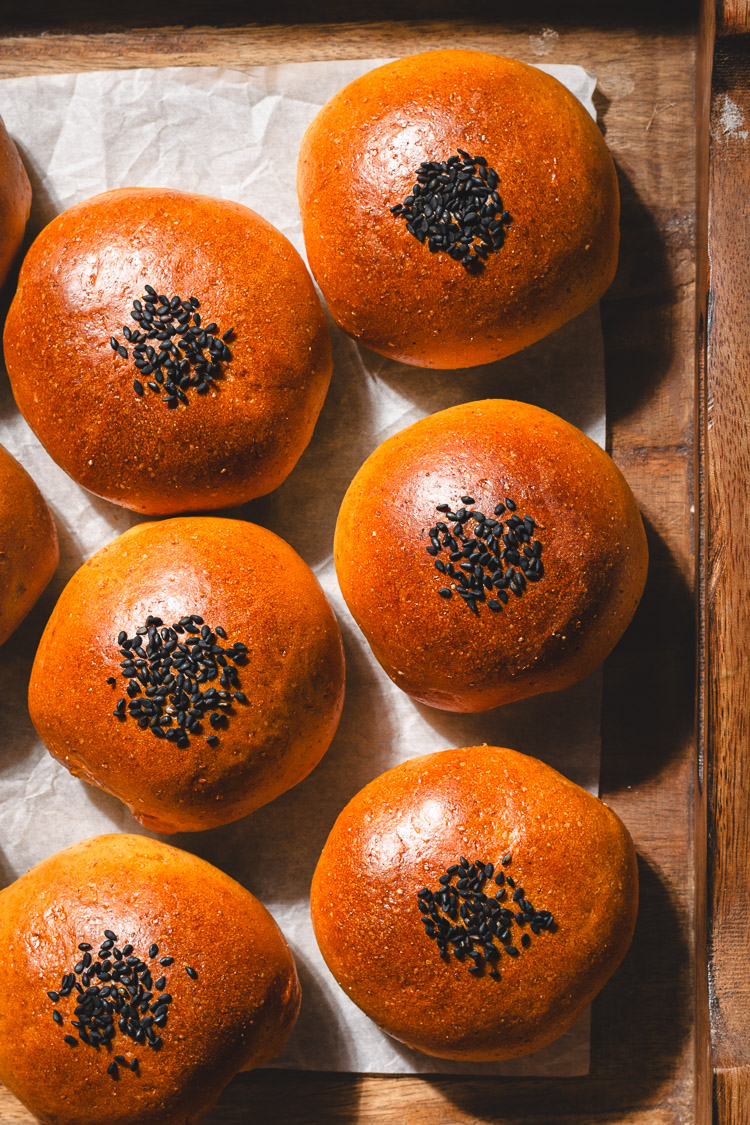
- Bake at 400°F for 13-15 minutes until browned.
Tips for Success
Knead until windowpane ⟶ If you stop kneading before your dough passes the windowpane test, it will rip more easily and the anko may burst out of it during baking.
Tip: If you’re having trouble getting the dough sufficiently kneaded, let it rest for 10 minutes to relax the gluten.
Use a stand mixer ⟶ Kneading the dough with a stand mixer will save you a lot of time and effort. This is a looser dough and will stick to your hands a lot in the beginning if you knead by hand. I use a Kitchen Aid mixer but there are more affordable stand mixers* that should do the trick (be sure you get a dough hook with yours!).
Adjust anko amount as desired ⟶ I like a lot of anko so I use about 2 tbsp. However, if you are new to making anpan you may have trouble at first getting the dough to cover the anko. You can start with 1 tbsp to make the process easier.
Make anko the day before ⟶ If you are making your own anko, prepare it the day before you make the anpan.
Vegan Anpan FAQ
Can I use a different milk?
Yes, you can use another plant-based milk like almond, oat, or cashew.
Can I use oil instead of butter?
Yes though the flavor is better with vegan butter. If you don’t have access to vegan butter, use refined coconut oil for a richer flavor. If you don’t have that either, then you can use a neutral flavored oil.
Can I use active dry yeast?
Yes but you must proof it first. To do this, warm the plant milk to 100°F (do not exceed 110°F or the yeast will die) and add the yeast and a teaspoon of sugar. Mix and then let the mixture sit for 5-10 minutes until it foams and bubbles. Then add the rest of the dough ingredients and continue with the recipe.
Where do I get anko?
You can find anko at Japanese markets (like Mitsuwa, Nijiya, and Tokyo Central for those in the US) usually in a vacuum-sealed bag. It may be refrigerated but not always. Usually during the holiday season they will place it out in the aisles with mochi and other popular holiday ingredients. You may also be able to find canned anko (usually Ogura-an which is chunky). You can also make your own anko from dried adzuki beans!
Why did my bread rip?
Bread will rip easily when the gluten isn’t developed enough. This can happen from not enough kneading or using the wrong flour(s). If you decide to make this bread with the whole wheat flour but not the vital wheat gluten, your bread will rip more easily. Using whole wheat flour also requires extra kneading. Kneading by hand will take longer especially if you are not used to it, which is why I highly recommend using a stand mixer if you can.
More Japanese Pastries & Desserts
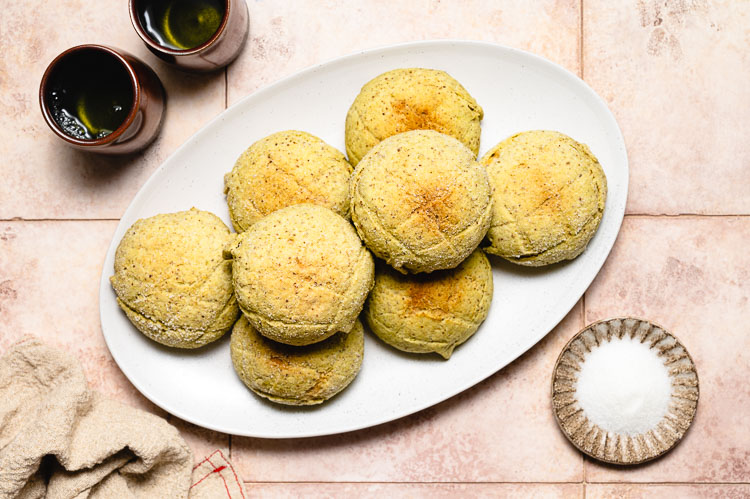
- Vegan Melon Pan
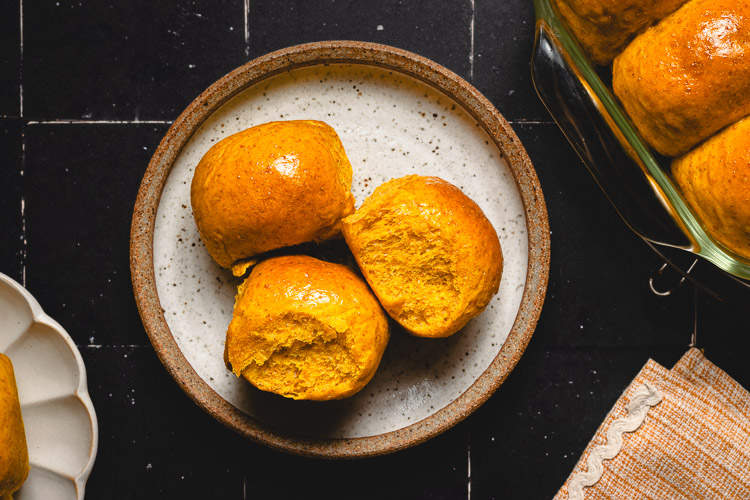
- Vegan Pumpkin Melon Pan
- Sweet Potato Mochi Cake
- Japanese-Style Strawberry Chocolate Parfait
- Vegan Tofu Purin
If you make this vegan anpan, don’t forget to leave a comment/rating down below and tag me in your photos on instagram @ellielikes.cooking. I love seeing all of your tasty recreations!
Vegan Anpan | ビーガンあんパン
Ingredients
- 165 ml soy milk**1
- 2 tbsp (24 grams) sugar
- 1½ cups (180 grams)
bread flour* - ½ cup (60 grams) whole wheat flour**1
- ½ tsp
vital wheat gluten**1 - ¼+⅛ tsp (2 grams) salt**2
- 1 tsp (3 grams)
instant yeast* - 2 tbsp + 1 tsp (30 grams) salted vegan butter**2 cut into small cubes
- 1 cup anko (sweet red bean paste)
Topping
- ¼ cup soy milk
- 2 tsp black sesame seeds
Instructions
Make Dough (Stand Mixer)
- Add milk and sugar to the bowl of your stand mixer. Add bread flour, wheat flour, and vital wheat gluten on top. Add salt to one side of the bowl and instant yeast to the other side.
- Attach a dough hook to your stand mixer. Turn it on at low speed to combine the ingredients, then gradually increase speed to medium as the dough comes together. Knead on medium for about 5 minutes. The dough should come together into a ball and loose some of its stickiness. Turn off the stand mixer, cover with a towel, and let the dough rest for 10 minutes.
- Turn the mixer back on at low speed and gradually add in the butter pieces. Increase the speed to medium as the butter gets incorporated into the dough. Continue kneading on medium speed (4-5) for about 10-15 minutes. You can stop to scrape down the dough every 5 minutes or so if needed.
Make Dough (By Hand)
- Clean a work surface or set out a large pastry mat and lightly dust with bread flour.
- Whisk together flours, vital wheat gluten, sugar, salt, and yeast. Pour in soy milk and use a wooden spoon to mix until a dough starts to form. Gather the dough into a loose ball and transfer to your work surface.
- Knead the dough for 5-10 minutes until a tight dough forms and it looses some of its stickiness. If the dough is too sticky, you can sprinkle some flour on top but try not to add too much flour or your bread will turn out dense. Dough will stick to your hands during kneading but just keep kneading! Cover and let the dough rest for 10 minutes.
- Stretch the dough out into a long rectangle and add the butter pieces on top. Roll up the dough and continue kneading. It will be very messy and greasy at first but keep going! After a couple minutes the dough will become smooth and easier to work with.
- Continue kneading for another 10-15 minutes.
Windowpane Test
- Use the windowpane test**3 to check if the dough is sufficiently kneaded. Tear off a small piece of dough and gently stretch it into a square, pulling at the four corners. You should be able to stretch the dough out into a very thin membrane that light can pass through. If the dough tears easily, it needs to be kneaded longer.
First Rise
- Shape the dough into a ball and place in a large bowl (you can use the bowl of your stand mixer). Cover with a towel or plastic wrap and set on the counter to rise for 1-2 hours until doubled in size.
- To test if the dough is ready, use your finger to poke a hole in the center of the dough. If the hole doesn't close up, it's ready.
Divide Dough
- Punch down the dough and transfer to your work surface. Shape into a ball, then use a dough scraper to divide into 8 pieces.
- Shape each piece into a ball. Place on your work surface with some space between each ball. Cover and rest for 15 minutes.
Fill Dough
- Divide anko into 8 pieces (about 2 tbsp each) and roll into balls.
- Take one dough ball and flatten it with the palm of your hand. Roll out into a circle (but not too thin) and place anko in the center. Pull the sides of the dough up to the center of the anko to cover it. Pinch the seams closed.
- Place seam side down on your work surface and use your hands to gently shape back into a ball while rotating the dough. Place on a baking sheet (keeping at least 2 inches of space between each dough ball) and cover with a towel or plastic wrap. Repeat for remaining dough.
Second Rise
- Cover the dough and set aside to rise for 30-40 minutes until doubled in size.
- When the dough has risen a little over halfway (after about 20 minutes), preheat oven to 400°F/200°C (or 375°F/185°C for convection oven).
Bake
- Add the toppings: Add soy milk to a small bowl and 2 tsp black sesame seeds to another bowl. Brush each dough ball with soy milk. Dip the tip of a small pestle in the soy milk, then the sesame seeds, and then stamp the sesame seeds onto the center of the dough.
- Bake for 13-15 minutes until nicely browned. Leave on the baking sheet for 3 minutes, then transfer buns to a wire rack to cool. You can serve them warm or at room temperature, but let them cool at least 15 minutes to allow the bread structure to firm up.
Store
- Store leftovers in an airtight container at room temperature for 2 days, or cool completely then freeze in freezer bags (you can cut them in half to make them easier to reheat, but the bread may dry out a bit).
- To reheat, you can let the anpan thaw at room temperature for a few hours or microwave in 20 second intervals (be sure to check if the anko inside is thawed!). Then you can eat as is or pop them in an air fryer/toaster oven for 1-2 minutes to crisp up the outside.
Notes

*Disclosure: This page may contain affiliate links. As an Amazon Associate I earn from qualifying purchases, but the price remains the same to you. Thank you for supporting Ellie Likes Cooking!
Save for later!
