Vegan Pumpkin Pie
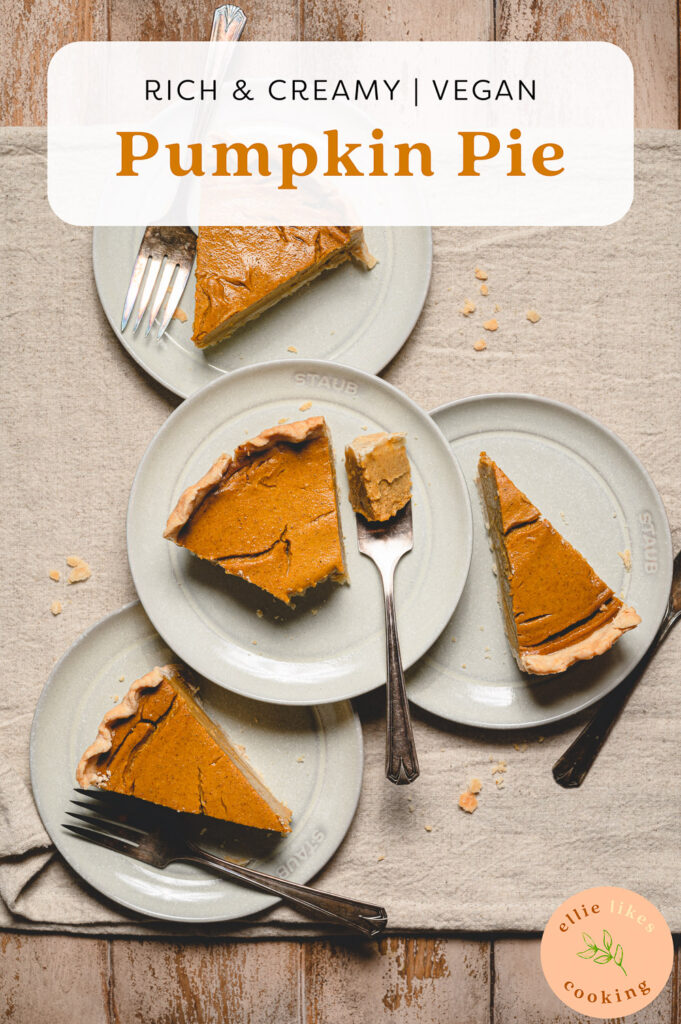
Rich, creamy, perfectly spiced vegan pumpkin pie with a flakey crust! Coconut, egg, and dairy-free but filled with cozy fall flavor.
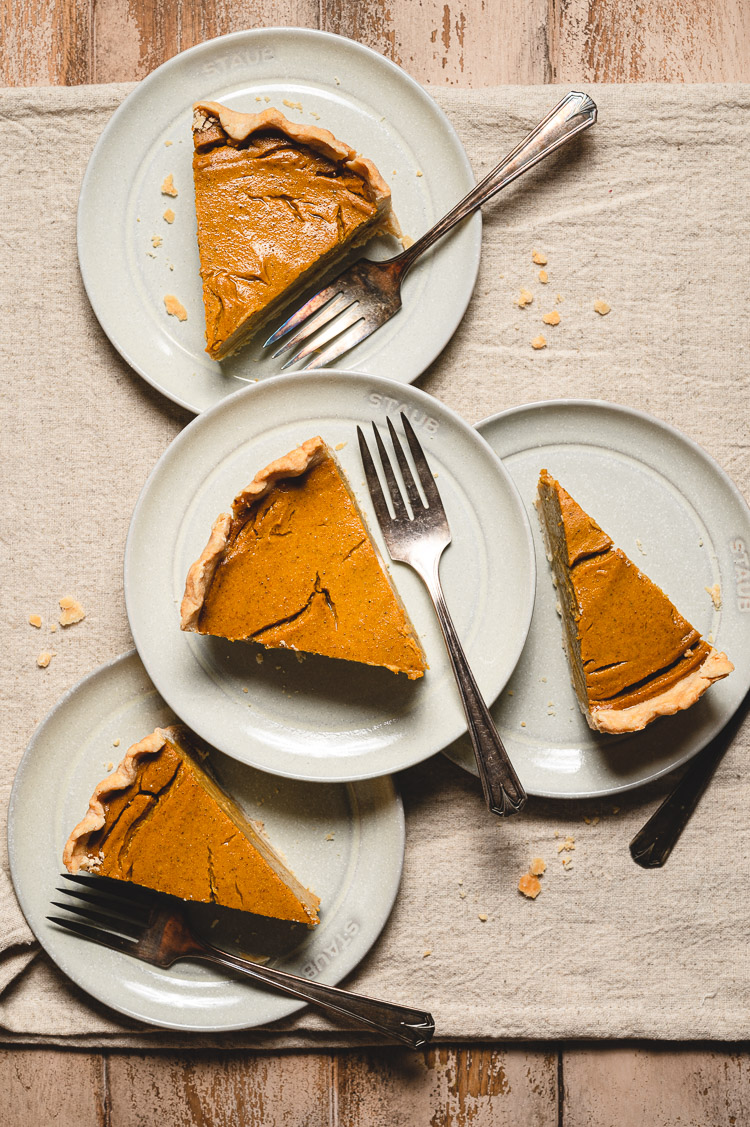
Pumpkin pie is my favorite fall treat and something I look forward to every holiday season. The first time I made pumpkin pie was junior year of university – I prepped most of our Thanksgiving dinner that year (basically everything except the turkey). I was newly vegan and my cooking skills weren’t the best, but I was so excited (and nervous) to prepare a mini plant-forward feast for my family. I made vegan shepherd’s pie, stuffing, green beans, mashed potatoes, and of course pumpkin pie! It was only the second time I had ever made my own pie crust (the first being about 3 days before when I did a practice round), and I was super anxious about the crust being too hard, the filling not setting, the filling not tasting good, etc. But it actually turned out really tasty! The one comment I got was “it’s a bit coconut-y”, once I told them I used coconut milk in place of dairy. That’s the one problem I have with most vegan pumpkin pies – they rely on coconut milk/cream to make the filling thick and creamy. So I set out to make a vegan pumpkin pie that doesn’t use coconut. Instead, we’re using tofu and cashews!
Vegan Pumpkin Pie FAQ
Can I substitute pumpkin pie spice?
If you don’t have pumpkin pie spice, you can make a quick substitute using 1 ¼ tsp cinnamon + ¾ tsp nutmeg/cloves/ginger/all spice. You can mix and match the nutmeg, cloves, ginger, and all spice but keep the cinnamon.
How do I par-bake pie crust?
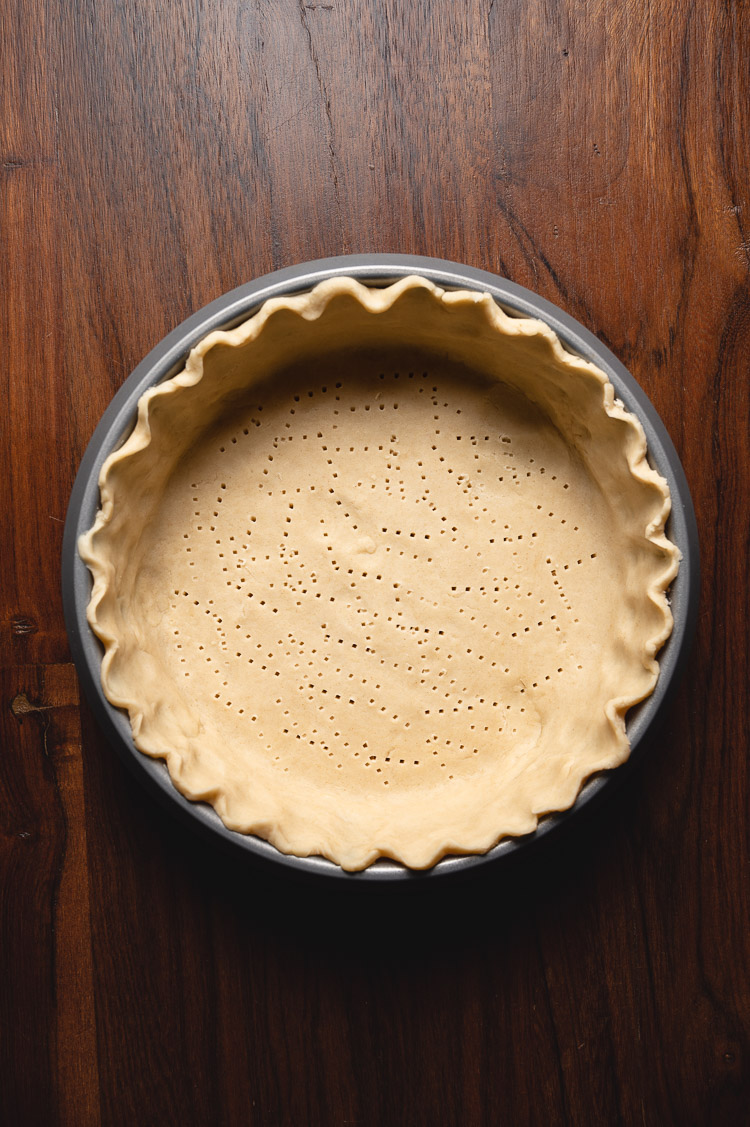
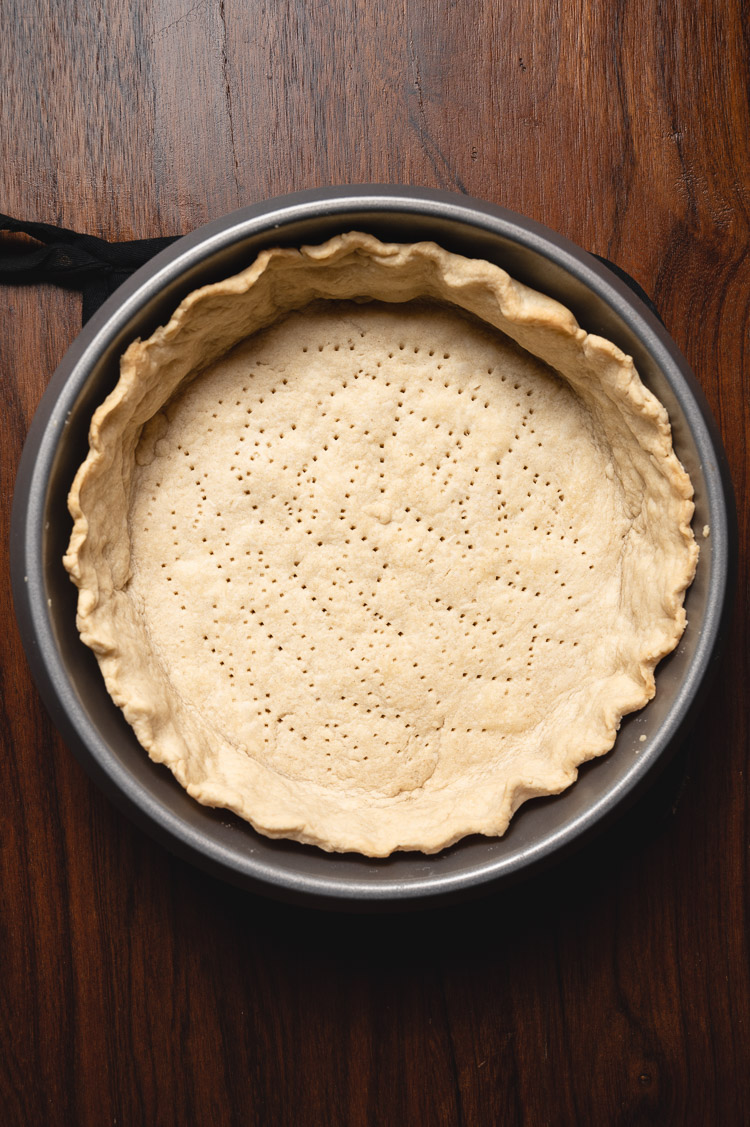
Typically, pie weights are recommended to prevent the crust from shrinking. If you don’t have pie weights you can also use dried beans or even sugar.
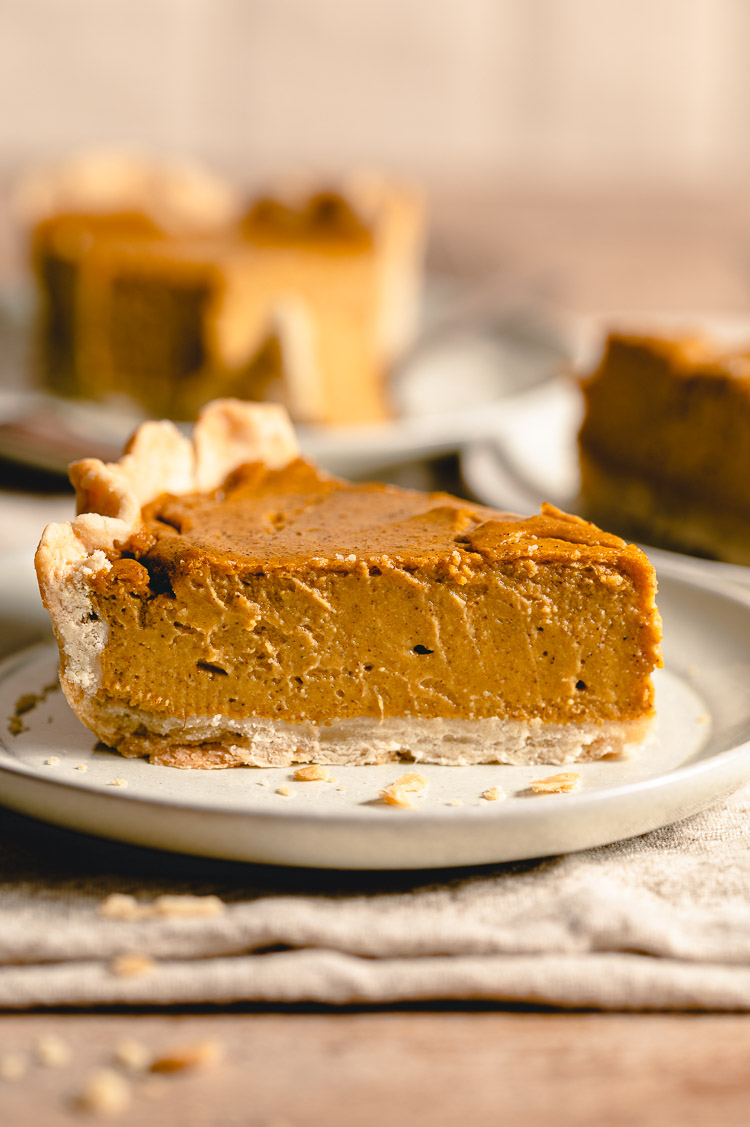
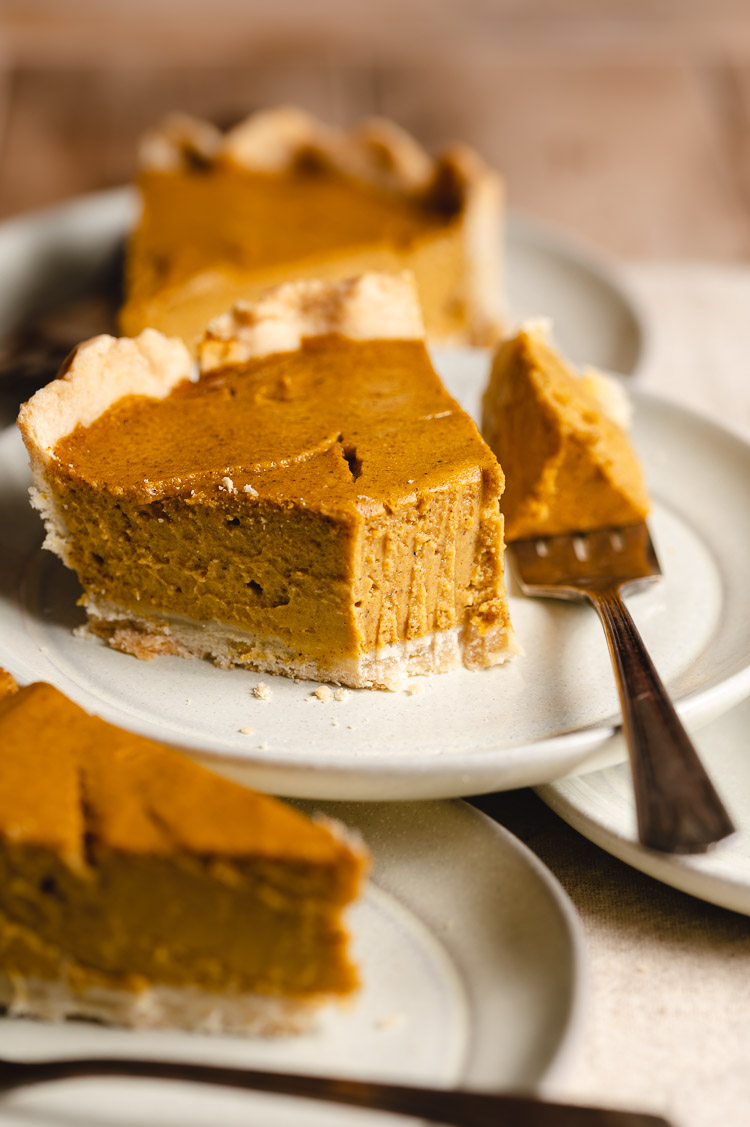
However, I’m lazy and don’t mind a bit of crust shrinkage, so I usually just poke holes in the crust (as you can see in the photos). Don’t forget to poke holes in the side crust too (you can see in the photos above I forgot, so the side crust is more puffed up). It may not look as nice as a full, tall pie crust, but honestly it’s just as delicious and most people won’t notice 😉
Can I substitute the cashews?
I haven’t tested these options but think these should work: neutral-flavored nut/seed butter (same amount in grams) such as almond butter, cashew butter, walnut butter, or sunflower seed butter. Or soaked raw sunflower seeds.
Tips for Success
Use soft/silken tofu, NOT firm ⟶ Silken tofu and Japanese soft tofu will produce a deliciously smooth, creamy texture. Firm tofu could work in a pinch, but the texture will be thicker and not as smooth. If using firm tofu, you will need to add some plant milk to help the cashews blend.
Soak cashews ⟶ Depending on how powerful your food processor/blender is, you may end up with tiny chunks of cashews in your filling. But don’t worry, you don’t taste them in the finished pie!
Switch up the pumpkin puree for your favorite squash/sweet potato ⟶ My favorites are kabocha and Japanese satsumaimo (sweet potato). Butternut squash would probably be delicious as well — just keep in mind you may need to add a little extra cornstarch (or blot out some of the moisture) depending on how watery your squash is.
Use your favorite crust ⟶ A graham cracker crust would be delicious as well! Or you can even go crustless.
More Holiday Baking Inspo!
- Pumpkin Melon Pan
- Apple Coffee Cake
- Whole Grain Pumpkin Muffins
- Sweet Potato Mochi Cake (GF)
- Healthier Persimmon Snickerdoodles (GF)
- Pumpkin Snickerdoodles (GF)
- Easy Vegan Snickerdoodles
If you make this vegan pumkin pie, don’t forget to leave a comment/rating down below and tag me in your photos on instagram @ellielikes.cooking. I love seeing all of your tasty recreations!
Vegan Pumpkin Pie
Ingredients
- 425 grams pumpkin puree 1 15oz can, about 2 cups
- 30 grams (¼ cup) raw cashews soaked in hot water for 10 minutes
- 226 grams silken tofu
- ¾ cup non-dairy milk
- 80 grams (7 tbsp) brown sugar or a mix of brown and granulated sugar
- 1 tsp vanilla extract
- 2 tsp pumpkin pie spice1
- 25 grams (3 tbsp) cornstarch
- 1 vegan pie crust
Pie Crust
- 1 ½ cups (180g) all purpose flour
- ½ tsp salt omit if butter is salted
- 1 tsp sugar
- ½ cup (104g) cold vegan butter diced
- 3 tbsp ice water
Instructions
Pie Crust
- Mix together flour, salt, and sugar.
- Add cold diced butter and use a pastry cutter, fork, or your hands to mix everything together into a sand-like consistency. If using your hands, pinch the butter into the flour.
- Add water 1 tablespoon at a time until the dough just comes together. Use your fingers to gently mix the dough as you add the water. You should be able to take a handful of dough and clump it together without it falling apart.
- Gather the dough into a big ball. Cover and chill in the fridge for 1-2 hours.
Pie
- Par-bake crust: Roll out the dough and press it into a 9-inch pie pan. Place in the fridge for 30 minutes to chill the dough (if you're in a rush, you can place it in the freezer for 5 minutes, but don't leave it too long or the dough can get too cold and crack during baking).
- Preheat oven to 375°F.
- Remove the pie pan from the freezer. Place a sheet of parchment paper on top and add pie weights or dried beans2. Bake for 15 minutes, then remove the pie weights and parchment paper and bake for another 5 minutes or until starting to brown. Set the crust aside while you prepare the filling.
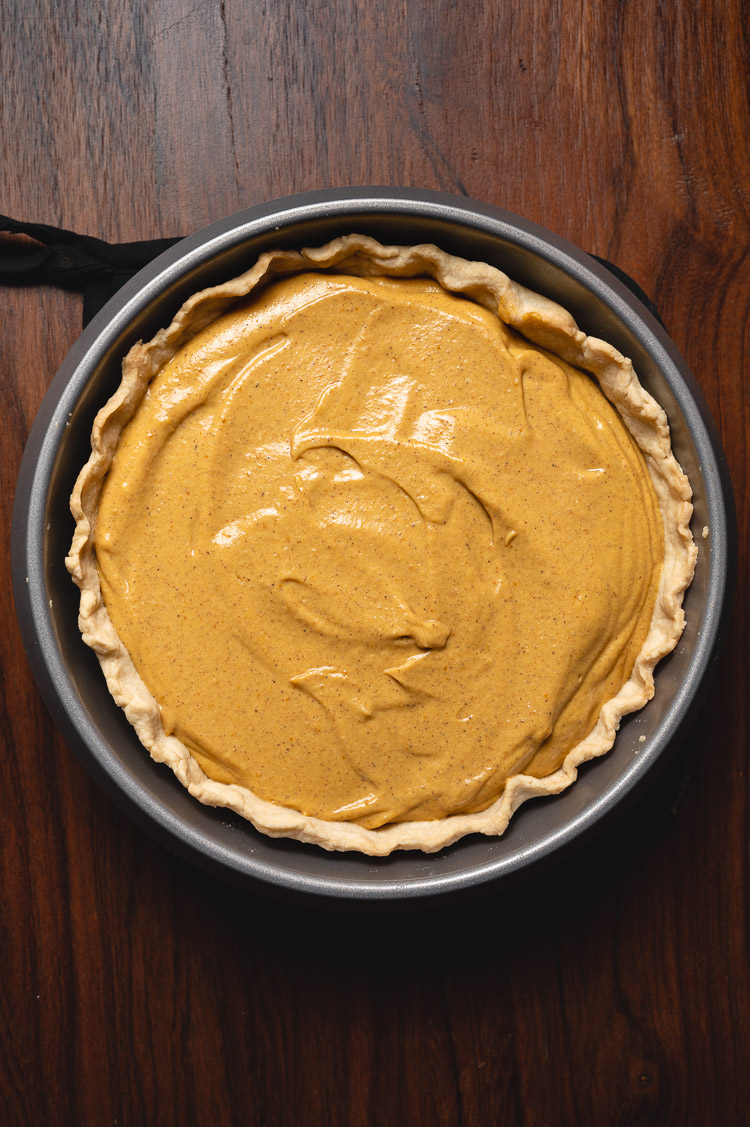
- Make filling: Add pumpkin puree, cashews, tofu, and milk to a high powdered blender and blend until smooth. Add remaining ingredients and blend again to combine.
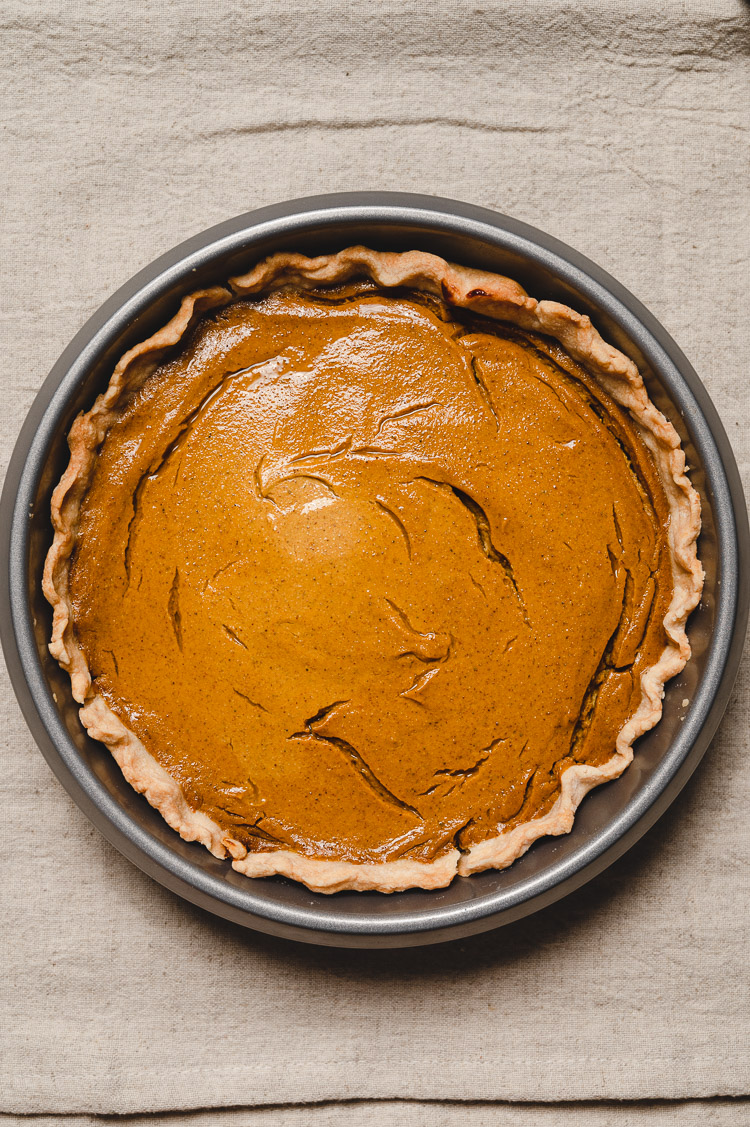
- Add filling to the pre-baked crust and smooth out the top. Reduce oven temp to 350°F. Transfer the pie to oven and bake 45-60 minutes until the center is just set (it should jiggle slightly). Check around 30 minutes to see if the crust is browning too much – if so, cover the edges with aluminum foil or a pie shield.
- Turn oven off and leave the pie in the oven for 30 minutes with the door slightly ajar (this helps prevent further cracking), then place on a wire rack to cool to room temperature. Cover and place in the refrigerator for at least 1 hour to firm up. Serve chilled.
Notes

*Disclosure: This page may contain affiliate links. As an Amazon Associate I earn from qualifying purchases, but the price remains the same to you. Thank you for supporting Ellie Likes Cooking!
Save for later!
