No-Bake Chocolate Peanut Butter Pie (Vegan, Gluten-Free)
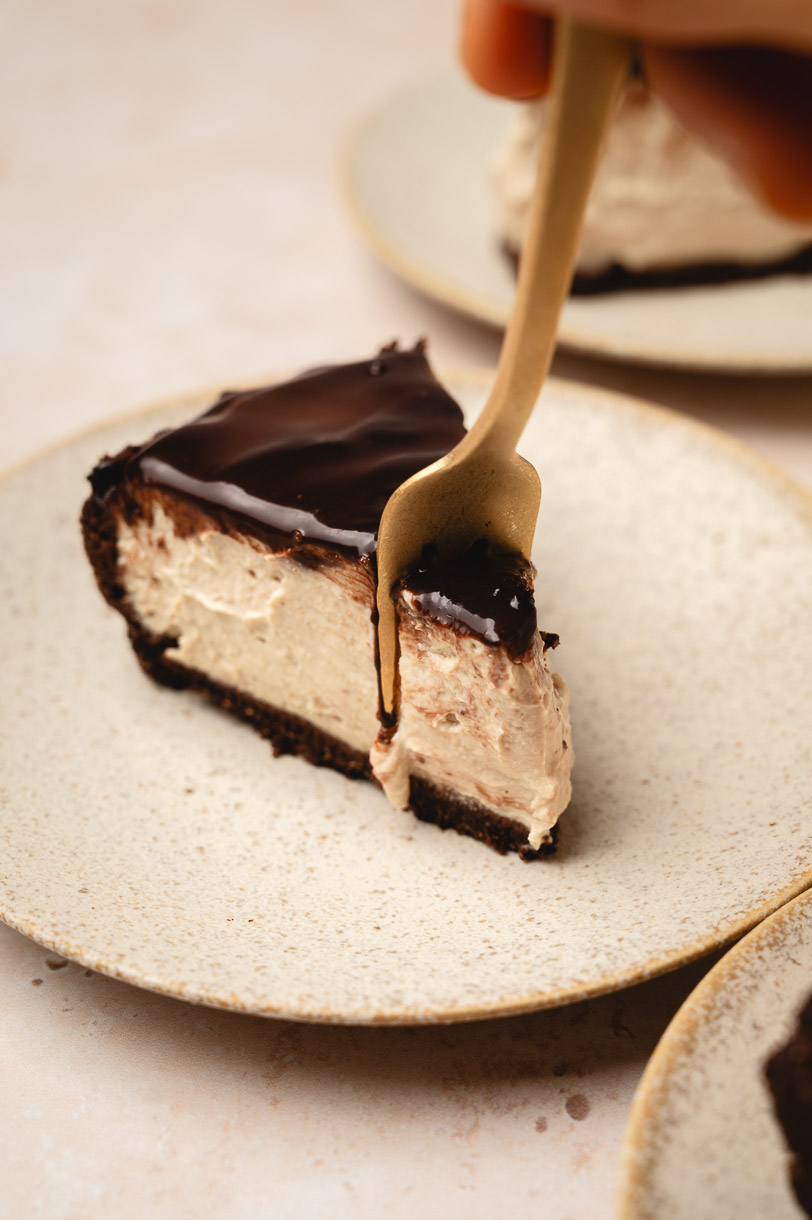
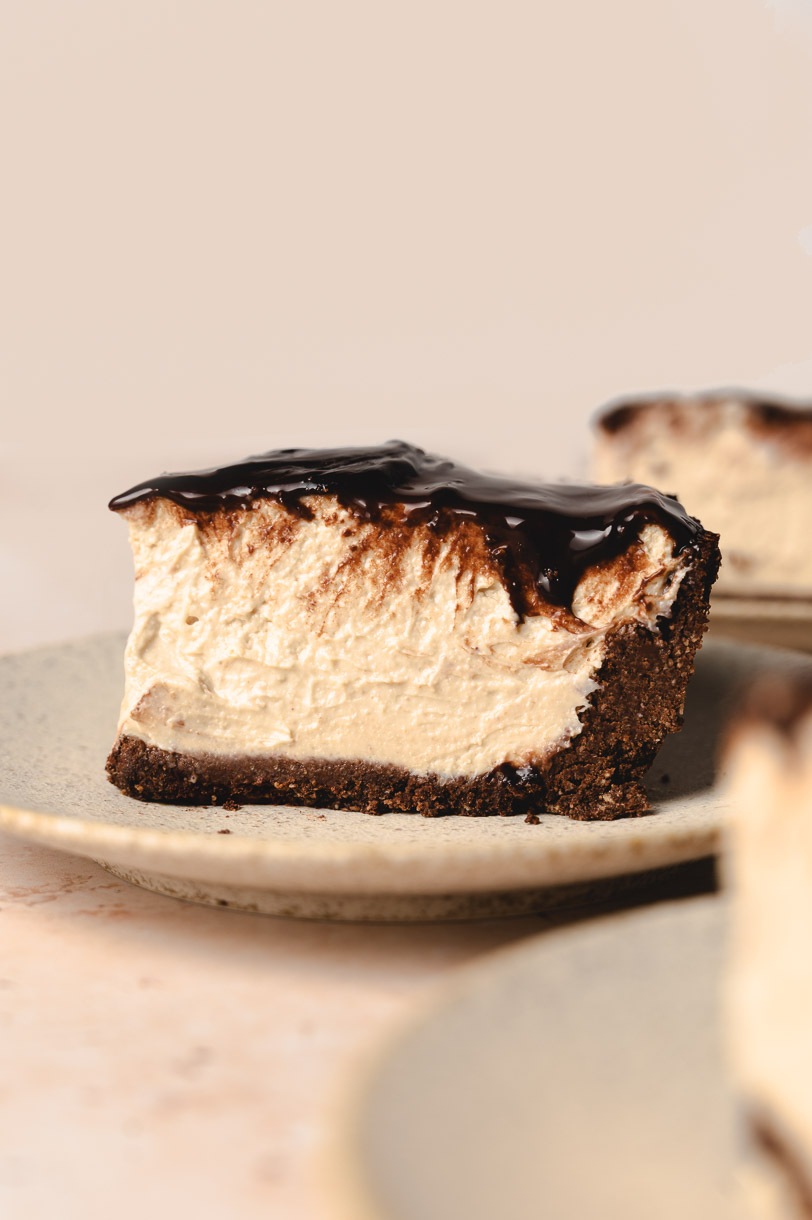
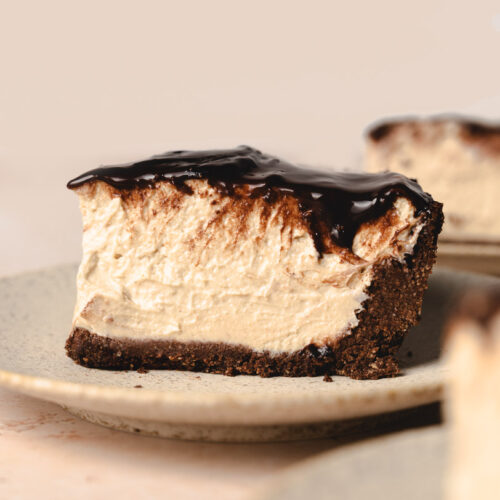
This no-bake chocolate peanut butter pie has a chocolate oat crust, creamy peanut butter mousse, and dairy-free chocolate ganache.

Why We Love This Chocolate Peanut Butter Pie
- No Bake: When it’s too hot to turn on the oven, or you just want to save on your energy bill, no-bake treats are the way to go! This no bake pie is so easy to make – the hardest part is letting it set in the fridge for a few hours.
- Creamy and Indulgent: The peanut butter filling is creamy, fluffy, and not too sweet. It’s a delicious textural contrast to the crumbly, cookie-like chocolate crust.
- High Protein + Wholesome Ingredients: Instead of coconut cream, I opted for tofu to create a creamy, thick filling that makes this pie higher in protein and extra satiating. We’re also making a crust from oat flour and cocoa powder instead of chocolate cookies/Oreos.
- Dairy-Free and Gluten-Free: While not nut-free or soy-free, this is a great dessert for those with dairy and gluten sensitivities.

Key Ingredients
- Silken + Extra Firm Tofu ⟶ I find a combination of silken and extra firm tofu produces a silky, smooth texture without it being too thin.
- Peanut Butter ⟶ I use peanut butter made with just peanuts, no salt or sugar, but use what you have. Even Skippy or Jif should work.
- Oat Flour + Cocoa Powder ⟶ For the no-bake chocolate crust with an almost cookie-like texture. For even more flavor, toast the oats first!
- Maple Syrup + Brown Sugar ⟶ Maple syrup in the crust to help hold it together, and brown sugar in the filling for sweetness. I opted for brown sugar instead of maple syrup for the filling since maple syrup has a higher moisture content which would make the filling thinner. You can also use regular granulated sugar, but I like the slight caramel flavor that brown sugar adds.
- Chocolate Chips + Non-Dairy Milk ⟶ For a smooth, creamy chocolate ganache topping. Ideally for ganache you want to use a high fat milk like coconut milk, but I didn’t want to open a can just for half a tablespoon. Soy milk works great for this though! You can also try full fat oat milk, but don’t use store-bought almond or cashew milk since these are very watered down.

How to Make (Overview)
Here is a quick overview for how to make this pie. For the full instructions, see the recipe card below.
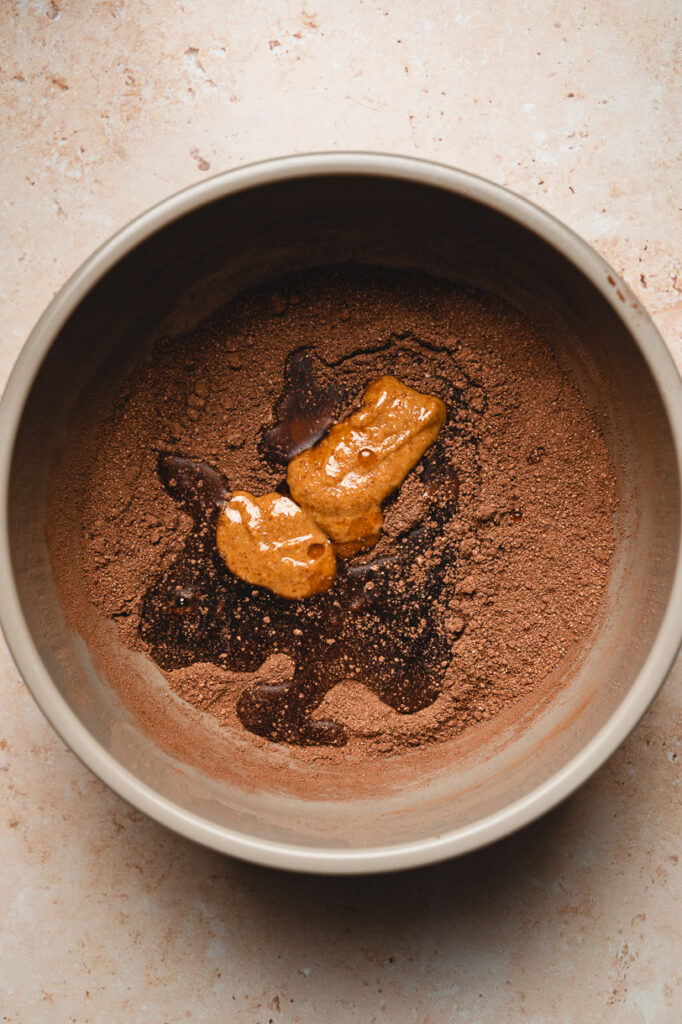
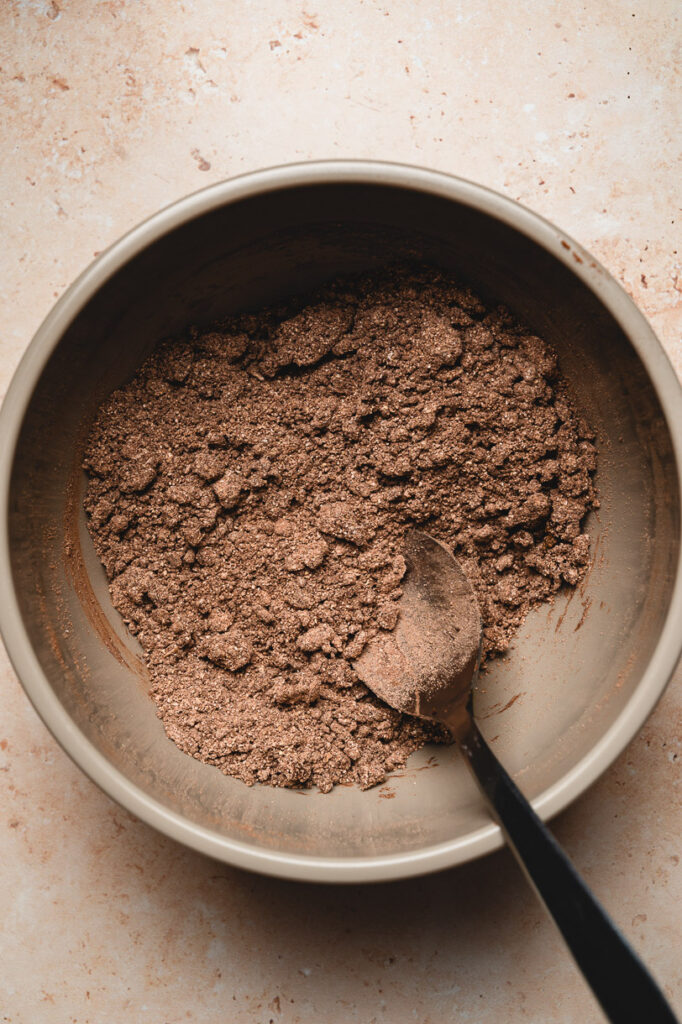
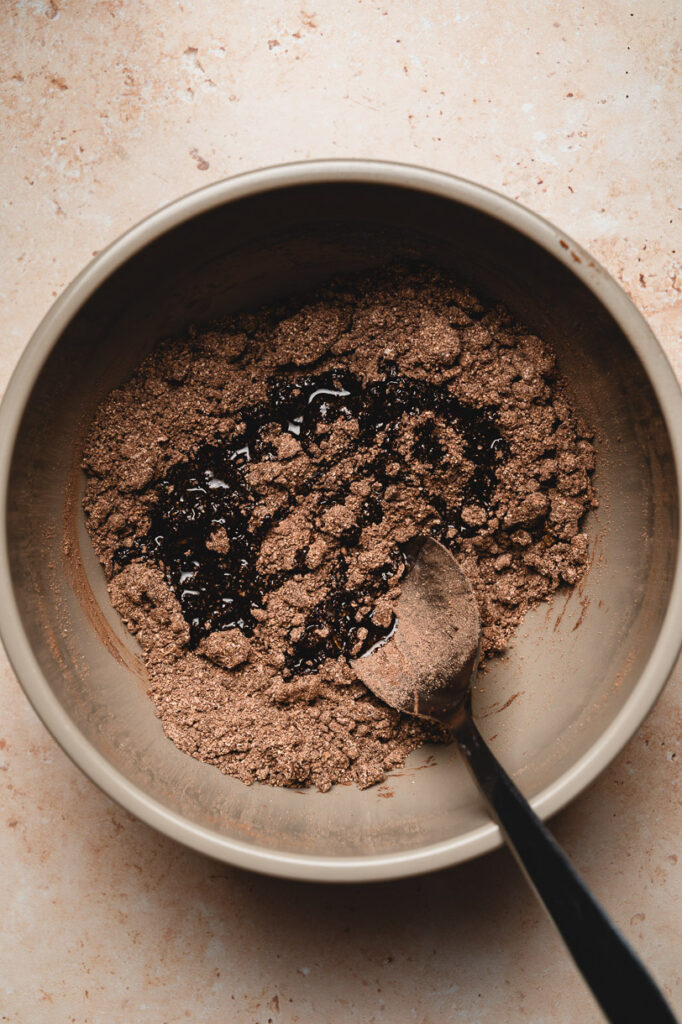
- Make the crust by whisking oat flour and cocoa powder together, then stir in maple syrup and peanut butter. Once the mixture starts to clump, stir in melted coconut oil. Mix until the ingredients are moistened and big clumps start to form.
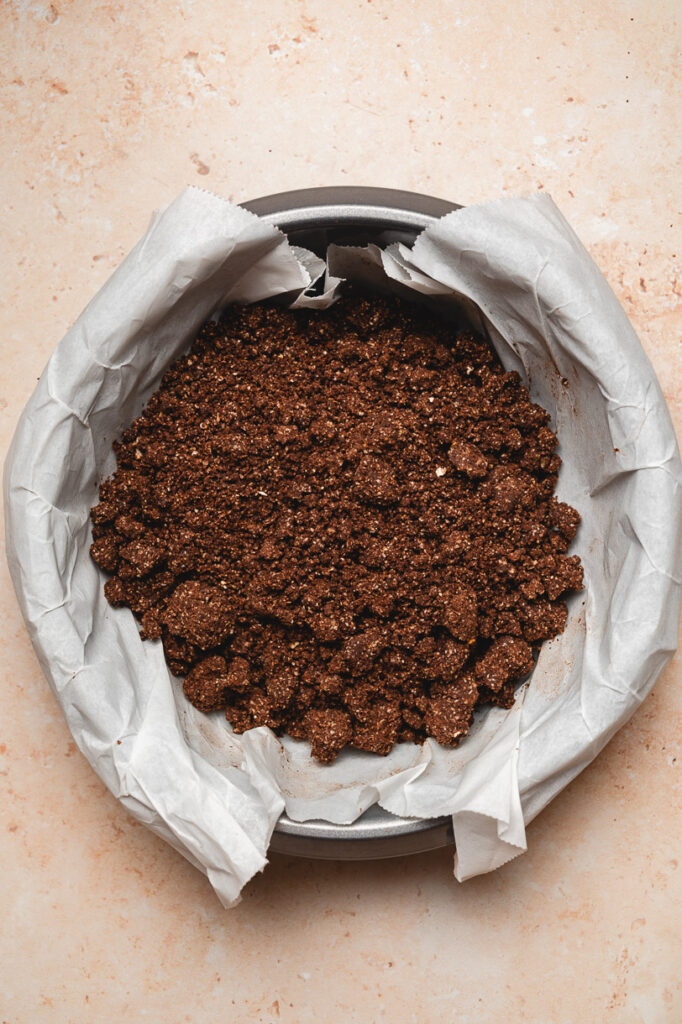
- Press the crust mix into your lined pan. You can use the bottom of a cup, spoon, or just your fingers to press it. Try to smooth out the crust as best as you can.
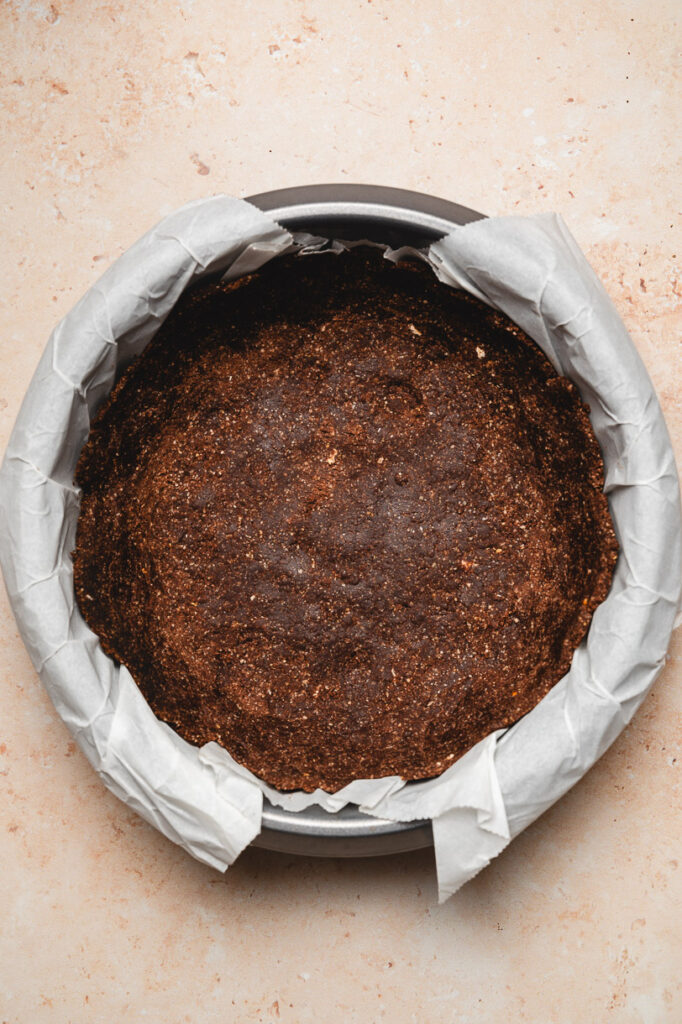
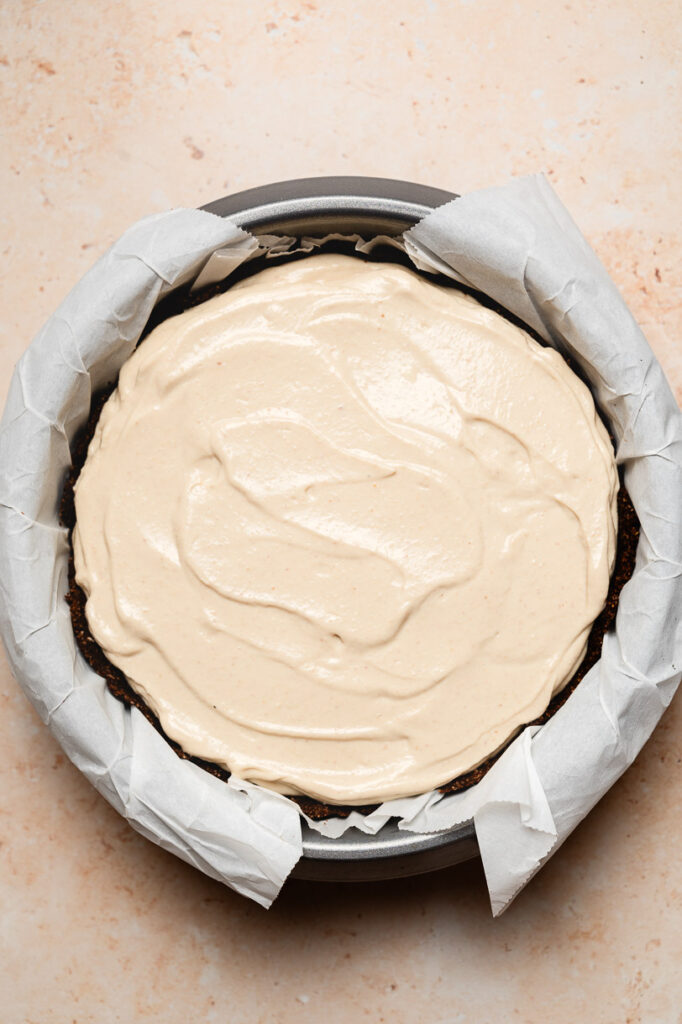
- Blend filling ingredients until smooth, then pour into the crust. Chill for at least one hour to firm up.
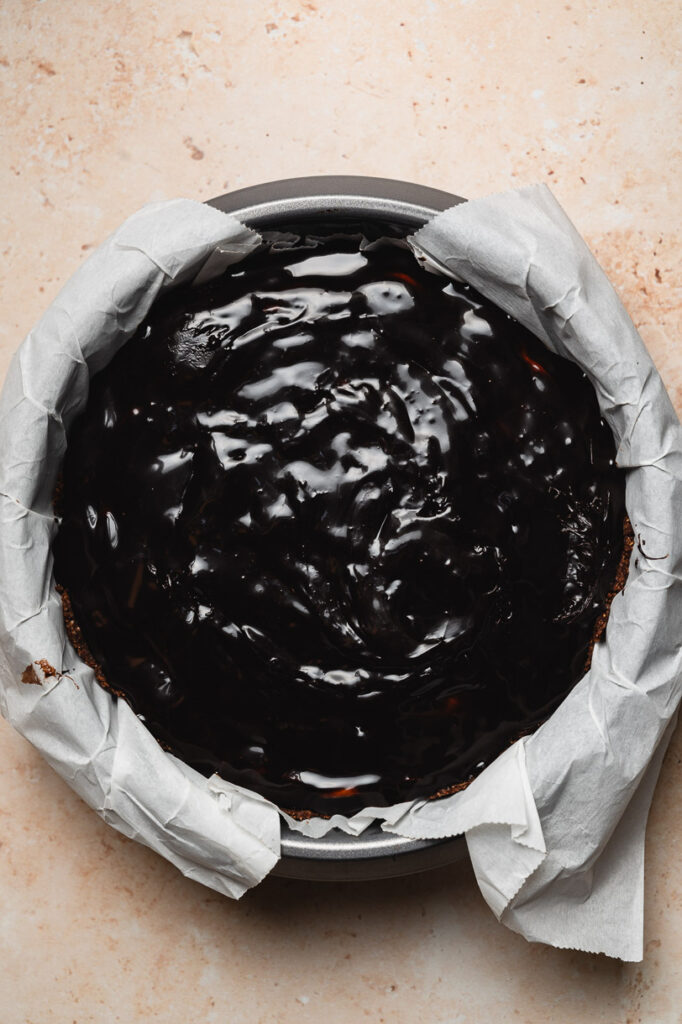
- Make the ganache by melting chocolate and soy milk (I do this in the microwave), slowly whisk together, then spread the ganache onto the filling. It will harden quickly once it touches the chilled filling, so work quickly.
Tips for Success
Line pan with parchment paper ⟶ This makes the pie easy to remove since the crust is a bit crumbly. You can also use a silicone pan or springform pan.
Sift cocoa powder ⟶ Otherwise you may get clumps of cocoa in your crust.
Patience is key ⟶ The filling will firm up more as it chills, so let the pie chill at least one hour but ideally overnight.
Make the day before ⟶ With that in mind, I recommend making this pie the day before you want to serve it for the best texture.
Double ganache for a thicker layer ⟶ The recipe as written makes a thin layer of chocolate ganache. If you like extra chocolate, feel free to double or even triple the ganache ingredients.

No Bake Chocolate Peanut Butter Pie FAQ
More No-Bake Treats
- Healthy Date Snickers Bars
- Frozen Snickers Mousse Cups
- Carrot Cake Energy Bites
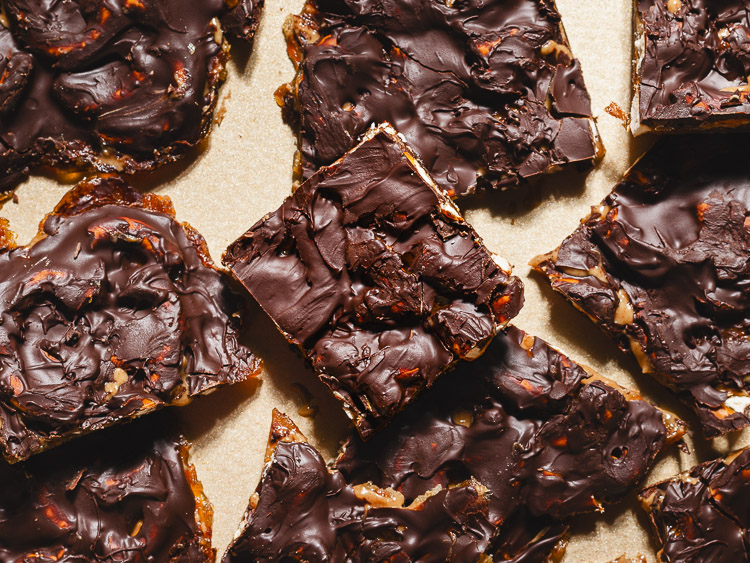
- Pretzel Date Bark
- Peanut Butter Banana Ice Cream Cups
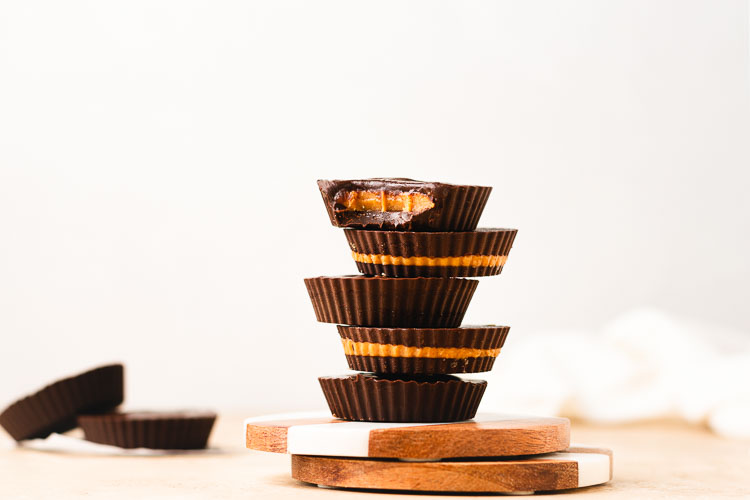
- 3-Ingredient Peanut Butter Cups
- Caramel Ice Cream Bars
If you try out this recipe, don’t forget to leave a comment/rating down below and tag me in your photos on instagram @ellielikes.cooking. I love seeing all of your tasty recreations!
No-Bake Chocolate Peanut Butter Pie (Vegan)
Equipment
- Blender
- Microwave
Ingredients
Chocolate Crust
- 90 grams (¾ cup) oat flour1
- 20 grams (¼ cup) cocoa powder sifted
- 15 grams (1 tbsp) peanut butter
- 36 grams (2½ tbsp) maple syrup
- 12 grams (1 tbsp) refined coconut oil melted
Peanut Butter Filling
- 60 grams (¼ cup) peanut butter
- 250 grams extra firm tofu drained
- 150 grams silken tofu drained
- 24 grams (2 tbsp) brown sugar or more to taste
- 1 tsp vanilla extract
- pinch of salt
Chocolate Ganache (double ingredients for a thick layer)
- 28 grams (2-3 tbsp)
dairy-free chocolate chips* - ½ tbsp soy milk or coconut milk
Instructions
- Line a 6-inch cake pan with parchment paper.
- Make the crust: Whisk together oat flour and cocoa powder (sift the cocoa powder first since it tends to clump). Stir in peanut butter and maple syrup until the mixture starts to clump, then add melted coconut oil and mix until evenly moistened and big clumps form. Tip: The dough should hold together when you press it between your fingers. If it's still too dry, add a bit more melted coconut oil or maple syrup.
- Press crust into pan: Transfer the crust mixture to your lined pan. Press the mix into the bottom and up the sides of the pan. It won't cover all the way up the sides but cover as much as you can. The crust may feel a little crumbly but should just stick if you press it together. Freeze for up to 20 minutes while you prep the filling. If you're making the filling later, put the crust in the fridge.
- Make filling: Add all filling ingredients to a blender and blend until smooth and fluffy. Taste and add extra sugar if desired. Pour the filling into the crust and smooth out the top. Refrigerate for at least 1 hour to firm up more.
- Make ganache: Add chocolate chips and soy milk to a small microwave-safe cup. Heat in the microwave for 20-30 seconds until soy milk is hot and chocolate chips are starting to melt. Be careful not to overheat it or the chocolate will burn. Slowly whisk together until a thick, smooth ganache forms. Spread the ganache onto the chilled peanut butter filling. The ganache will start to set once it touches the cold filling, so work quickly.
- Chill: Place the pie into the fridge uncovered to chill for at least 1 hour, but the texture is best after resting overnight. Cover the pie the next day and consume within 3 days for best flavor.
Notes

*Disclosure: This page may contain affiliate links. As an Amazon Associate I earn from qualifying purchases, but the price remains the same to you. Thank you for supporting Ellie Likes Cooking!
Save for later!