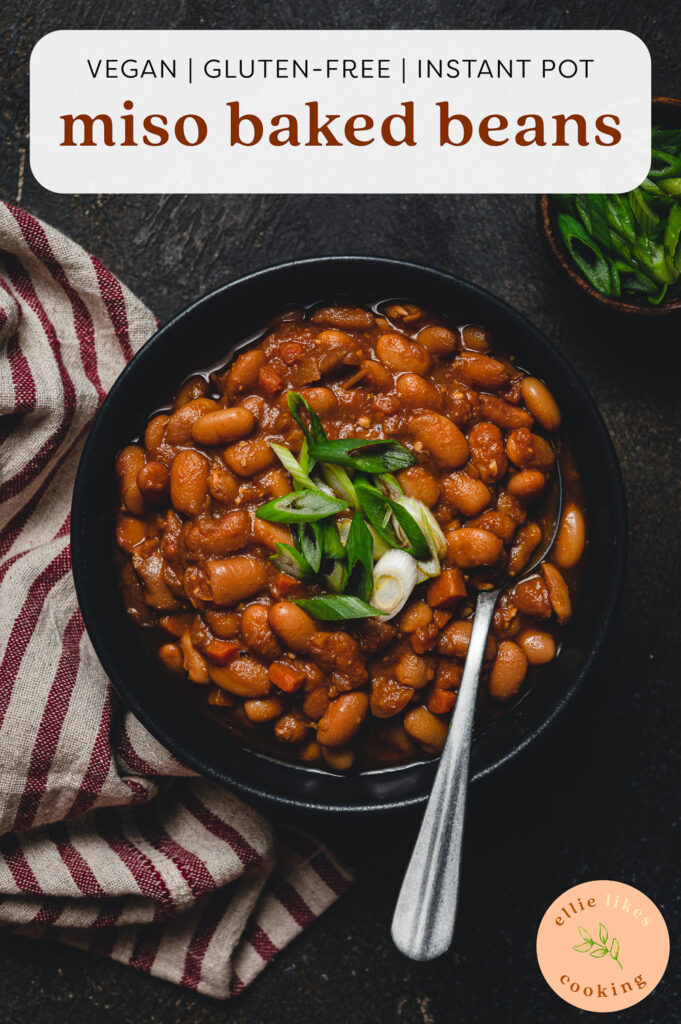
Miso Baked Beans (Instant Pot + Stovetop)
Try these miso baked beans for a tasty Japanese & plant-based twist on an American classic. Packed with sweet, salty, and umami flavors.
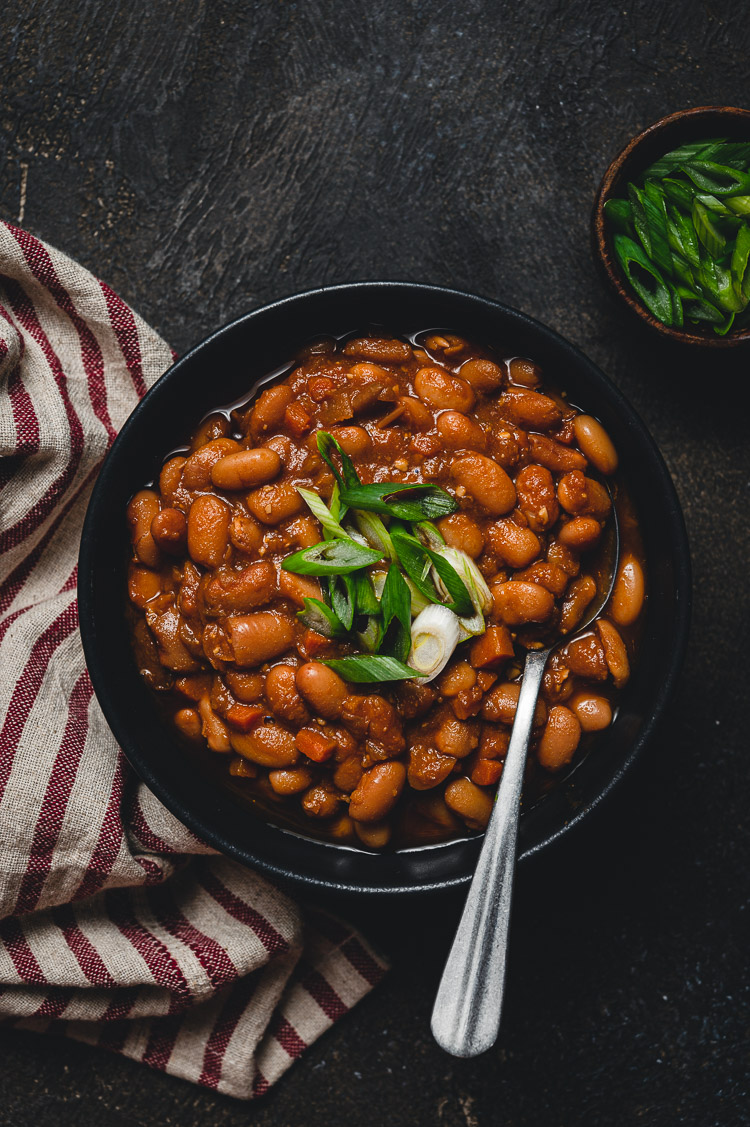
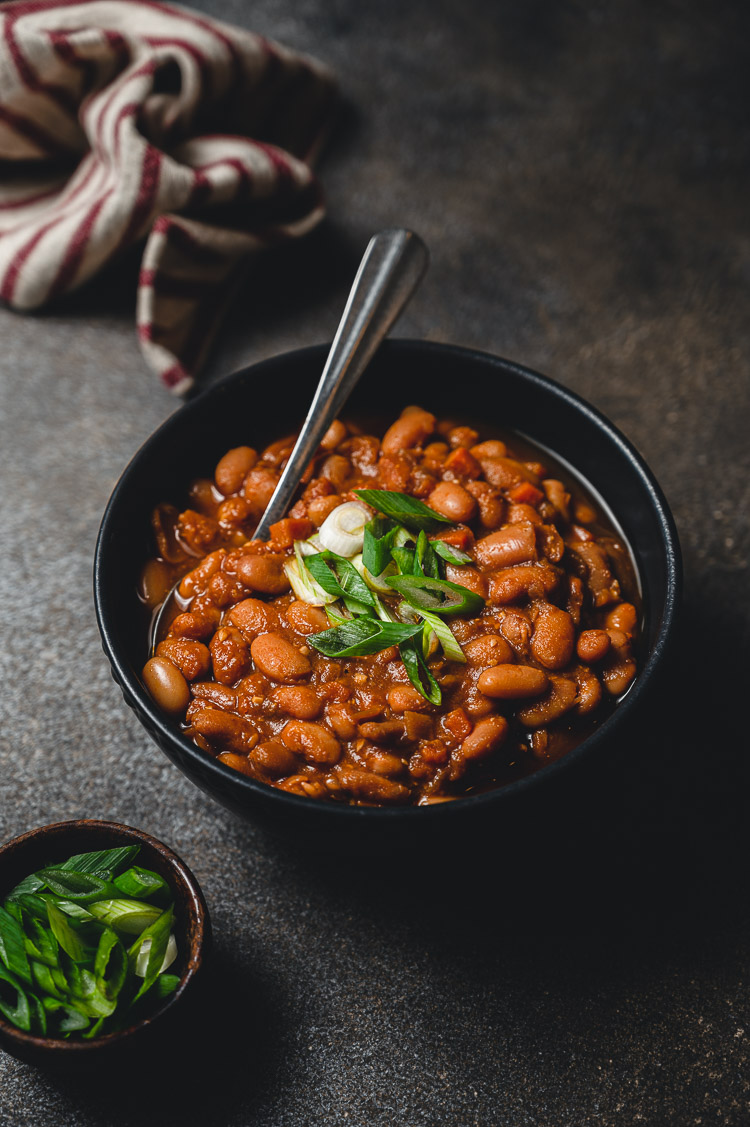
These miso baked beans are the perfect way to incorporate more plant protein in your diet. Eat them with toast, biscuits, rice, or on their own as a side – they’re delicious any way you serve them! I love adding them to my breakfasts for extra protein and fiber to keep me full through the morning. These baked beans are completely plant-based, gluten-free, and easy to make in an Instant Pot or pressure cooker (stovetop option included).
Miso Baked Beans FAQ
Can I use other beans?
Yes! Navy beans are the most common for baked beans, but feel free to use any bean you like. However, do note that cooking time will be different for different beans. I have made these miso baked beans with black eyed peas. With an overnight soak, they only took 5 minutes at high pressure.
What if I don’t have molasses or maple syrup?
You can replace the molasses and maple syrup with brown sugar, but the beans won’t be as flavorful.
Tips for Success
Add acidic ingredients after beans have cooked ⟶ Acid can prevent beans from becoming tender, so add the Worcestershire sauce, mustard, and vinegar after the beans are cooked through.
Soak the beans! ⟶ Soaking beans not only makes them softer and quicker to cook, it also makes them easier to digest and reduces phytic acid (which inhibits the absorption of some nutrients in the body).
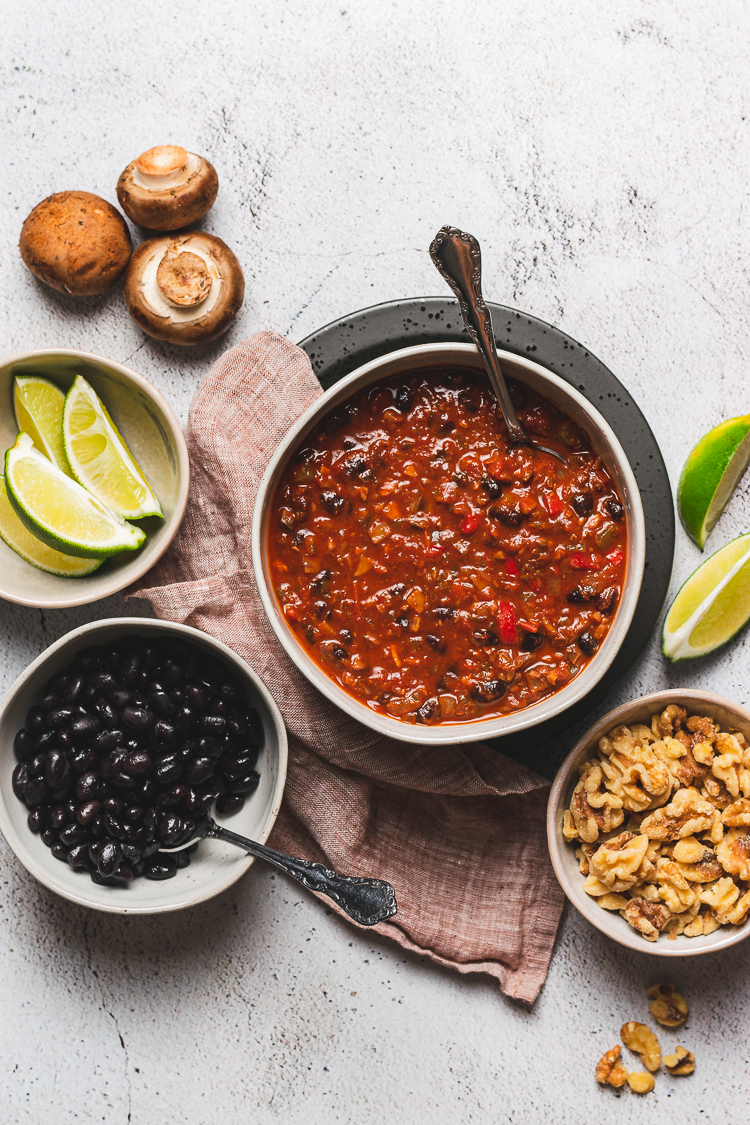
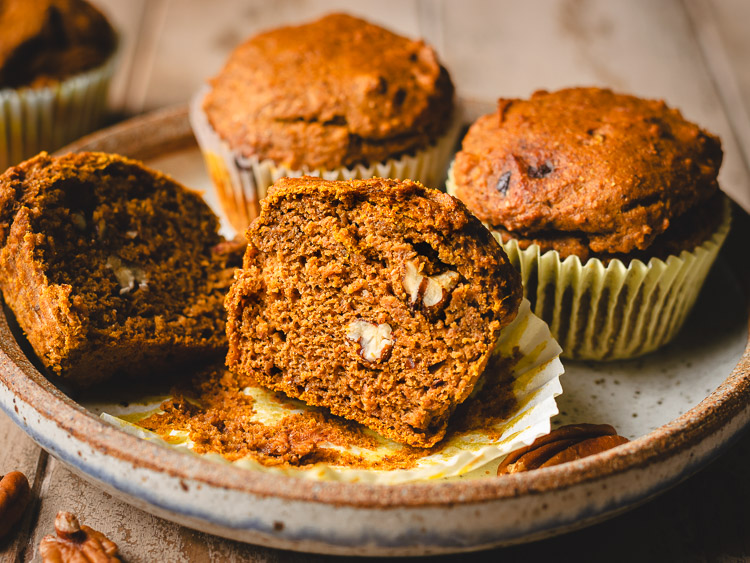
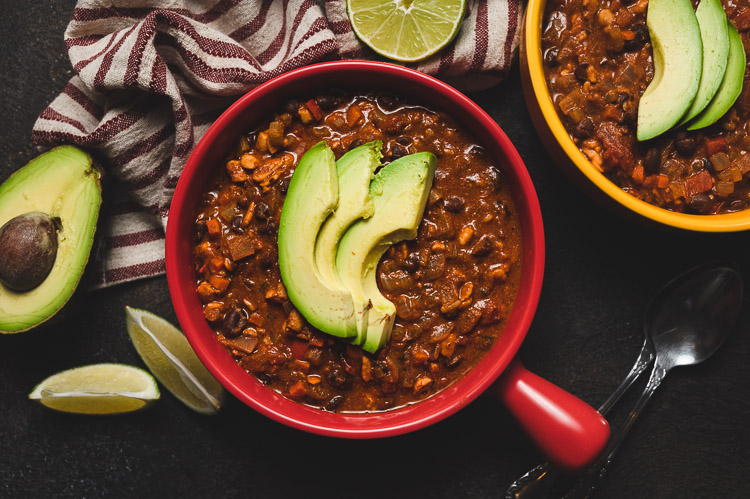
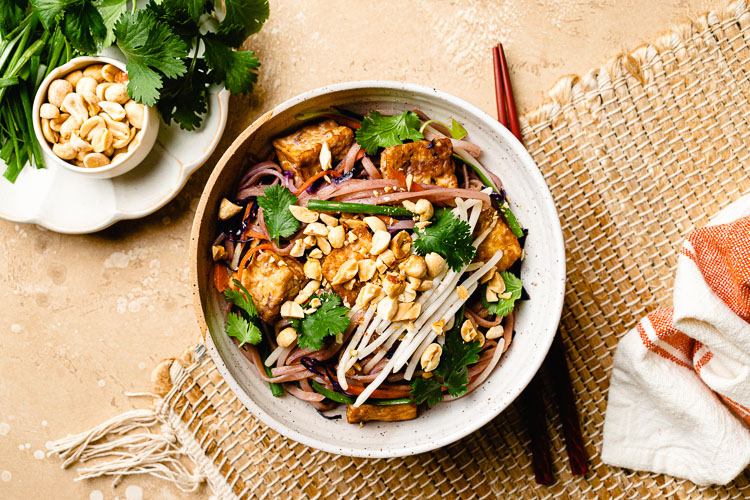
More Hearty Bean-Based Dishes!
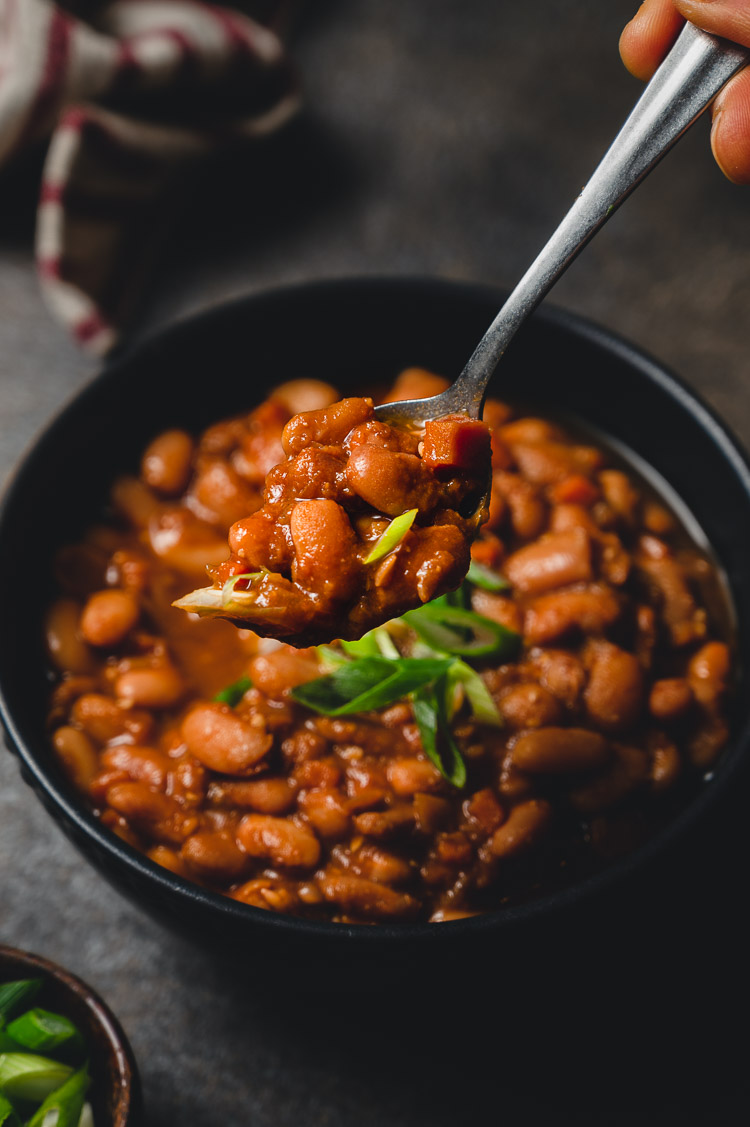
If you try out these miso baked beans, don’t forget to leave a comment/rating down below and tag me in your photos on instagram @ellielikes.cooking. I love seeing all of your tasty recreations!
Miso Baked Beans
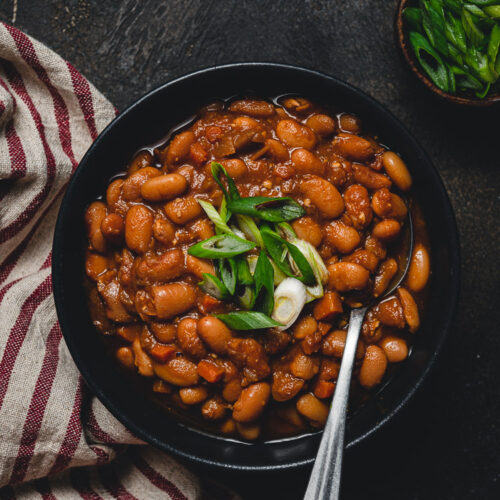
Ingredients
- ½ lb dried navy beans, pinto beans, black eyed peas** soaked overnight for 8-16 hours
- 1 tbsp olive oil
- ½ onion diced
- 1 carrot diced
- 4 shiitake mushrooms or button mushrooms diced, optional
- 2 garlic cloves minced
- ½ inch ginger minced
- ½ tsp smoked paprika
- 1 cup vegetable broth use double for stovetop version
- 1 tbsp
molasses* - 1 tbsp maple syrup
- ½ tbsp soy sauce or tamari for gluten-free
- 2 tbsp tomato paste
- 1 pinch red pepper flakes optional for spice
- 3 grams
dried kombu*
Add at the end
- 1 tbsp
Japanese Worcestershire sauce** - ½ tbsp dijon mustard
- ½ tbsp rice vinegar
- 1 tbsp miso
Instructions
- Sauté: Add olive oil to Instant Pot and press "Sauté". Add onion and sauté until onion turns translucent.
- Add carrots, mushrooms, garlic, ginger, and paprika. Stir for 30-60 seconds until fragrant.
- Add Beans & Seasonings: Add beans, broth, molasses, maple syrup, soy sauce, tomato paste, and pepper flakes. Stir well to combine, then place kombu on top, just barely submerged.
- Pressure Cook: Place the lid on the Instant Pot and set to cook at High Pressure for 20 minutes (5 minutes for black eyed peas), then Natural Release for 20 minutes. Stovetop: Add more broth/water as needed so the beans are covered by an inch. Gently simmer for 1-3 hours until beans are tender but not mushy. Check and stir occasionally to make sure there is enough liquid in the pot and the beans are not sticking to the bottom.
- Check Beans: Move the pressure knob to the venting position to release any leftover steam. Once the float valve drops, carefully remove the lid. Remove the kombu. Check the beans for doneness – if they are too hard for your liking, pressure cook them another 5-15 minutes.
- Season & Thicken: Set the Instant Pot to "Sauté". Stir in Worcestershire sauce, mustard, and vinegar. Cook down for 5 minutes or until liquid has reduced to your liking. Turn off Instant Pot.
- Add Miso: Take a few ladles of the liquid and add to a small bowl along with the miso. Stir until miso is evenly dissolved, then pour this mixture back into the pot and stir to distribute. Taste and adjust seasonings to your liking – add extra vinegar for acidity, molasses/maple syrup for sweetness, and miso/soy sauce/salt for saltiness.
- Serve on toast, rice, baked potatoes, or as a side dish. Garnish with green onions if desired.
Notes

*Disclosure: This page may contain affiliate links. As an Amazon Associate I earn from qualifying purchases, but the price remains the same to you. Thank you for supporting Ellie Likes Cooking!
Save for later!
