Healthy Caramel Ice Cream Bars (Vegan, No-Churn)
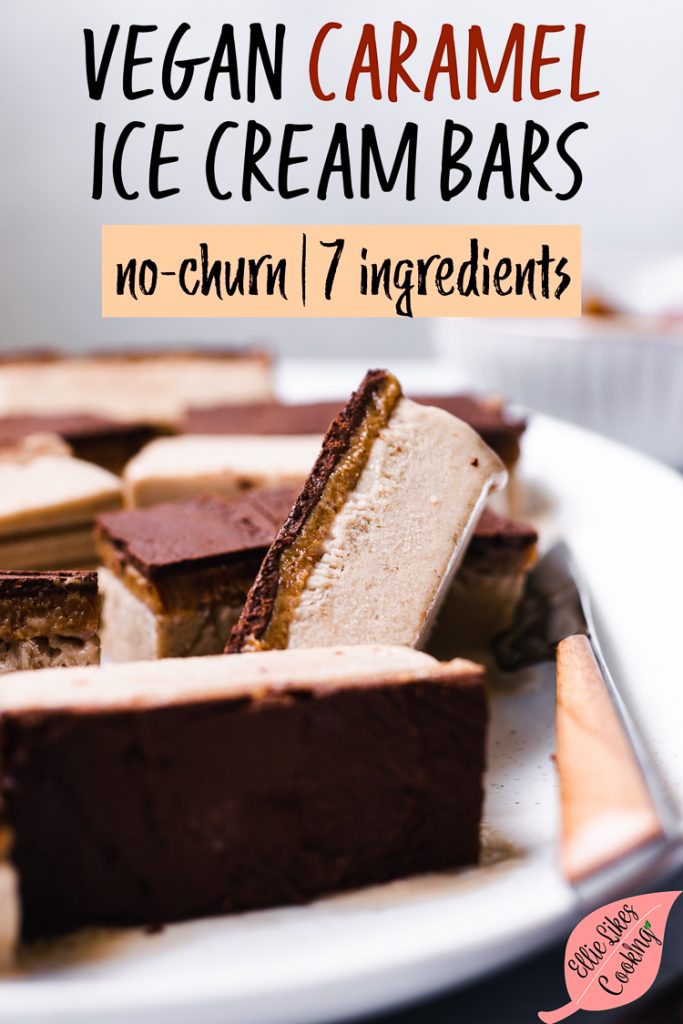
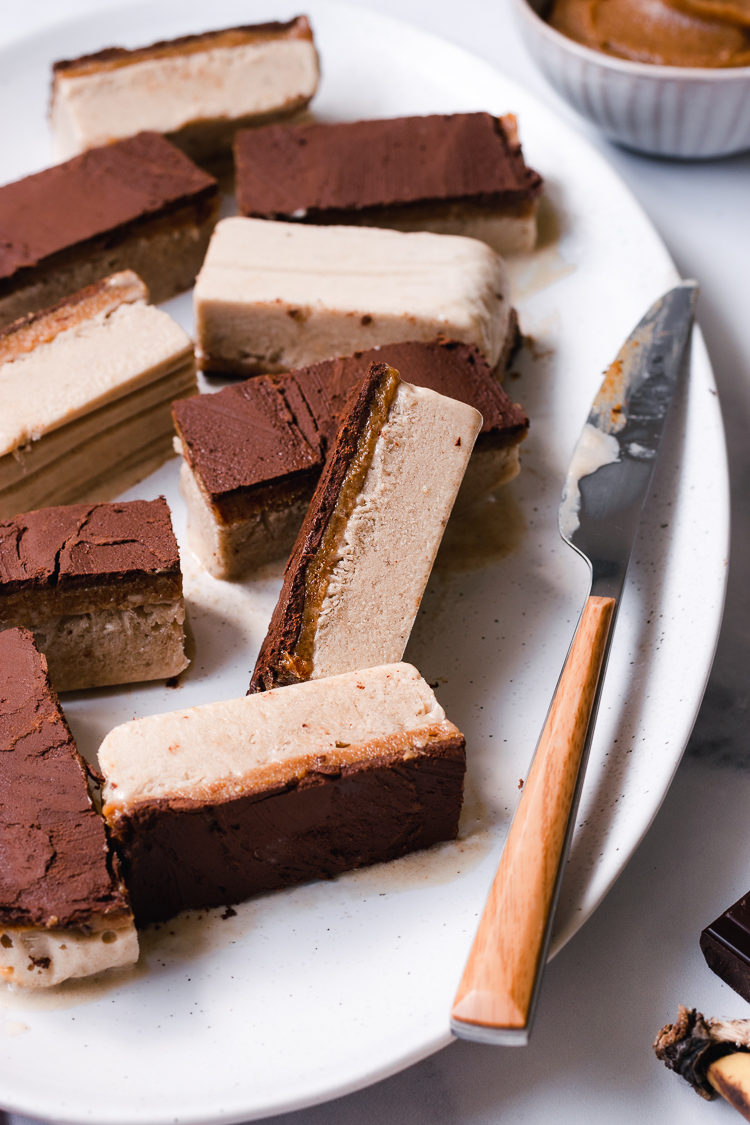
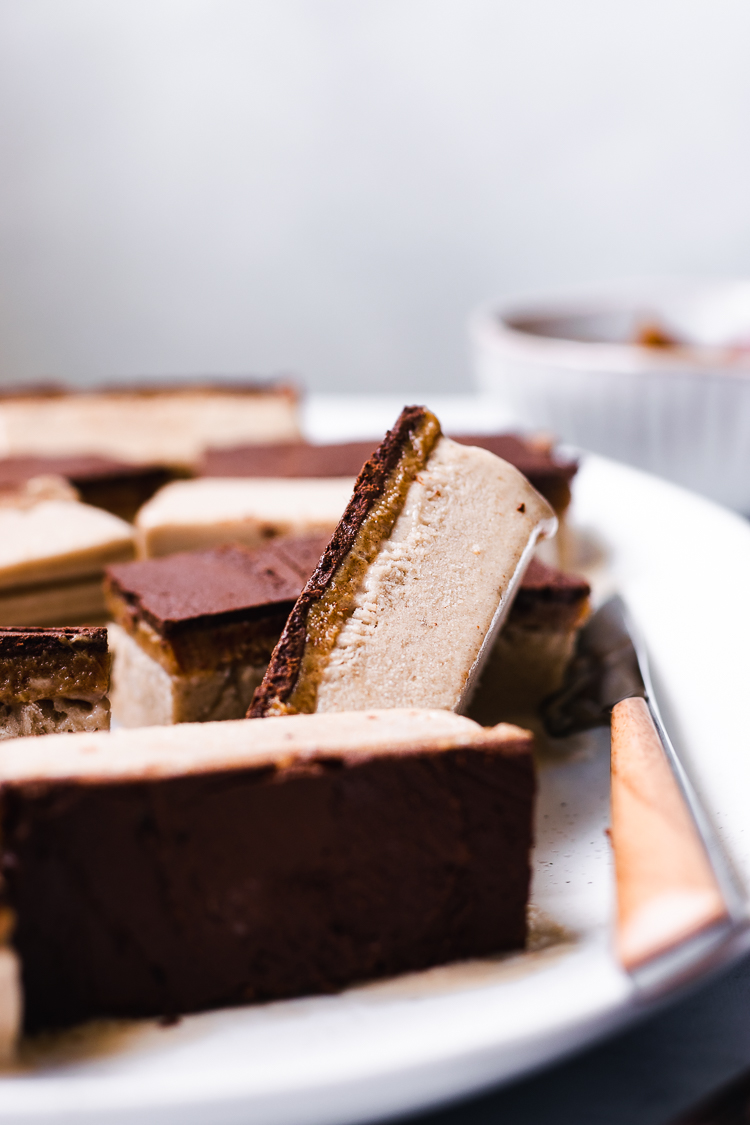
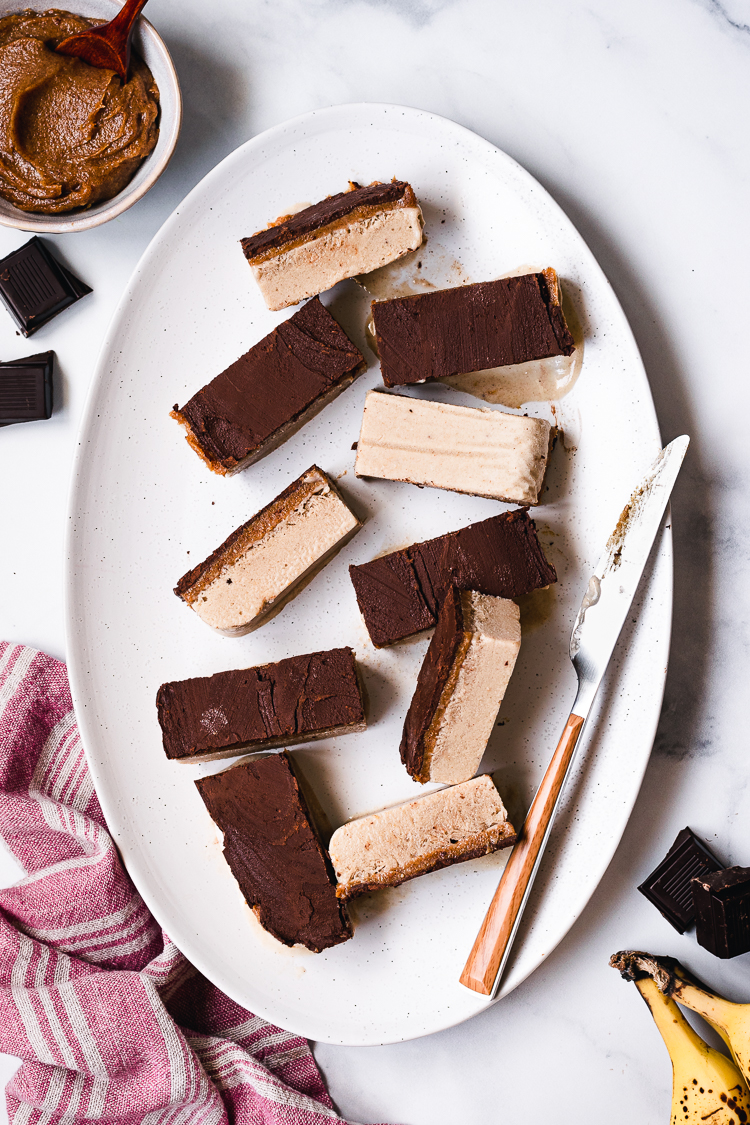
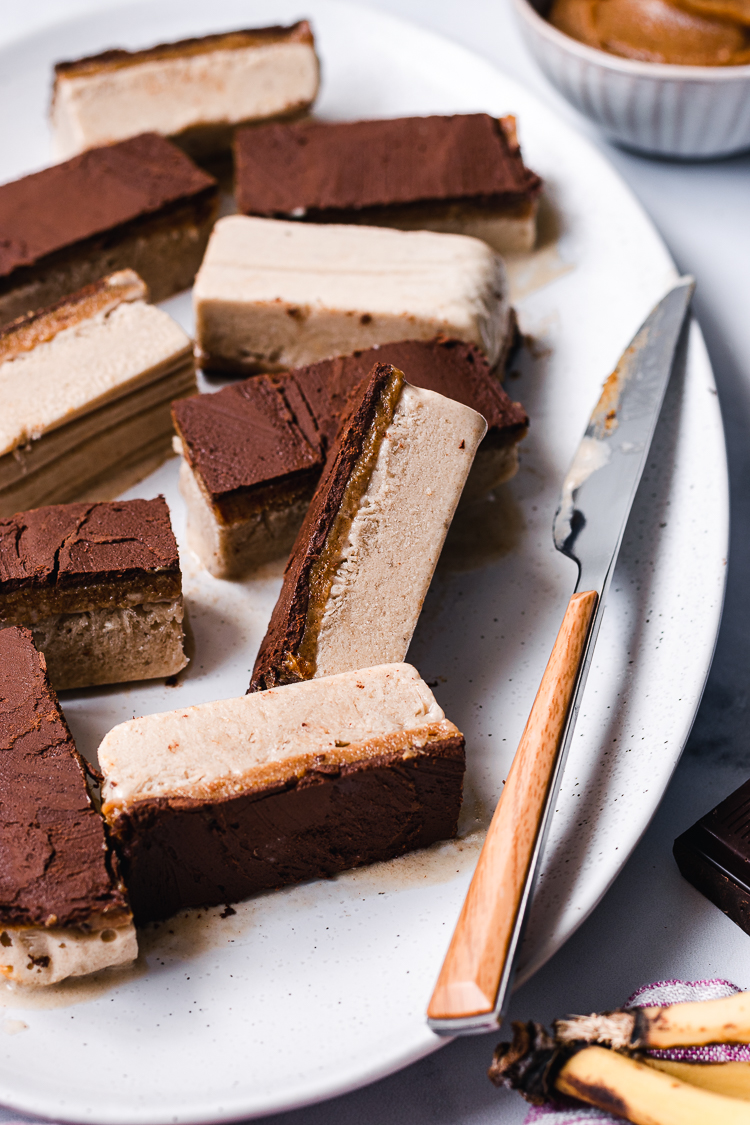
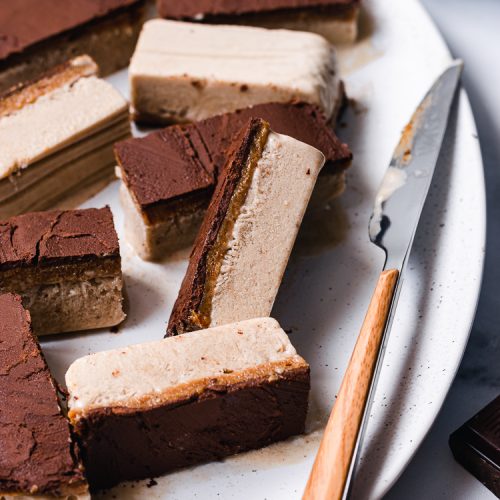
These vegan ice cream bars are a deliciously healthy ice cream alternative. A creamy banana base, silky caramel center, and bittersweet chocolate coating combine to create this unbelievably decadent and delicious frozen treat.
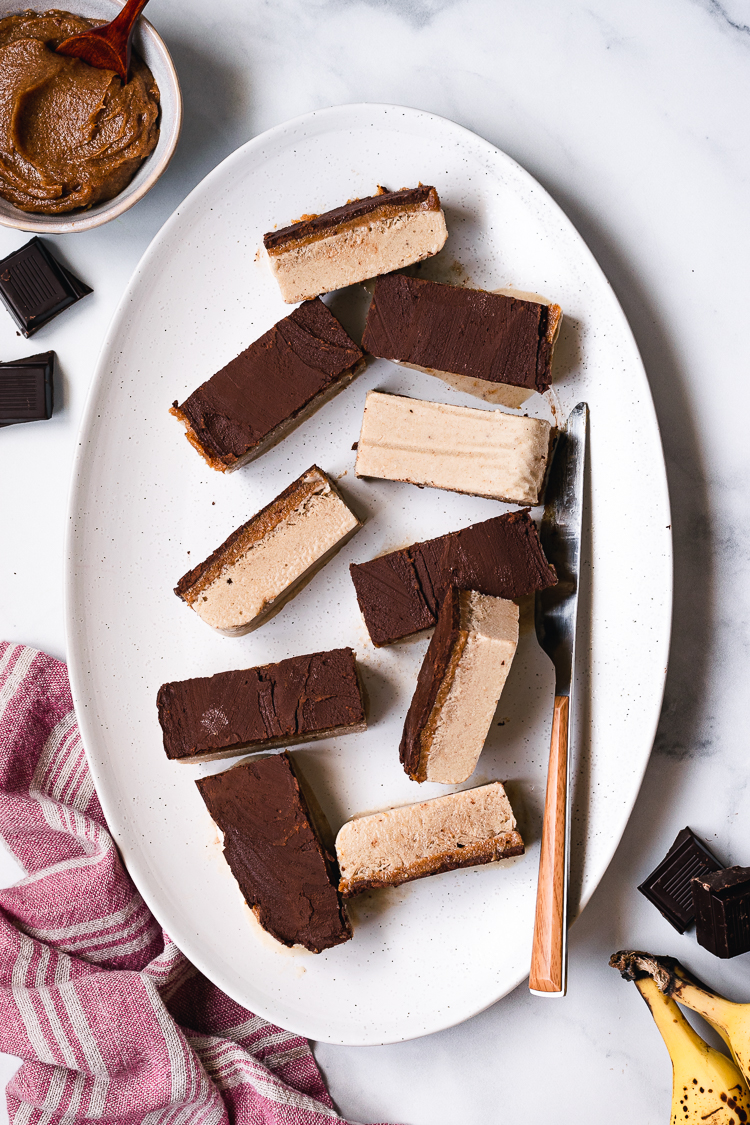
I know it’s not technically summer yet, but the weather has been so warm lately that all I’ve been craving are smoothies, salads, wraps, and ice cream! Basically any food that can be eaten cold and doesn’t require an oven. Honestly though, even if it isn’t warm where you are, these caramel ice cream bars hit the spot! They’re vegan, gluten-free, and naturally sweetened from fruit! Low in saturated fat but high in decadence, these ice cream bars taste like a rich dessert but are actually good for you.
Ingredients
These healthy ice cream bars are made with 7 plant-based ingredients:
- frozen bananas ⟶ for a creamy, naturally-sweetened ice cream base
- raw cashews/cashew butter⟶ makes the ice cream base creamy and rich
- MAKE YOUR OWN CASHEW BUTTER: blend raw cashews in a food processor until creamy and smooth
- medjool dates ⟶ for a gooey, naturally-sweetened caramel
- peanut butter⟶ makes the caramel creamy
- SUSTITUTE: another nut/seed butter such as almond butter, tahini, sunflower butter
- soy milk⟶ to help blend the ice cream and caramel
- SUBSTITUTE: a creamy non-dairy milk such as coconut milk or oat milk
- chocolate ⟶ I use 72% dark chocolate bars from Trader Joe’s, but you can also use milk or semi-sweet chocolate chips
- cacao powder⟶ to keep the chocolate coating firm
- SUBSTITUTE: cocoa powder
- optional flavoring ⟶ vanilla extract, instant coffee, matcha, etc.
How to Make
- Line a freezer-safe dish with parchment paper. This allows for easy removal of the ice cream.
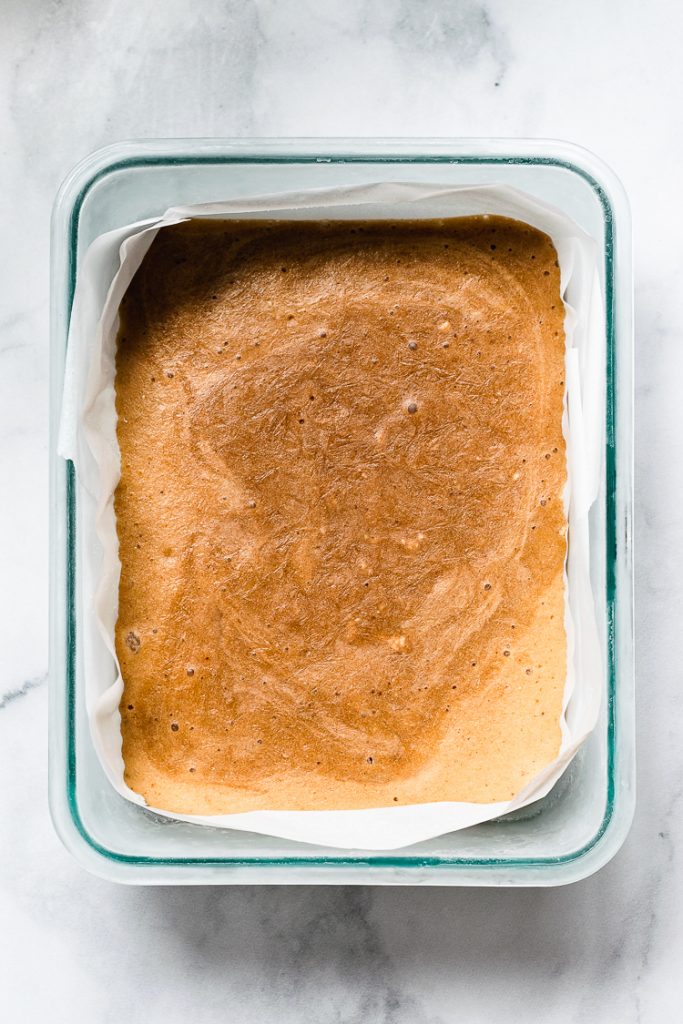
- Ice Cream Layer ⟶ Blend frozen bananas, cashew butter, and soy milk in a food processor until smooth. Freeze overnight or at least 6 hours.
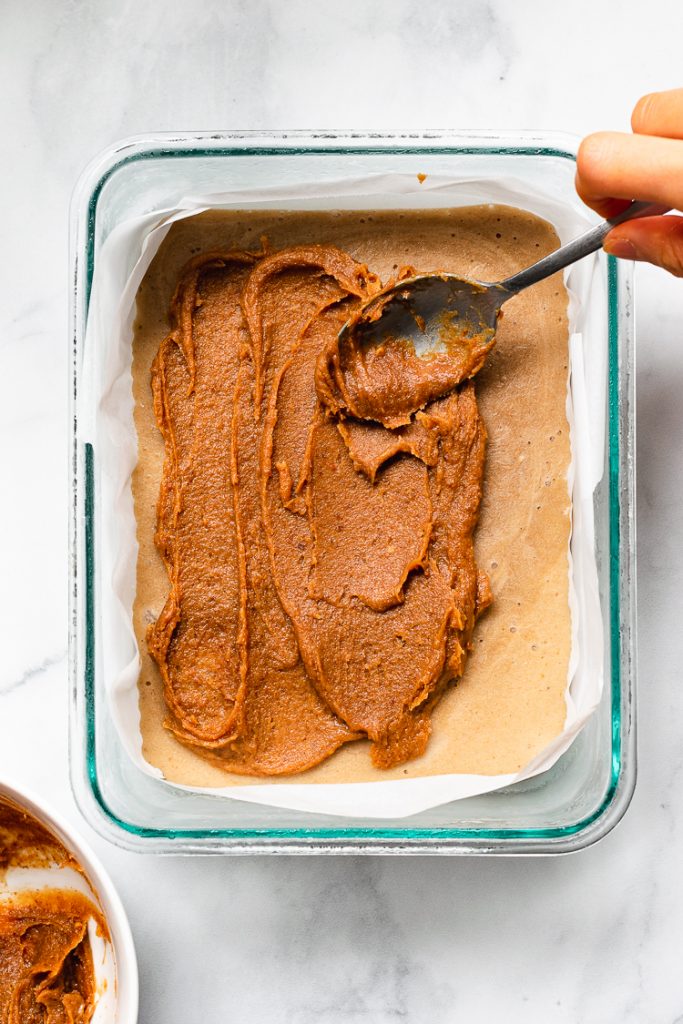
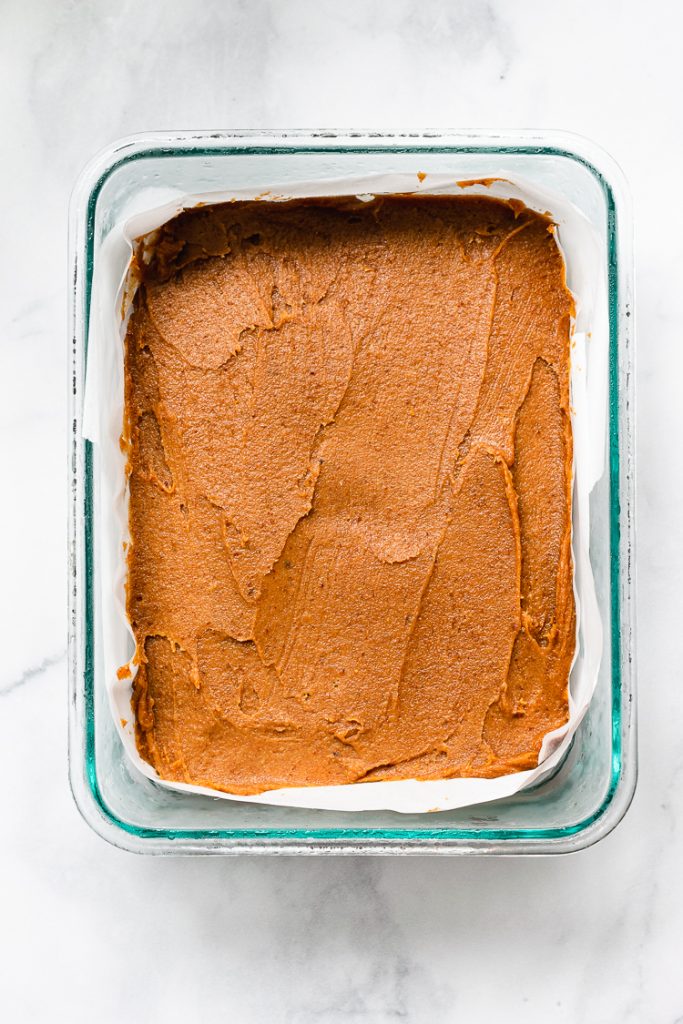
- Caramel Layer ⟶ Blend dates and peanut butter in a food processor until smooth. Spread over fully frozen ice cream base and place back into the freezer for an hour to firm up.
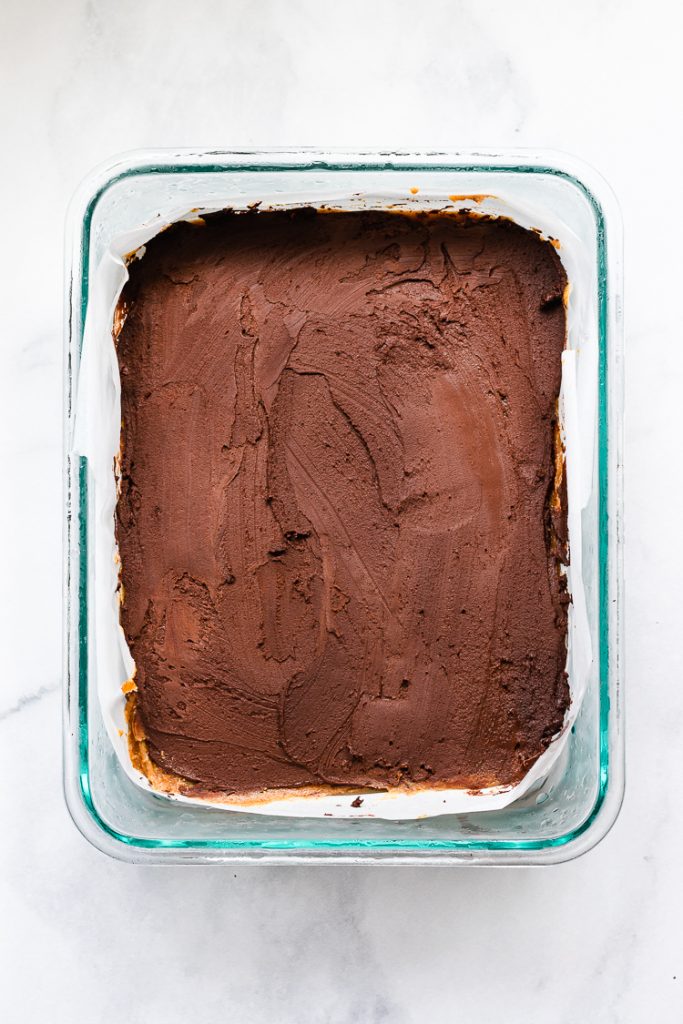
- Chocolate Layer ⟶ Melt chocolate in a microwave or double-boiler. Whisk in cacao powder and soy milk until smooth and thick. Spread over caramel layer. Freeze until firm.
- Slice into bars and store in freezer.
Tips for Making the Best Banana Ice Cream Bars
- Stir ice cream mixture (optional) ⟶ For a smoother, creamier ice cream base, stir the mixture every 30 minutes for the first 4-6 hours of freezing. This will help break up the ice crystals. However, I don’t usually do this and the result is still creamy and delicious.
- Want a crispy, snappy chocolate layer? ⟶ Use just melted chocolate for the coating. It will break apart and snap easily as you slice the bars and bite into them. Optionally, you can mix about 1 tsp of melted coconut oil with the melted chocolate. This will prevent the chocolate from snapping apart so easily.
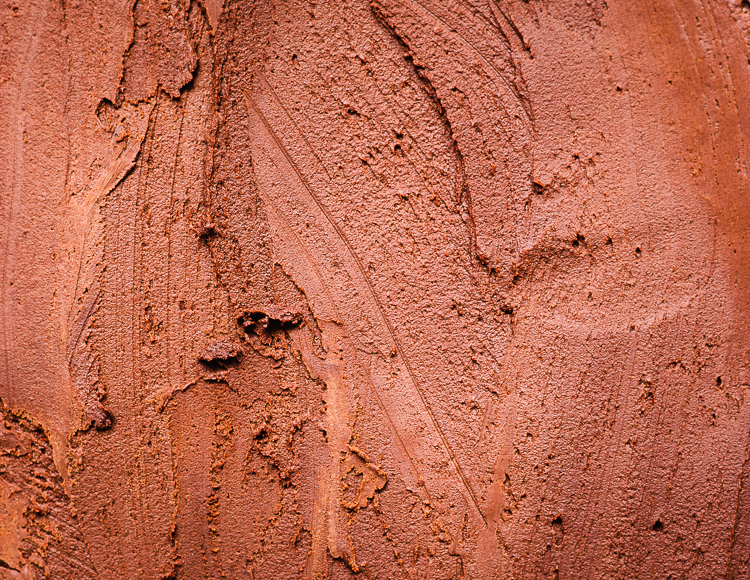
- Want a softer, ganache-like coating? ⟶ Add some soy milk and cacao powder to the melted chocolate. The soy milk makes it softer and easy to slice and bite, while the cacao powder prevents it from being too soft, so you get different textures in each layer of the ice cream bar.
- Make your favorite flavor! ⟶ Change up the ice cream flavor by switching the vanilla for instant coffee, matcha powder, cocoa powder, cinnamon, black sesame, peppermint extract, frozen strawberries, or whatever else your taste buds desire!
- Take out right before eating ⟶ Because this ice cream base is made with bananas, it melts more quickly than regular ice cream made with saturated fats. So when you want to eat one, just take it out of the freezer and bite in!
Helpful Kitchen Tools
More Plant-Based Treats!
- Japanese-Style Strawberry Chocolate Parfait
- Protein Chocolate Mousse
- Whole Wheat Chocolate Banana Bread
- Peanut Butter Oatmeal Chocolate Chip Cookies
- Oatmeal Cookie Granola
- Date-Sweetened Chocolate Granola
I hope I’ve inspired you to make these healthy vegan ice cream bars! If you do try it out, don’t forget to tag me in your photos on instagram @ellielikes.cooking, leave a comment/rating down below, and let me know how you liked them! I love seeing all of your tasty recreations 🙂 Happy (no)baking♡

Healthy Caramel Ice Cream Bars (Vegan, No-Churn)
Ingredients
Ice Cream
- 3 frozen bananas
- ½ cup cashew butter*
- 2-3 tbsp soy milk as needed to blend
- 1 tsp vanilla extract**
Caramel
- 7
large medjool dates*** pitted - ¼ cup
peanut butter - 1-3 tbsp soy milk as needed to blend
Chocolate Coating
- ¼ cup
dairy-free chocolate
for a softer chocolate coating
- ¼ cup
dairy-free chocolate - 2 tbsp
cacao powder - 2 tbsp soy milk warmed
Instructions
- Line a freezer-safe dish with parchment paper and place in freezer.
- In a food processor, add bananas, cashew butter, and vanilla extract/other flavoring. Blend until smooth, adding a tablespoon of soy milk as needed to help blend.
- Take dish out of freezer and pour ice cream mixture in. Place in freezer overnight.
- Make the caramel layer: add dates and peanut butter to a food processor. Blend until smooth, adding a tablespoon of soy milk as needed to help blend.
- When the ice cream base is completely frozen, spread caramel layer on top. Place back into the freezer for an hour.
- Melt chocolate in the microwave or double-boiler. For a softer chocolate coating, whisk in cocoa powder and warmed soy milk until smooth.
- Spread chocolate over the caramel layer. Place back into the freezer to firm up, then slice into bars.
- Keep in mind, if you use only melted chocolate for the chocolate layer, it will break apart and snap when slicing into bars.
Notes
Disclosure: This page may contain affiliate links. As an Amazon Associate I earn from qualifying purchases, but the price remains the same to you. Thank you for supporting Ellie Likes Cooking!
Save for later!
