Easy Vegan Tiramisu
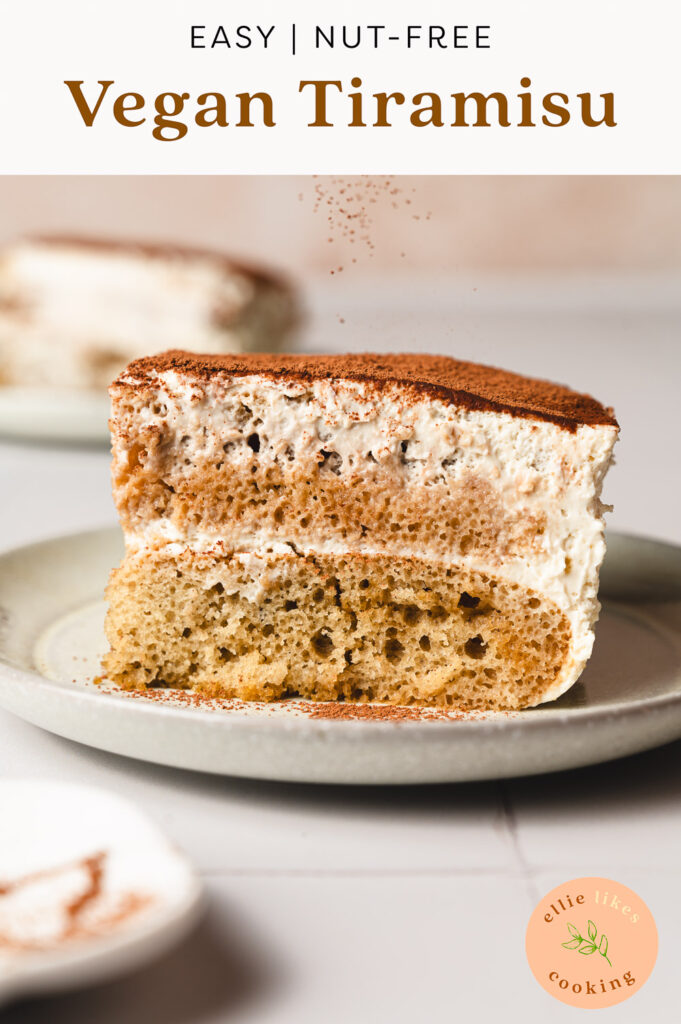
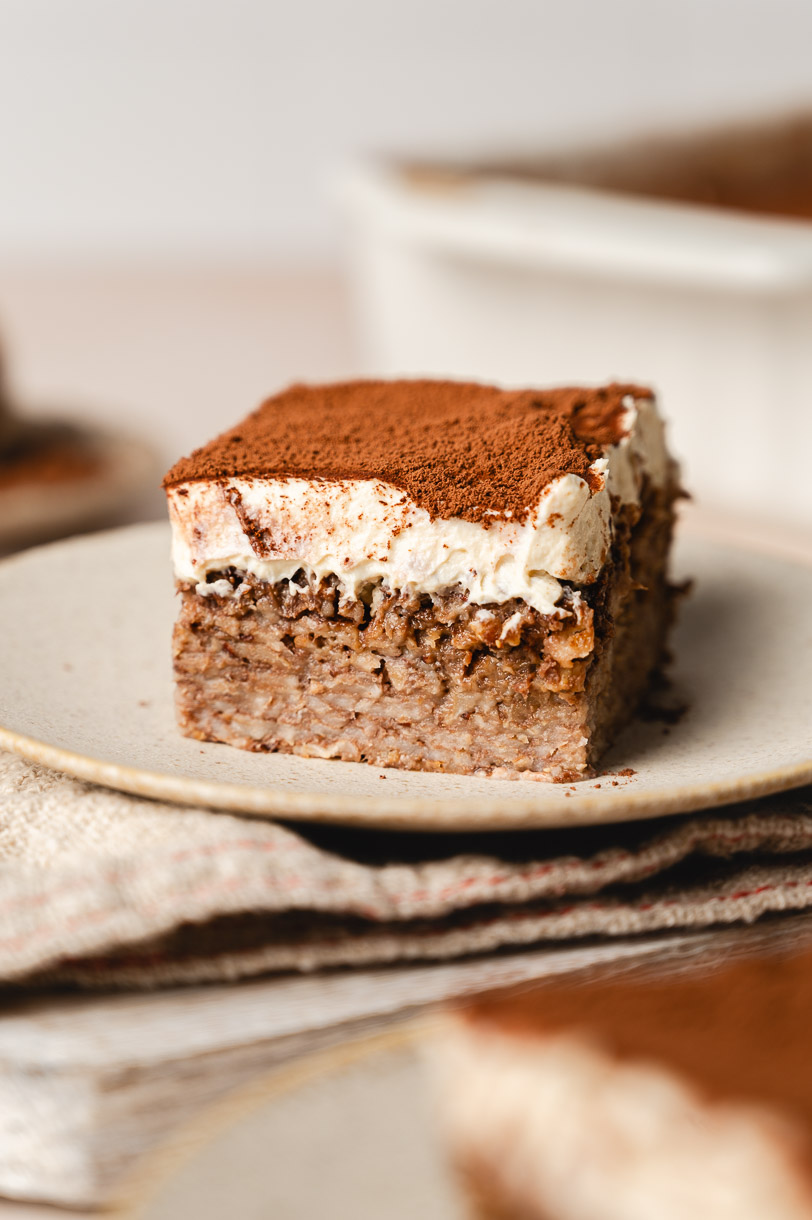
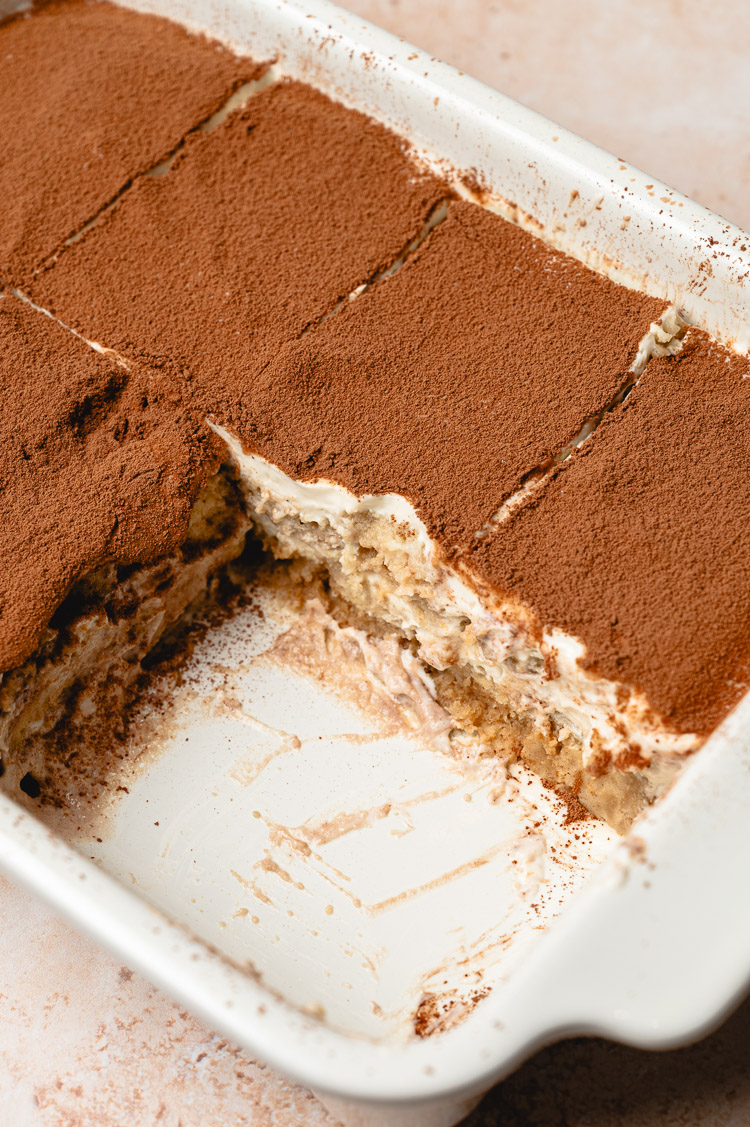
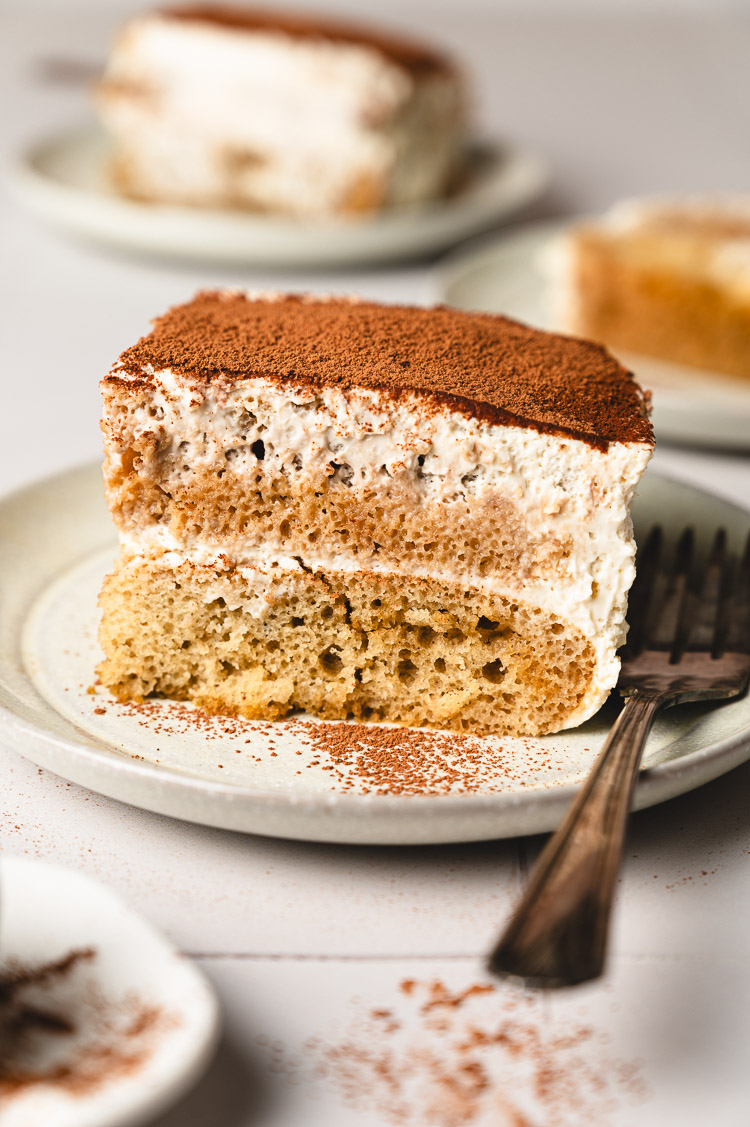
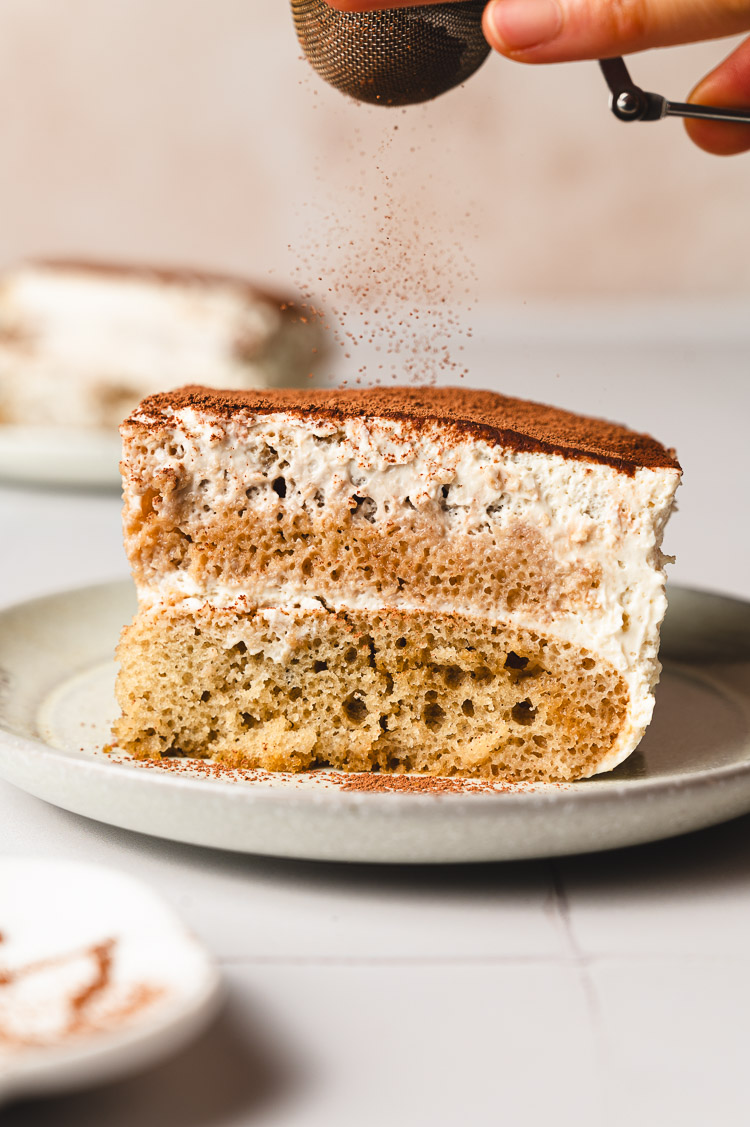
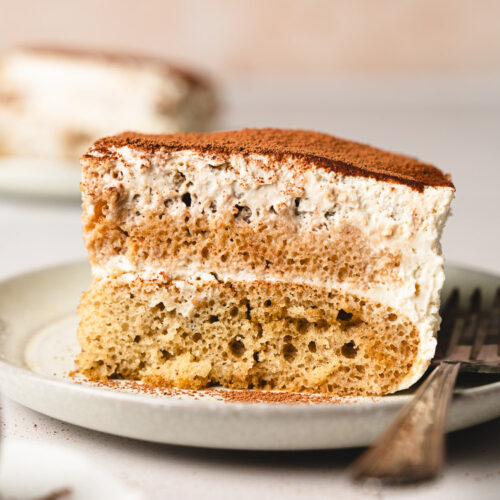
This easy vegan tiramisu is made with vanilla cake soaked in coffee, layered with tofu cream, and finished with a dusting of cocoa powder.

What is Tiramisu?
Tiramisu is a popular Italian dessert made of espresso-soaked ladyfingers layered with lightly sweetened mascarpone cream and dusted with cocoa powder. Traditionally it contains lots of eggs (in the ladyfingers and mascarpone cream) and dairy (in the mascarpone cheese), so it’s very far from being a plant-based/vegan dessert. So how does one make vegan tiramisu? In this recipe, we use a vegan vanilla cake that we cut into “ladyfingers”, and the cream is made with a base of silken tofu and coconut cream (ingredients that are more accessible and reliable than just any brand of vegan cream cheese). We’ve strayed far from traditional tiramisu, but I promise this vegan version is still delicious and easy to make!
How to Make
Tiramisu may seem intimidating to make, but the steps are pretty straightforward. You really just need patience!
Here’s the abbreviated method for making this vegan tiramisu (detailed instructions in the recipe card below):
- Bake the vanilla cake (these will be our “ladyfingers”).
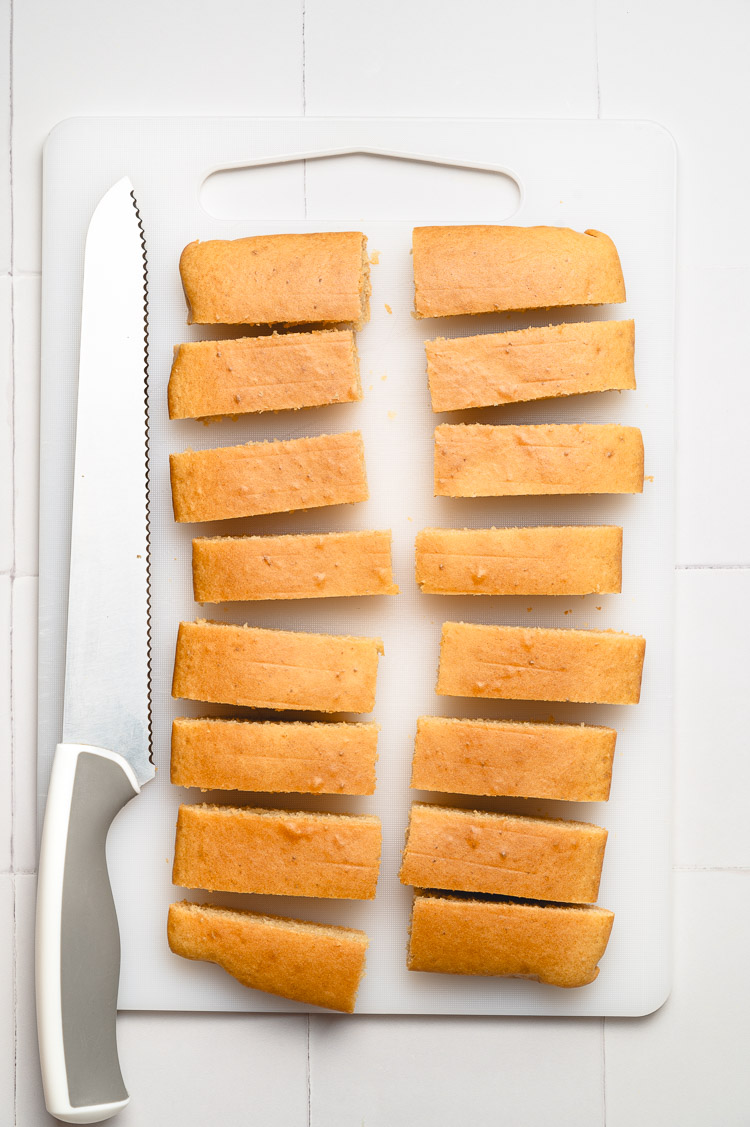
- Cut cake into “fingers”.
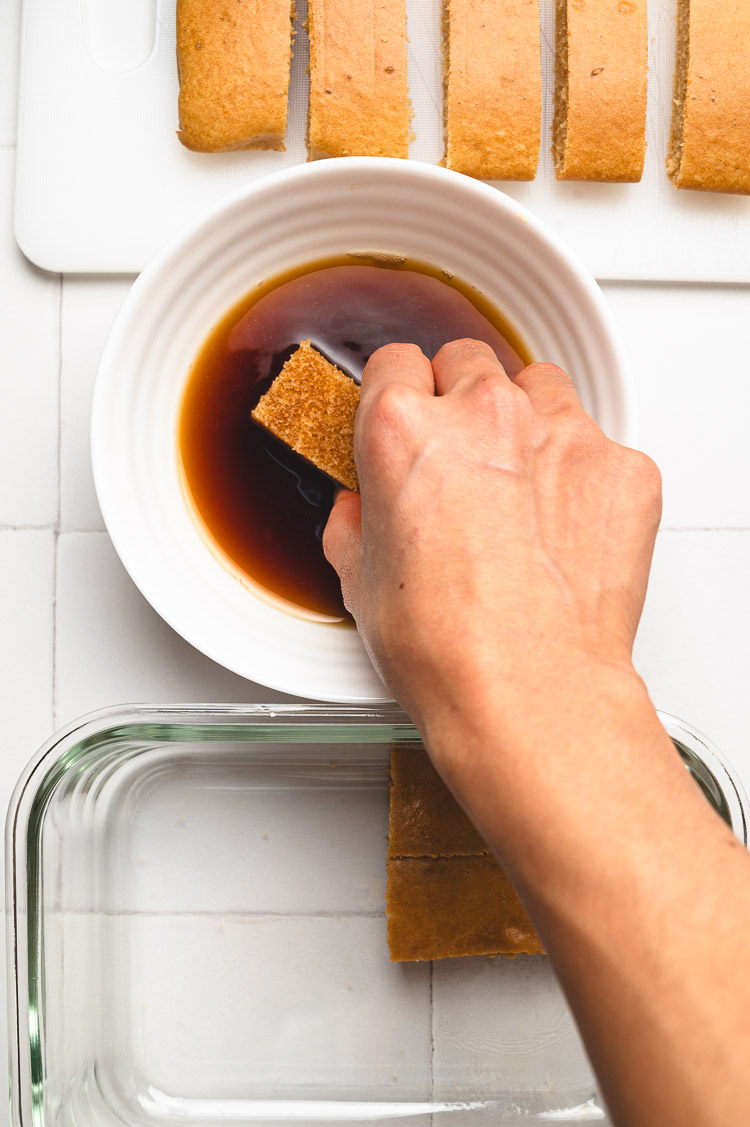
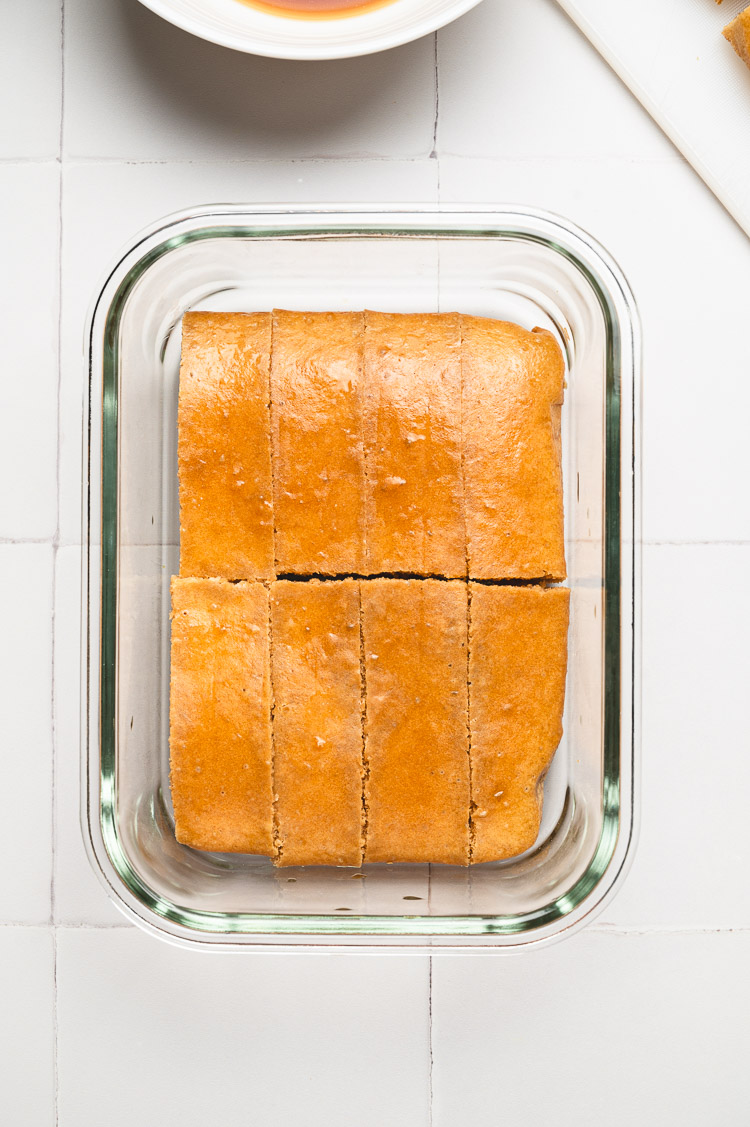
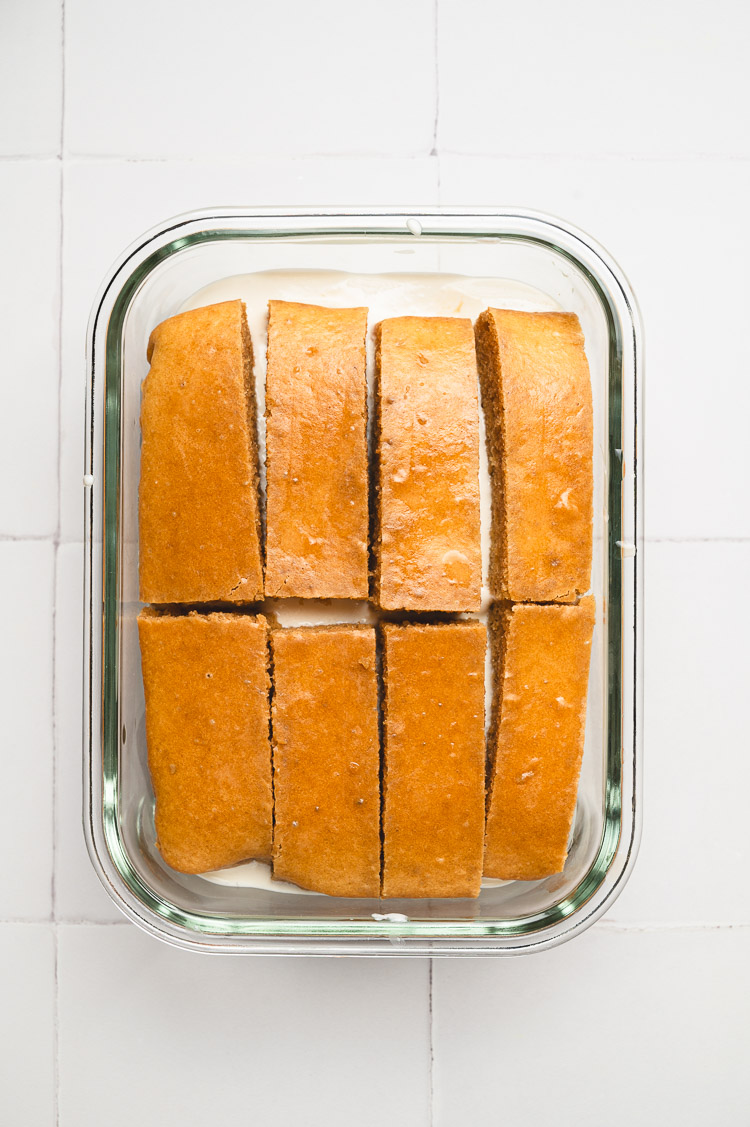
- Dip cake fingers into coffee and place in a single layer in a baking dish.
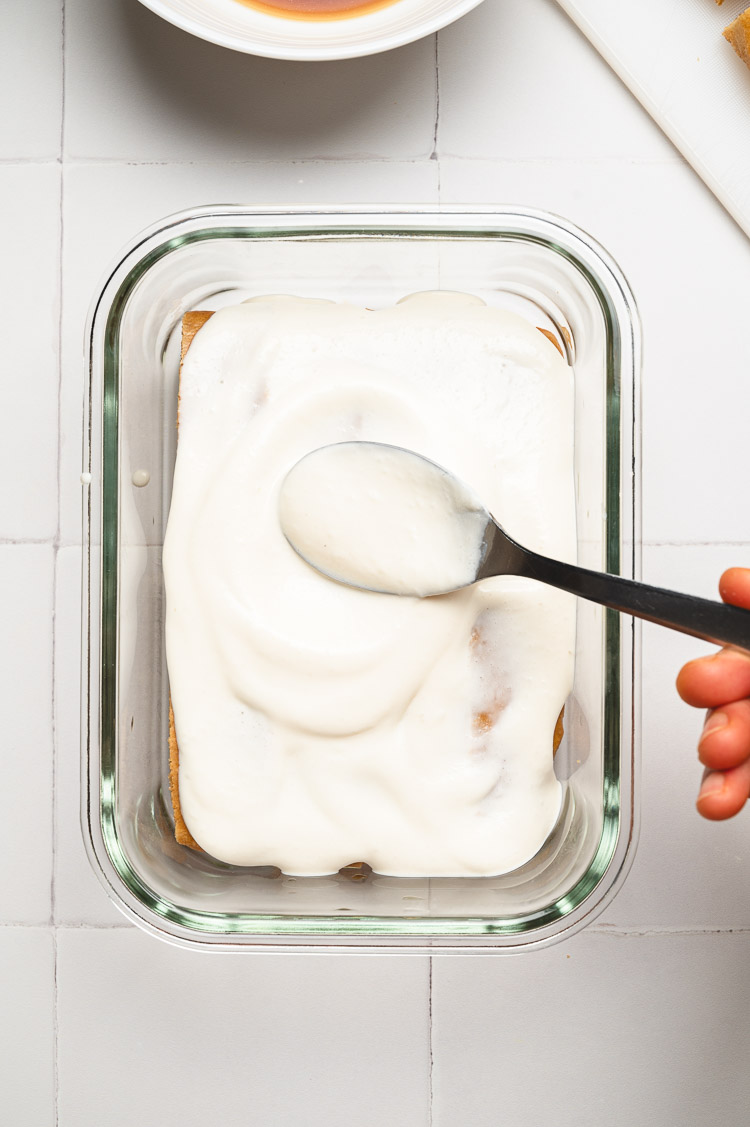
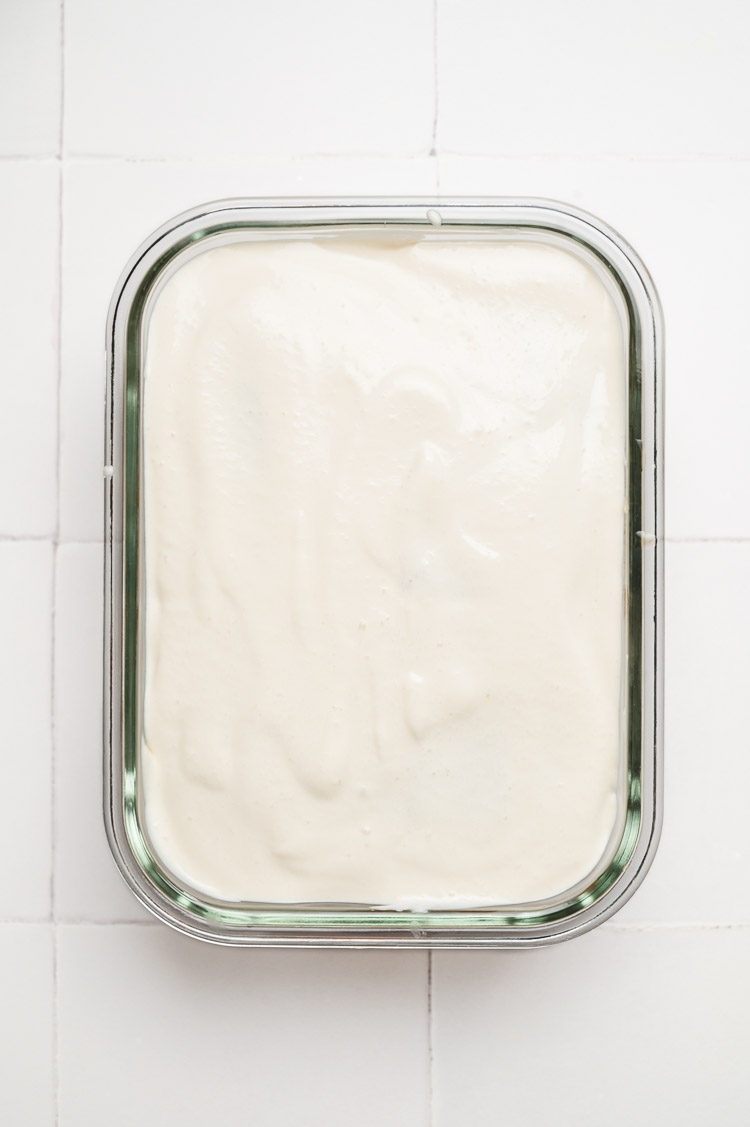
- Spread cream mixture on top.
- Dip remaining cake fingers into coffee and place on top of cream mixture.
- Spread another layer of cream on top.
- Cover and refrigerate overnight (this is where the patience comes in!).
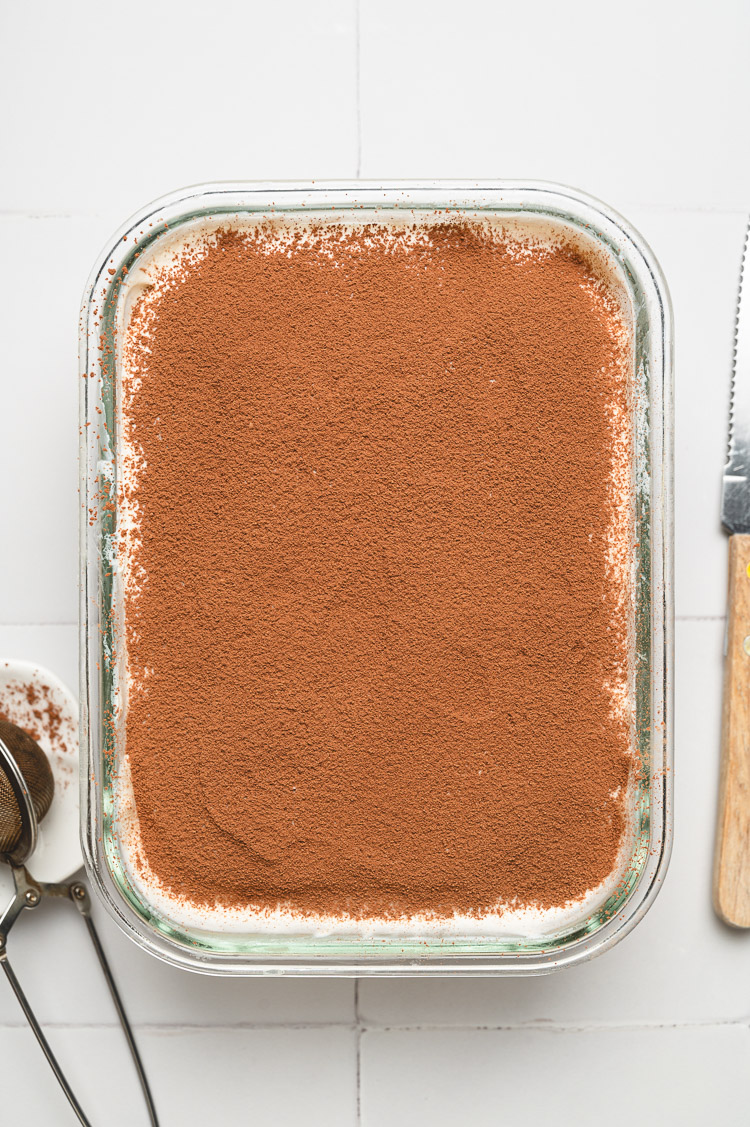
- Dust with cocoa powder and serve.
Vegan Tiramisu FAQ
Can I freeze vegan tiramisu?
I haven’t tried freezing it, but I’m afraid the cream layer might separate or get an icy texture when thawed. So I don’t recommend freezing it, but you can try – cover tightly in a freezer-safe container, and thaw overnight in the fridge.
How long does vegan tiramisu last?
This tiramisu will last about 4 days in the fridge. You will know it’s gone bad if the cream layer starts to smell or taste sour/acidic (in an unpleasant way), or it starts to separate.
Why is my cream layer not thick?
Excess liquid from the tofu or coconut cream can lead to a thin cream layer. Be sure to drain your tofu well and only use the thick top layer from your can of coconut cream/milk.
Can I make it without coconut cream?
You can replace the coconut cream with 120 grams (1 cup) of raw cashews. Soak them in hot water for at least 10 minutes to make blending easier.
Tips for Success
Cut recipe in half for a small batch ⟶ If you’re baking for just 2-4 people and don’t want to be eating tiramisu for days, you can make a small cake by cutting the recipe in half. Bake the cake in a loaf pan, small baking sheet, or similar small pan.
Remove as much liquid as possible for the cream layer ⟶ Drain the tofu well (you can also microwave for 1 minute, then cool and drain to remove even more liquid) and use only the thick cream from the can of coconut cream/milk (even cans of coconut cream have liquid on the bottom).
Customize the flavors as you like ⟶ Not a coffee drinker? Try a strong black tea like earl grey or oolong.
Add a tablespoon or two of rum with the coffee for a boozy flavor.
Top with chocolate shavings for a fancier finish.
Try These Vegan Cakes Too!
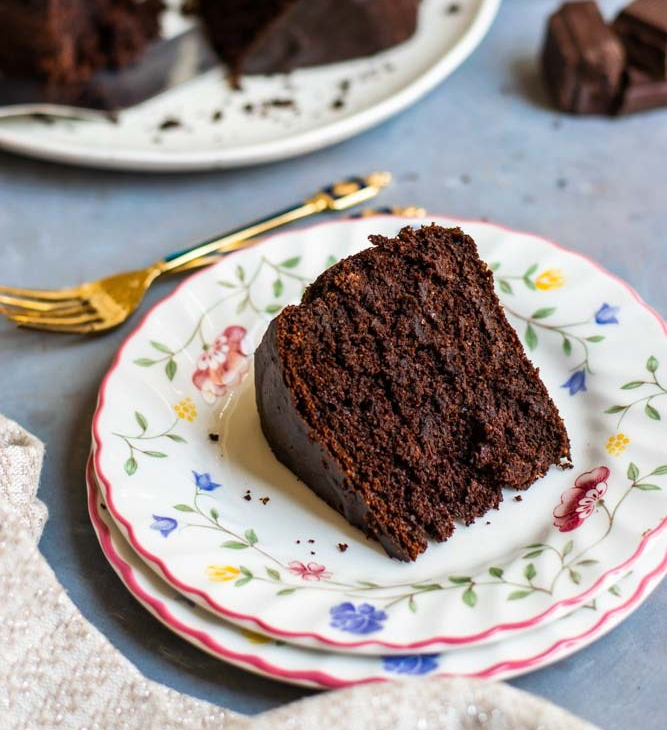
- Healthy Chocolate Cake
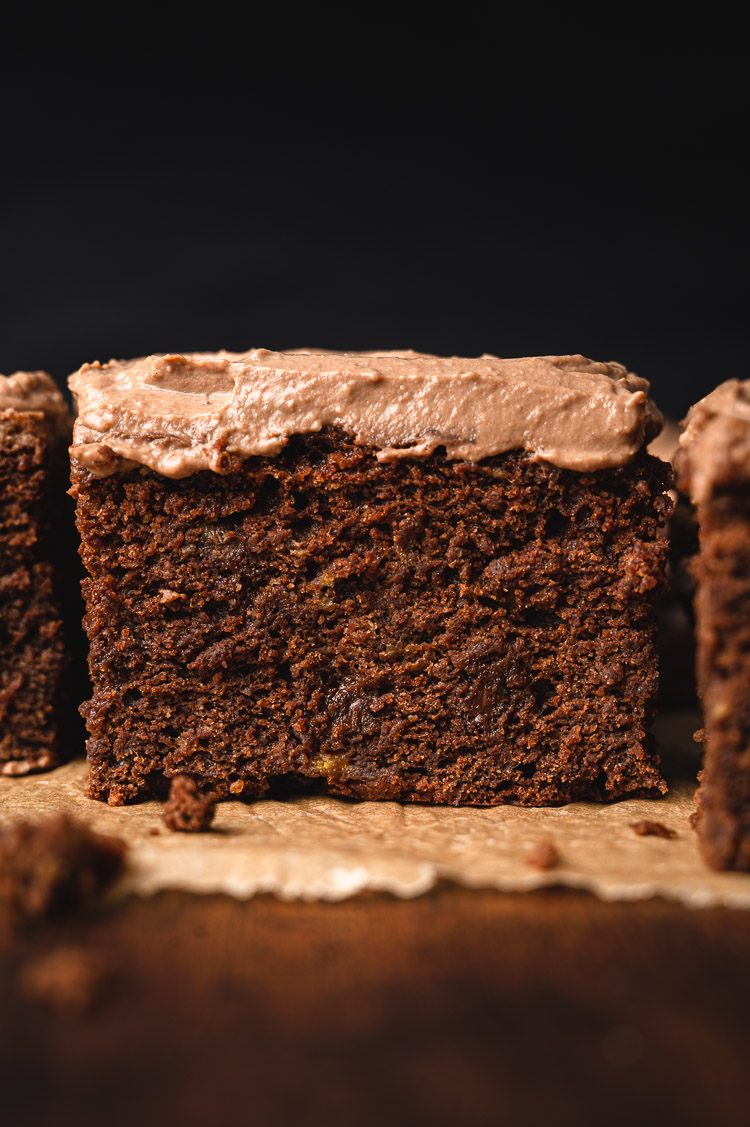
- Chocolate Banana Snack Cake
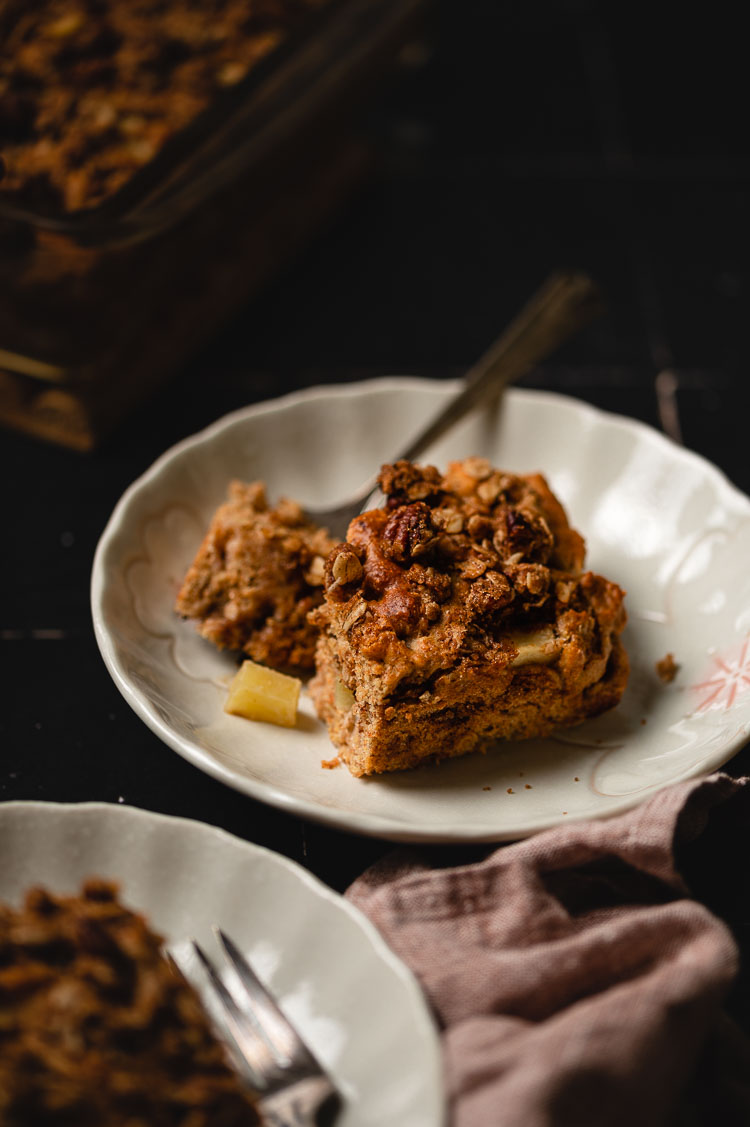
- Apple Coffee Cake
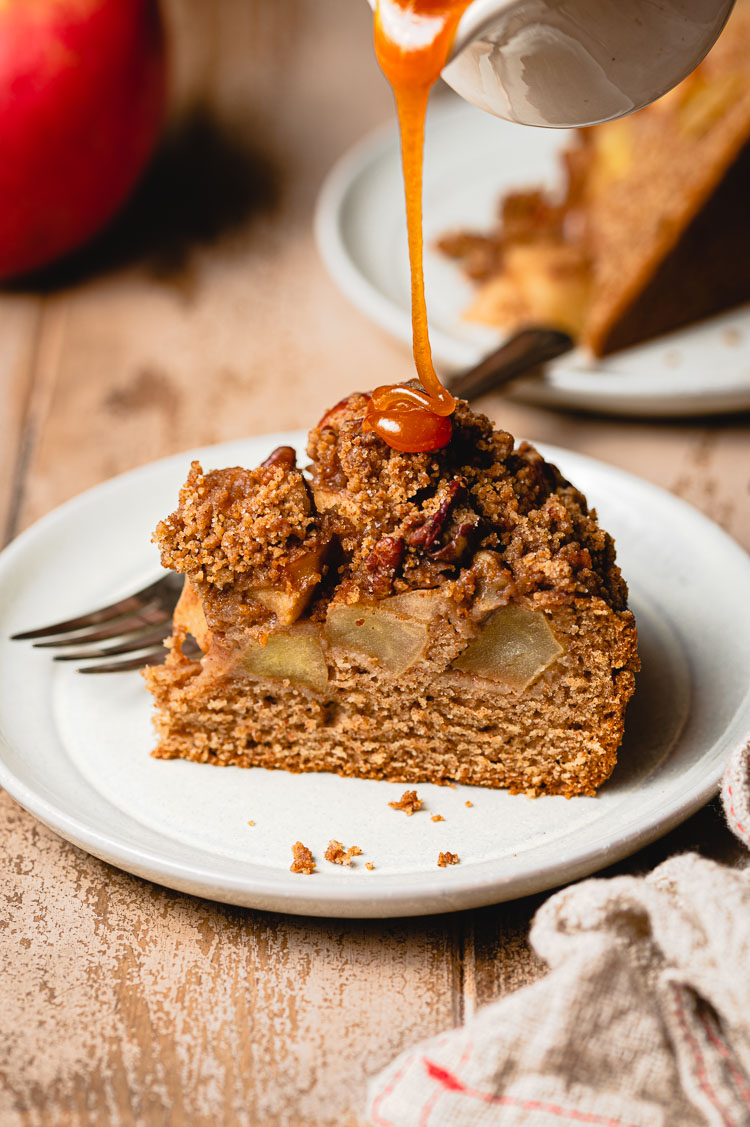
- Caramel Apple Crumb Cake
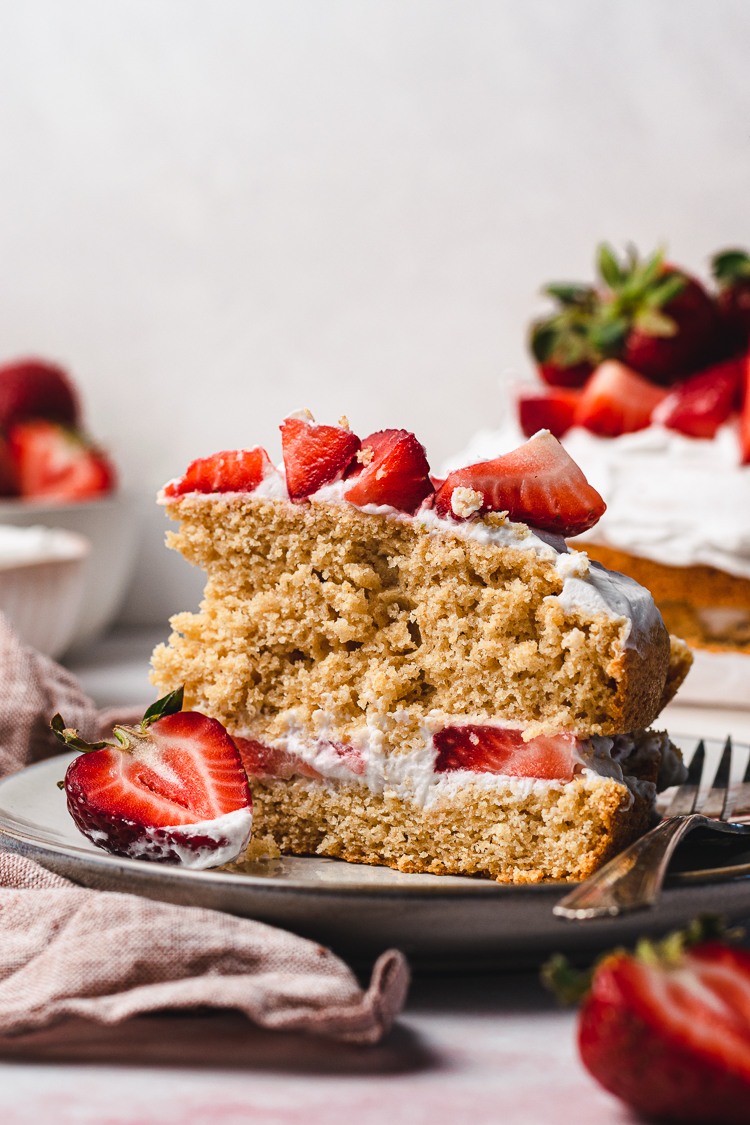
- Strawberry Shortcake
If you make this vegan tiramisu, don’t forget to leave a comment/rating down below and tag me in your photos on instagram @ellielikes.cooking. I love seeing all of your tasty recreations!
Easy Vegan Tiramisu
Ingredients
Cake
- 250 ml (1 cup) soy milk
- 1 tbsp apple cider vinegar
- 110 grams (½ cup + 1 tbsp) sugar
- 1 tsp vanilla extract
- 72 grams (⅓ cup) neutral oil
- 188 grams (1½ cups + 1 tbsp) all purpose flour
- 24 grams (2½ tbsp) cornstarch
- ¼ tsp salt
- ¾ tsp baking soda
Cream
- 300 grams soft/silken firm tofu drained
- 24 grams (2 tbsp) sugar
- 1 tsp vanilla extract
- 1 tsp lemon juice
- 200 ml (¾ cup + 1 tbsp) coconut cream** chilled
For Assembling
- 250 ml (1 cup) cooled strong coffee
- cooca powder for dusting
Instructions
Cake
- Preheat oven to 350°F/175°C. Line a 9×13" baking dish with parchment paper.
- In a large mixing bowl, whisk together milk, vinegar, sugar, and vanilla. Let sit for about 5 minutes to dissolve the sugar, then whisk in oil.
- In a separate bowl, sift flour, cornstarch, salt, and baking soda and whisk together.
- Sift dry ingredients over wet and whisk together just until batter is smooth. Be careful not to over-mix or your cake can turn out dense.
- Transfer batter to prepared baking dish. Tap the baking dish on the counter a few times to remove air bubbles. Bake for 25-30 minutes, until a toothpick inserted in the center comes out clean. You want to just slightly over-bake the cake so it dries out a little, since we will be dipping it in coffee later.
- Place the dish on a wire rack. Let the cake cool in the pan for 10 minutes, then remove the cake from the baking dish. Carefully peel off the parchment paper and let the cake cool on the wire rack.
Cream
- Prepare the cream while the cake is baking (or make it the day before).
- Add tofu, sugar, vanilla extract, and lemon juice to a blender or food processor and blend until smooth.
- Scoop out the thick top layer of the coconut cream, leaving behind any liquid. Add to food processor and pulse a few times to combine – be careful not to over-blend.
- Transfer the cream to a bowl and tap on the counter a few times to remove air bubbles. Cover and store in the fridge for a few hours to thicken.
Assemble
- Cut cake in half lengthwise and cut into strips (or "fingers"). You can also cut the cake in half widthwise if it baked up tall (like if you used a smaller pan).
- You can use an 8×8" or 8×10" dish, or whatever will fit two layers of the cake fingers and cream.
- Briefly dip each cake finger into the coffee on both sides, then place on the bottom of the baking dish in a single layer.
- Spread half the cream on top in a thick layer.
- Repeat with remaining cake fingers and cream.
- Cover and refrigerate overnight. Use a sieve or tea strainer to dust the top with cocoa powder just before serving.
Notes

*Disclosure: This page may contain affiliate links. As an Amazon Associate I earn from qualifying purchases, but the price remains the same to you. Thank you for supporting Ellie Likes Cooking!
Save for later!
