Best Healthy Banana Bread (Vegan)
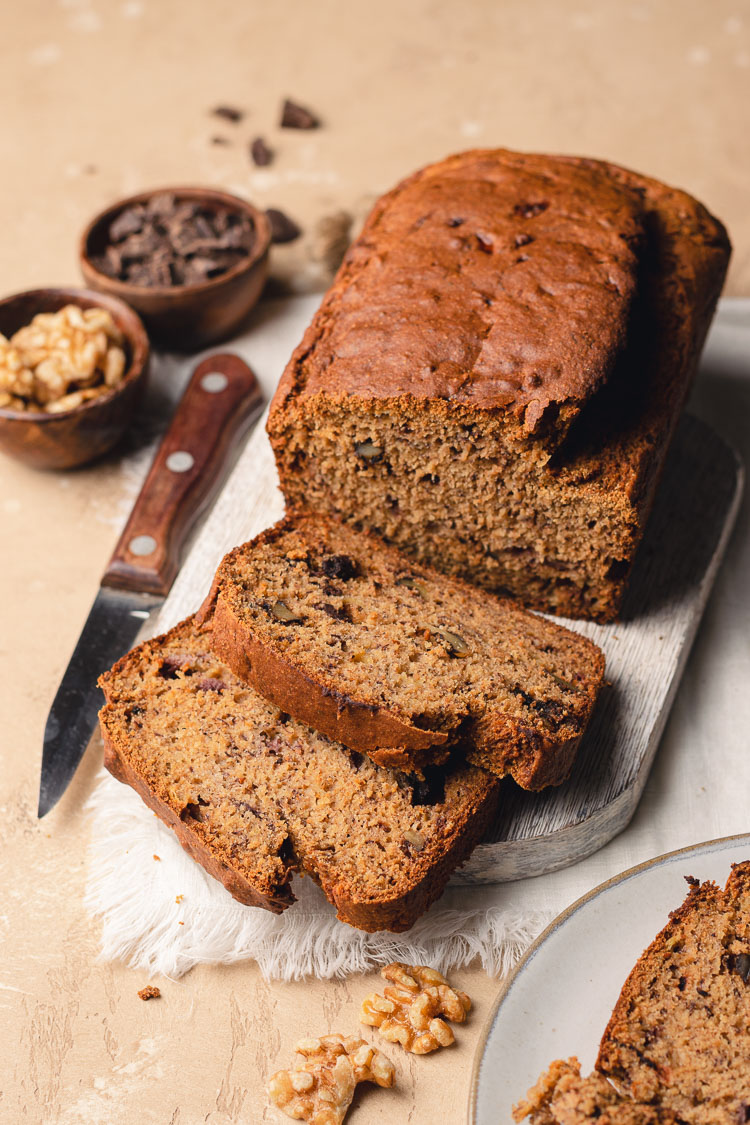
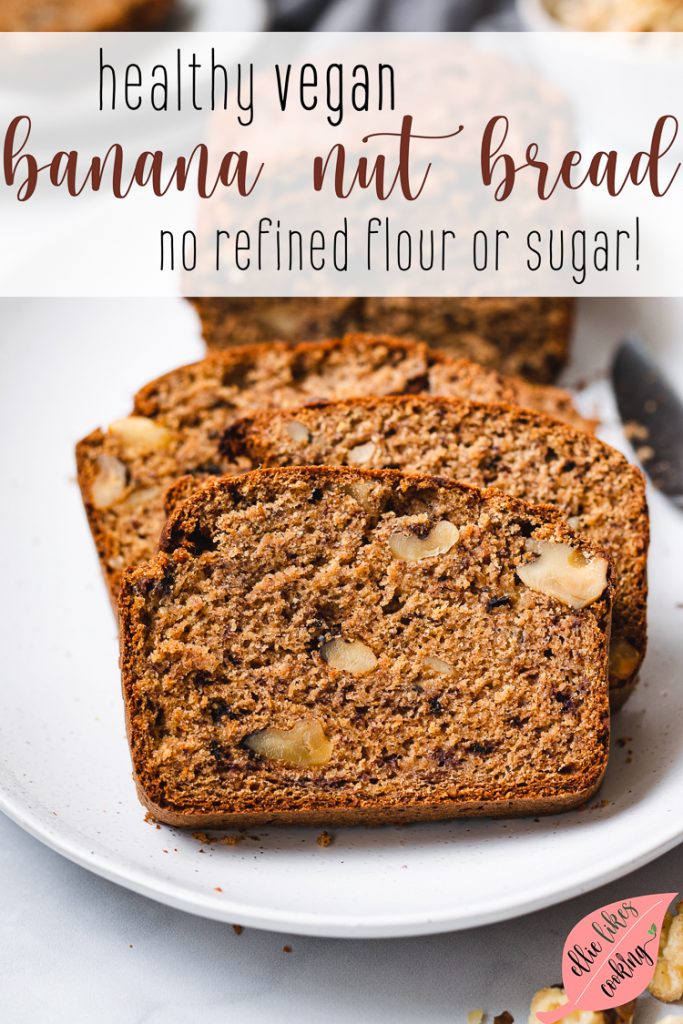
This vegan banana bread is made with wholesome ingredients like whole wheat flour, almond butter, maple syrup, and lots of bananas!
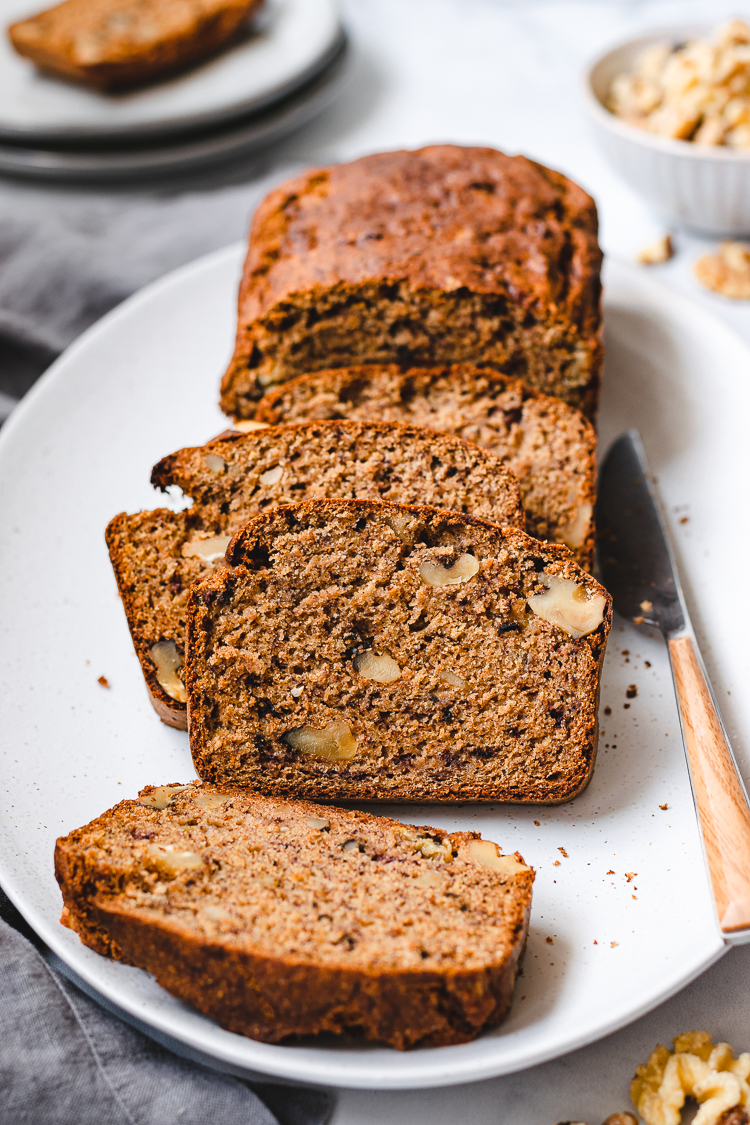
I’ve posted quite a few banana bread and banana muffin recipes over the months, but I never made a plain old classic banana bread. I figured the internet was already inundated with tons of banana bread recipes, so I purposely stayed away from it. But then I made this banana nut bread last month, based off my friend’s tried-and-true banana bread but with some healthier and vegan swaps. And it was just so good I had to document it and share it with the world! This banana nut bread is made with whole grains, natural sweeteners, and healthy fats, and is 100% plant-based.
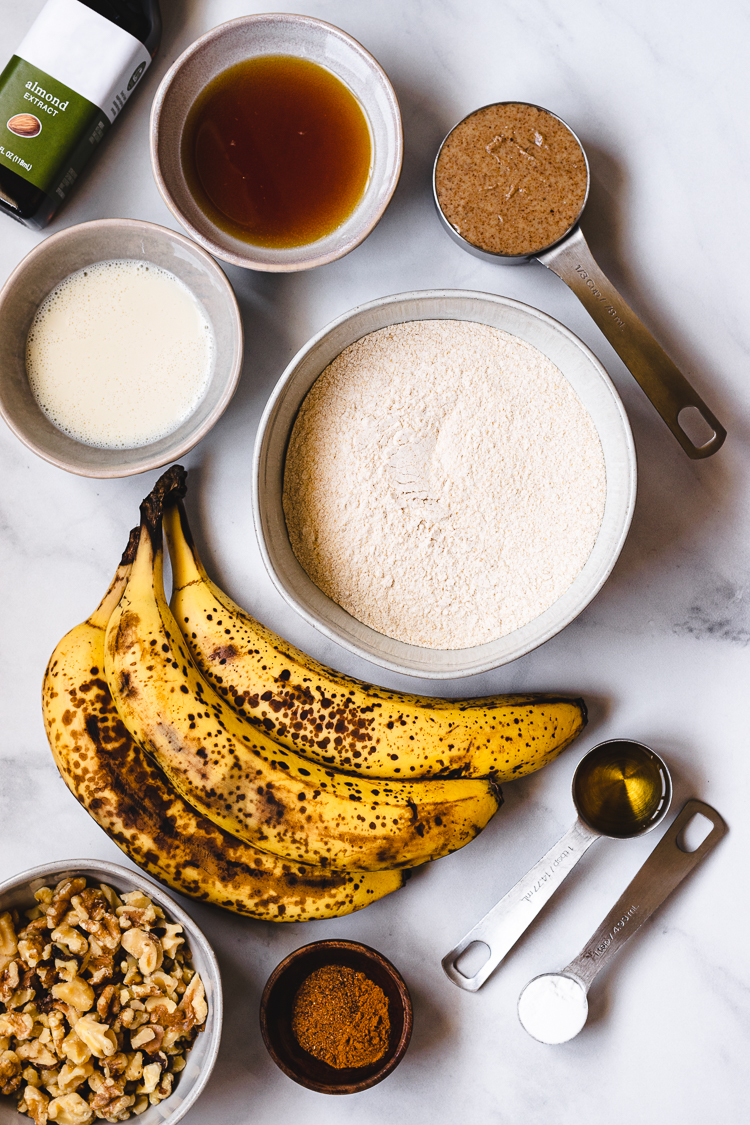
Ingredients
This healthy banana bread is made with 10 pantry-friendly ingredients:
- Bananas ⟶ They should be soft with lots of brown spots. Since we aren’t using very much sugar, most of the sweetness comes from the bananas. The riper the banana, the sweeter it is!
- Whole Wheat Flour ⟶ has a more dense, hearty texture than all purpose flour. You can sub all purpose flour, but you will need to add extra flour as whole wheat flour absorbs more liquid.
- Maple Syrup* ⟶ adds moisture and just enough sweetness
- Almond Butter*⟶ adds moisture and a soft, tender mouthfeel
- Soy Milk ⟶ just a little bit to add extra moisture so the banana bread doesn’t come out dry and dense
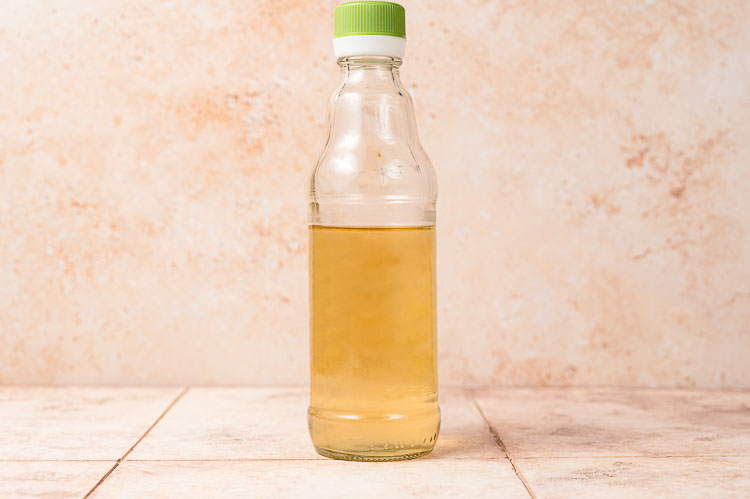
- Apple Cider Vinegar ⟶ activates the baking soda to create a soft, fluffy loaf
- Almond Extract* ⟶ I love the nutty flavor this adds, but you can also use vanilla extract.
- Spices ⟶ cinnamon & nutmeg for extra flavor
- Baking Soda ⟶ gets activated by the vinegar and causes the bread to rise
- Walnuts ⟶ change it up by adding pecans, pumpkin seeds, hazelnuts, or any other add-ins you like!
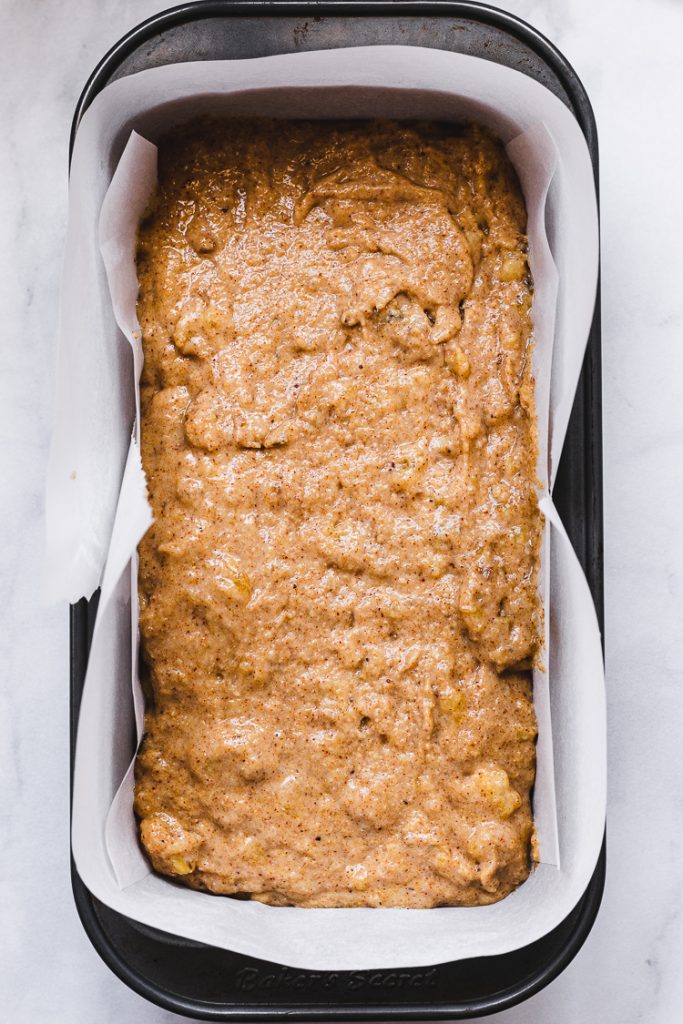
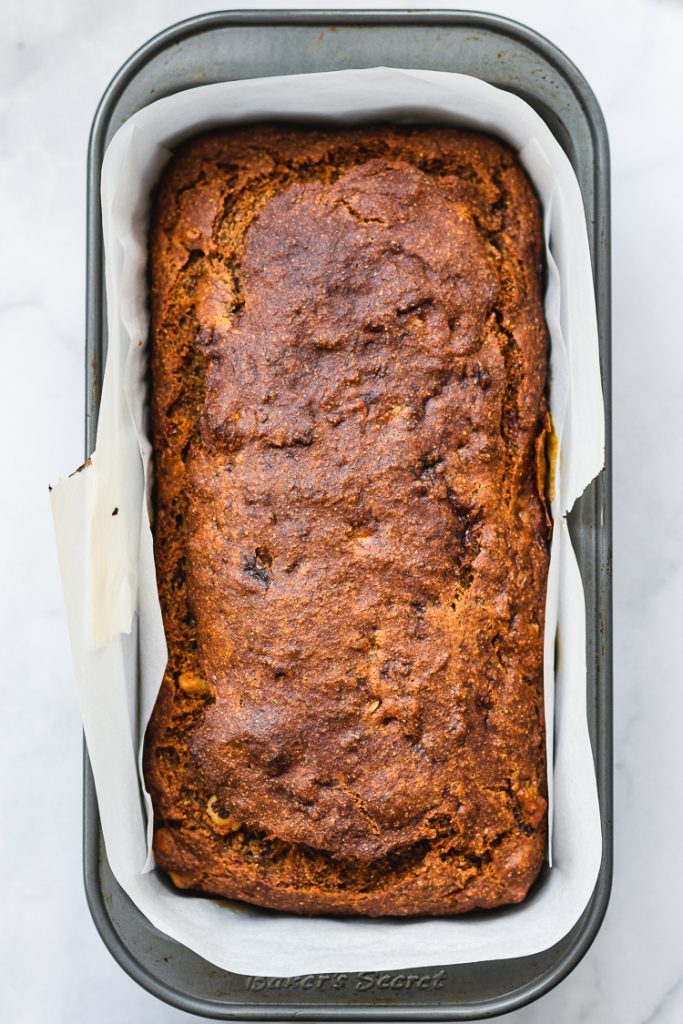
Easy to Prepare
This vegan banana bread is quick & easy to prepare. The hardest part is waiting for it to bake and then cool before you can eat a slice!
- Prepare your loaf pan by either spraying with oil, or line with parchment paper. (You can find my fuss-free method for lining a pan with parchment paper in this post.)
- Mash bananas and mix with the other wet ingredients.
- Whisk dry ingredients separately to allow even blending.
- Fold dry and wet ingredients together. (Be careful not to overmix!)
- Pour batter into loaf pan.
- Bake!
- And of course, cool the loaf. Leave it in the pan for a few minutes after removing from the oven, then gently take the loaf out of the pan and transfer to a cooling rack (this is easily done if you used parchment paper).
- Practice patience. It may take an hour or more for the loaf to cool, but also don’t let it dry out. After an hour, the loaf is still fairly warm but not hot, so I like to place a light towel on top to prevent it from drying out.
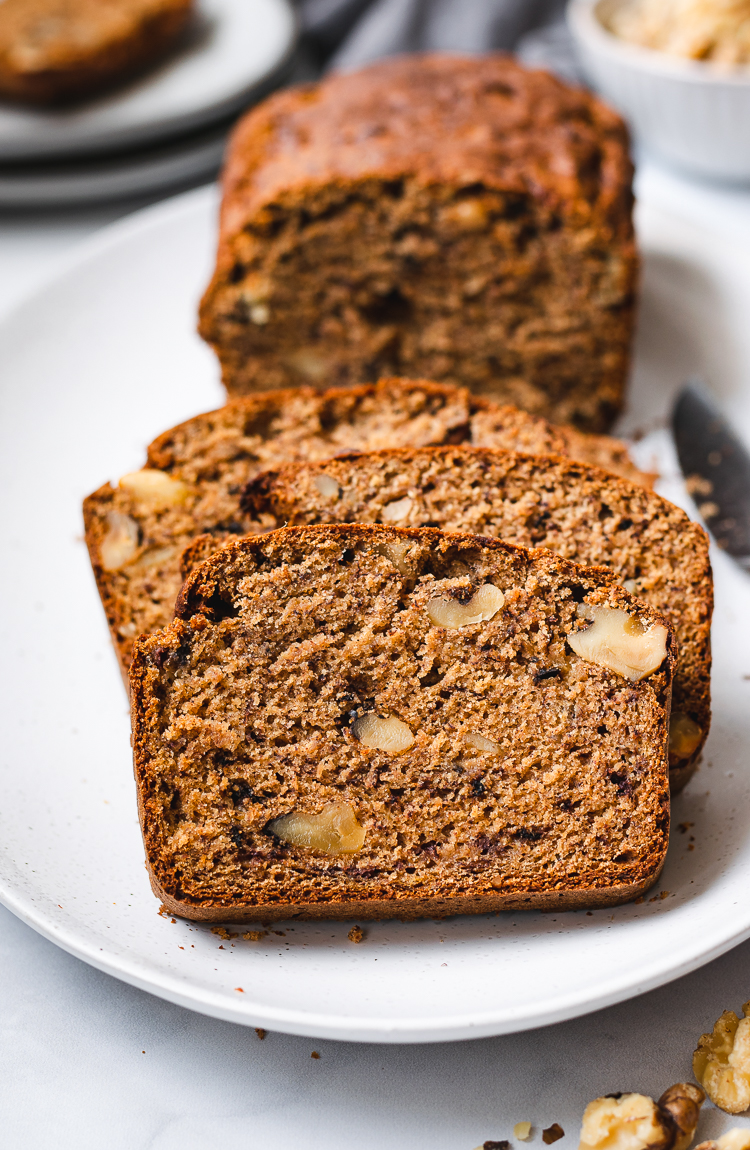
Banana Bread Baking Tips
Use a kitchen scale* ⟶ This is the most accurate way to measure your ingredients and is how I measure all dry ingredients. If you don’t have a kitchen scale, make sure you are using your measuring cups correctly!
How to accurately measure flour without a scale ⟶ Use a spoon to scoop the flour from the flour container into the measuring cup. Do NOT scoop directly with your measuring cup, this packs in way more flour than you need. Once you’ve filled your measuring cup with flour, take the back of a knife and level the flour across the measuring cup.
Don’t overmix! ⟶ With regular flour containing gluten, you need to be mindful of not overmixing, as this causes over-development of gluten, resulting in a dense, gummy bread. Use a rubber spatula* to gently fold the batter together, just until a uniform batter forms and no flour streaks remain. Be sure to scrape the bottom and sides of the bowl for dry flour. It’s OK if your batter is lumpy.
Work quickly ⟶ Baking soda is activated as soon as it hits liquid, so get the batter in the preheated oven as soon as possible.
How do you know if your banana bread is done? ⟶ the toothpick test! Insert a toothpick or bamboo skewer in the center of the loaf, making sure you poke all the way through. If the toothpick comes back out clean, or with a few cooked crumbs, then your banana bread is done. Otherwise, place it back in the oven for another 5 minutes and check again.
How to quickly ripen bananas ⟶ If you want to make banana bread in a day or two but your bananas don’t look like they’ll be ready in time, place them in a closed paper bag. This will trap the ethylene gas that allows bananas to ripen. If you need your bananas ready that day, place them in an oven preheated to 300°F for 15-20 minutes, until the skins turn completely black (don’t worry, the inside won’t be black).
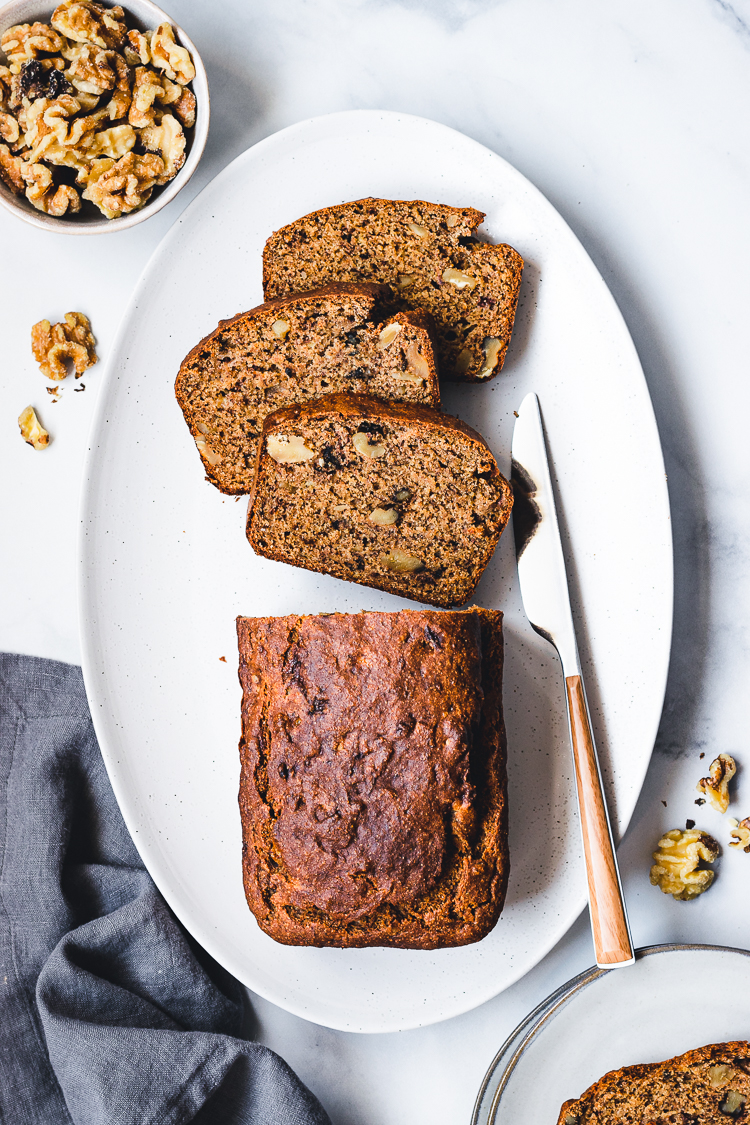
How to Store Banana Bread
Because this banana bread doesn’t contain a lot of natural preservatives (i.e. salt and sugar), it will only last about 2 days at room temperature. However, if you live in a hot/humid environment, I recommend storing the bread in the fridge after 24 hours. You can refrigerate up to a week, or cut into slices and freeze for about 2 months without the flavor deteriorating.
How to Reheat Banana Bread
Air Fryer ⟶ I love using an air fryer* (not the one I have but looking to upgrade to) to reheat and lightly toast my breads. I do 350°F for about 5-7 minutes, but the temperature and timing can vary slightly depending on your air fryer. If reheating frozen banana bread that hasn’t been thawed yet, briefly thaw in the microwave (otherwise the middle will not cook when the outside is toasted), about 20 seconds should do the trick.
Toaster ⟶ Similar to using an air fryer, the edges of the bread will crisp up slightly. Again, if using frozen bread, briefly thaw in the microwave as noted above.
Oven ⟶ Preheat to 350°F Cover slices with foil and bake 5-10 minutes. You can remove the foil for the last 1-2 minutes if you want to crisp up the slices a bit.
Microwave ⟶ Cover with a damp paper towel and heat for 10 seconds. Check the banana bread and heat another 10 seconds if necessary. Consume immediately after heating as the bread will dry out quickly from the microwave.
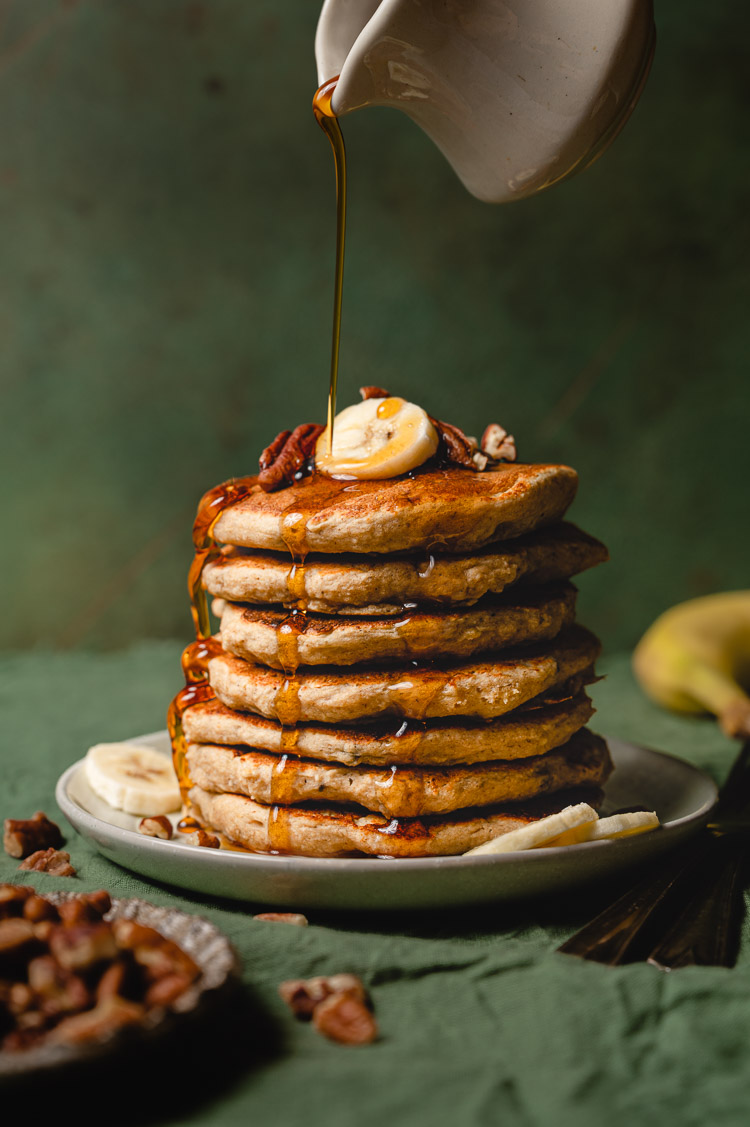
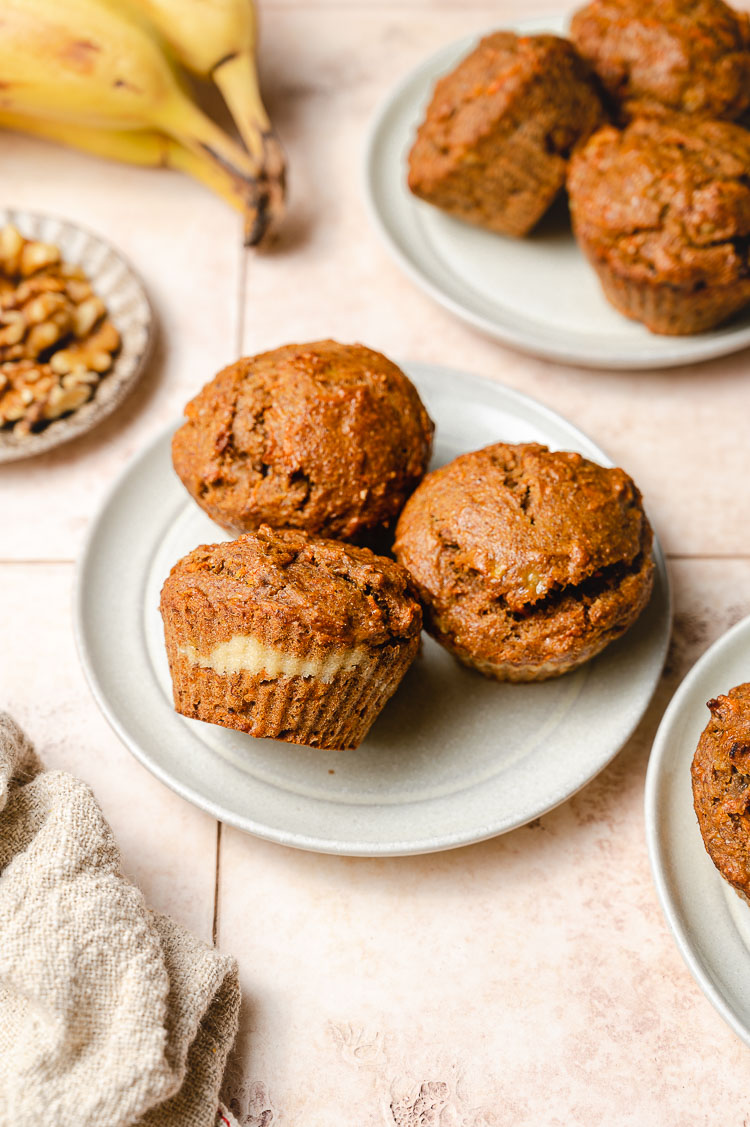
Other Tasty Ways to Use Bananas!
- Banana Oat Pancakes (GF)
- Carrot Cake Banana Muffins
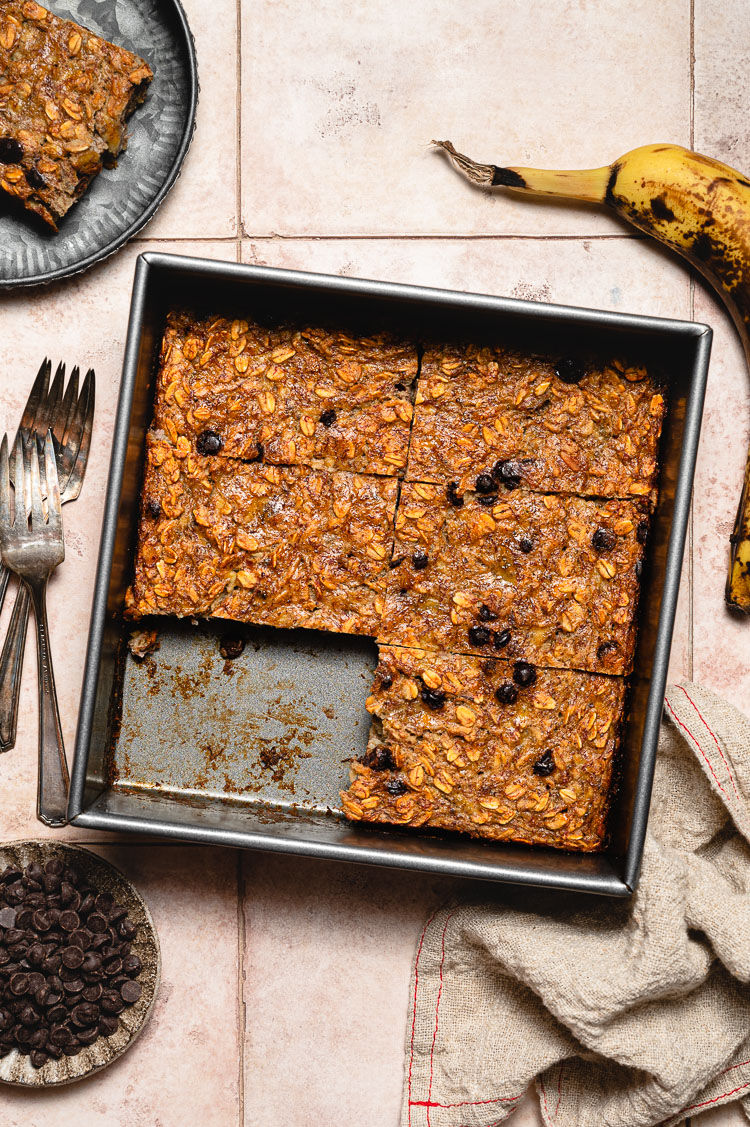
- Banana Bread Baked Oatmeal (GF)
- Gluten-Free Banana Bread
- Healthy Caramel Ice Cream Bars
- Whole Wheat Chocolate Banana Bread
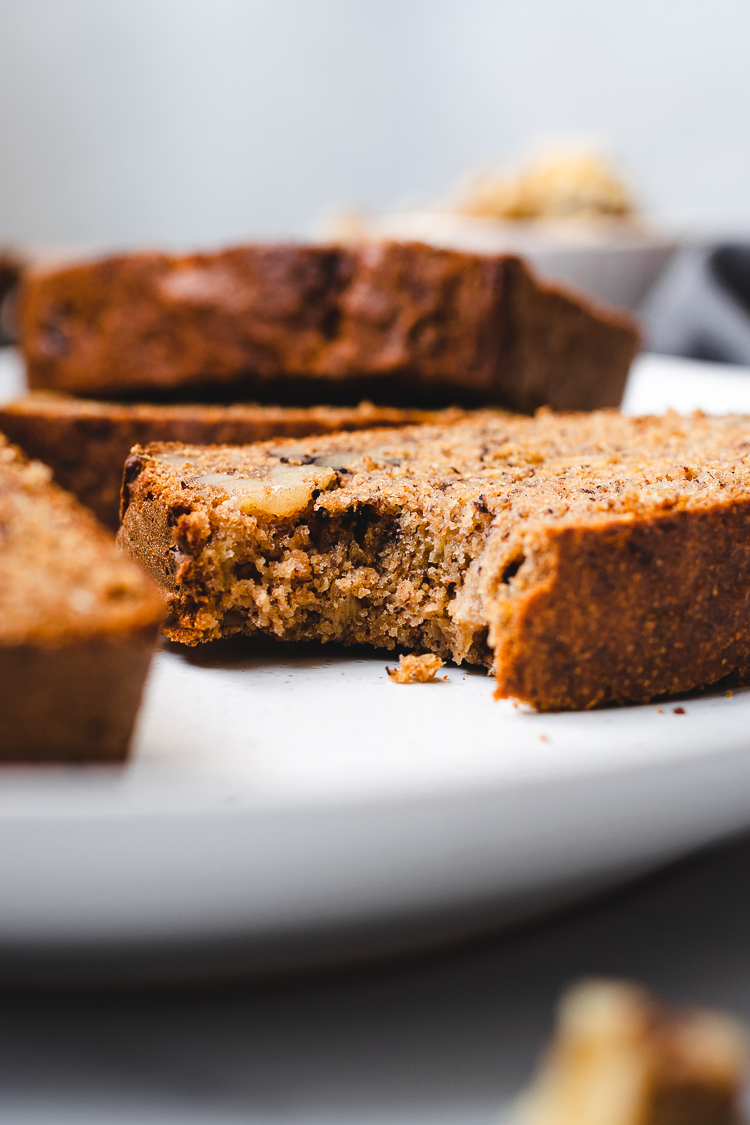
I hope I’ve inspired you to bake this healthy vegan banana bread! If you try it out, don’t forget to tag me in your photos on instagram @ellielikes.cooking, leave a comment/rating down below, and let me know how you liked it! I love seeing all of your tasty recreations 🙂 Happy baking ♡
Best Healthy Banana Bread (Vegan)
Ingredients
- 1 ½ cups (360-380g) mashed banana (about 3-4 medium bananas)
- 3 tbsp
maple syrup* - 5 tbsp (75g)
almond butter* or other nut/seed butter - 2 tsp
apple cider vinegar* - ¼ cup (60 ml) soy milk
- 1 tsp
almond extract* or vanilla extract - 1 ½ cups + 4 tsp (190g) whole wheat flour
- ¾ tsp baking soda
- ½ tsp cinnamon optional
- ¼ tsp nutmeg optional
- pinch of salt
- ¾ cup chopped
walnuts*, chocolate chips, or raisins optional
Instructions
- Preheat oven to 350°F. Grease or line a loaf pan with parchment paper and set aside.
- In a large bowl, mix together mashed bananas, maple syrup, almond butter, vinegar, milk, and almond extract.
- In a separate bowl, whisk flour, baking soda, cinnamon, nutmeg, and salt.
- Add flour mixture into the banana mixture, and use a rubber spatula to gently fold together. Mix until ingredients are almost incorporated (some dry flour pockets are OK at this point), add walnuts, and gently fold a couple more times to evenly distribute the walnuts. At this point no flour streaks should remain. Be sure to scrape down the sides and the bottom of the bowl for dry flour.
- Pour batter into the prepared loaf pan. Bake for 60-90 minutes1, until a toothpick inserted in the center of the loaf comes out clean. After 30 minutes, keep an eye on the bread to make sure it's not browning too quickly on top. If it looks like the top is starting to burn, tent with foil.
- Let the bread cool for about 10 minutes in the pan, then transfer to a cooling rack. Carefully remove the parchment paper and cool completely.
Notes
Recipe updated April 5, 2025. I am constantly improving and updating recipes to ensure the tastiest results for you!
*Disclosure: This page may contain affiliate links. As an Amazon Associate I earn from qualifying purchases, but the price remains the same to you. Thank you for supporting Ellie Likes Cooking!
Save for later!

Easy to make. Enjoyed it very much! Thank you Ellie!
So happy you enjoyed it! 🙂